
Arcade machine drill holes
Arcade machine mount joysticks and buttons
Arcade machine cabling
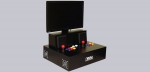
Arcade machine assemble the monitor
Arcade machine sound implementation
Arcade machine assembly
Arcade machine drill holes …
For the assembly of the buttons you only need to drill holes. They are then fastened with the enclosed counter nut.
When drilling through the wood board with the 28mm forstner bit, there is always some veneer around the hole from the veneered board, which is ideal for fixing the buttons, as the ribbed locknut will then have perfect hold and will not slip on the smooth veneer. If you prefer a smooth bore, you can of course fix an old wooden board with screw clamps under the wooden plate and then make the holes.
The set included the joystick bezels to conceal the hole where the metal stud protrudes through the wood panel.
The holes for the joysticks I have also drilled with 28mm diameter. So I did not have to buy more new tools.
In order to find the perfect arrangement of joysticks and buttons, I first took a wooden plate with a width of just under 60cm, put on my hands as relaxed as possible and then transferred the positions of the fingers to the board.
As a precaution, I then made a test setup to check whether the button arrangement is really ergonomic, but fortunately confirmed right away. Thus, for the final implementation I only needed to take the measurements of the test setup and could be sure that I later would get no cramps in the hands while playing.
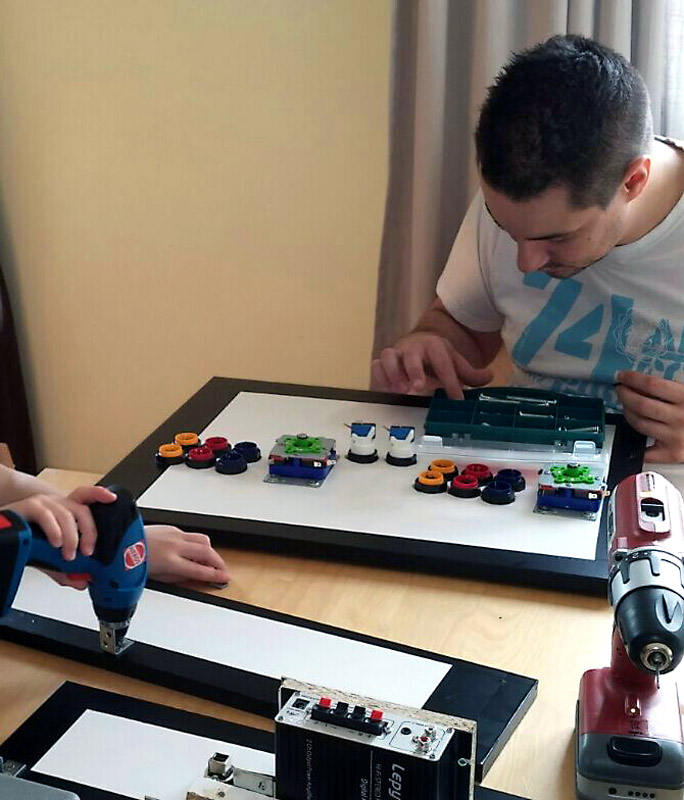
Mount joysticks and buttons…
The buttons and joysticks were the first components that were installed.
Here’s a picture of the early stage of construction – the little hands belong to my 4-year-old son, who helped me with his toy tool.
Arcade machine cabling…
After the buttons and joysticks were mounted on the cover plate, it went straight to the wiring.
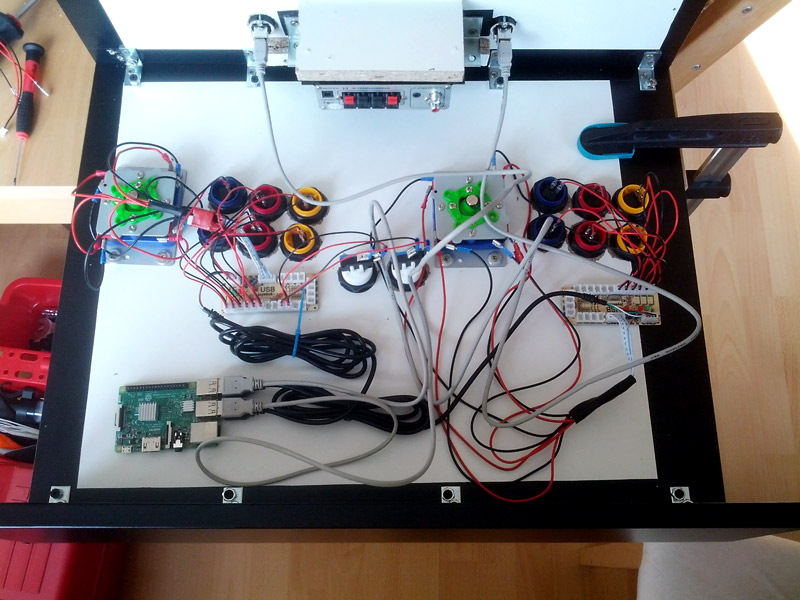
And here you see a detail photo of the controller board, which turns the switches of the buttons and joysticks into a game controller, which the Raspberry Pi automatically recognizes.
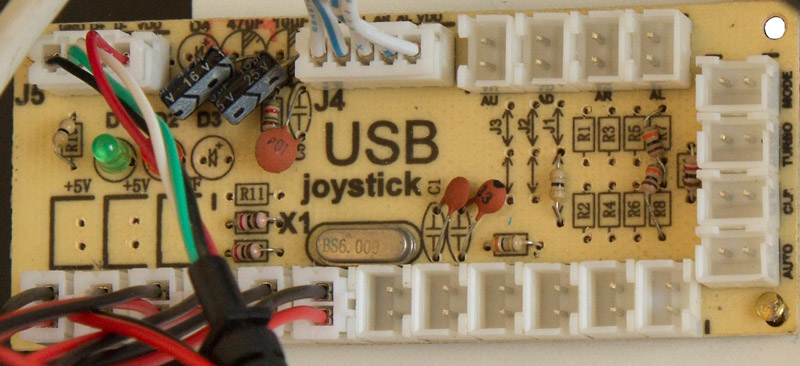
The connection cables for the buttons included with the board had already been fitted with the correct tabs, so that the connection of the buttons was only plug and play.
However, the micro switches of the joysticks had larger tabs, which is why I had to crimp new, matching 6.3mm tabs on the cables (soldering would of course been possible too).
The board is then connected to the Raspberry Pi with the supplied USB cable.
Arcade machine monitor assembly …
For the screen, I have decided specifically for the model ASUS VS247HR. It was clear from the beginning that the screen size should be around 24 inches, but despite the barely manageable abundance of 24-inch monitors on the market, this was the only model that met all my requirements. Although I originally planned to use the wall mount threads of the monitor, which I later rejected.
Instead of using the threads of the wall brackets, I decided to disassemble the original foot of the monitor and instead use a 16mm piece of wood for attachment.
Arcade machine sound implementation …
The monitor is also enormously involved in the sound reproduction of the arcade machine, because it converts the audio signal that the Raspberry Pi outputs via the HDMI interface, namely excellently into an analogue audio signal, which it outputs via the integrated 3.5 mm jack socket.
Of course, I could have used an HDMI audio extractor in the HDMI line, but this would have significantly increased the number of components to be installed again and even performed tests with 2 completely different HDMI audio extractor models in conjunction with one DVI monitor (with HDMI Adapter) and an HDMI TV were always marked by serious problems that could never be completely solved.
That’s why in the arcade machine project I would like to speak out against the use of such HDMI audio extractors, because you just do not know in advance if the things will work or not.
Arcade machine assembly …
The assembly of the entire device was then very spontaneous and without much planning.
Of course, I had a rough idea of what the whole thing would look like in the end, but I made no plans for the individual wood blanks, although I could have done this as a mechanical engineer with nearly 20 years experience in 3D CAD with ease.
I only needed to connect a single power cable to 230V, because the entire wiring is integrated in the device.
On the next page you can see the finished arcade machine …