
DVB-T Stick SDR Guide
SDR Software Installation and SDR Guide …
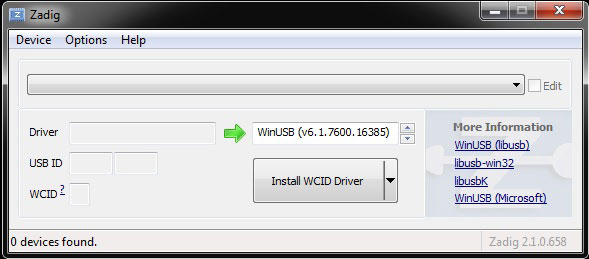
At first we need to install a small software called ZADIG in the current version. Then we put the DVB-T Stick into the USB port, Windows will probably immediately install its default driver. If this does not happen, the better, but it is not a problem for the further process. We simply start the tool “Zadig” and see the following window. In the event that Windows has installed its driver it will appear nothing in the upper field – as seen here.
In this case, we need to set the “Options” that all modules are to be shown – this is done with the button “List all Devices”. After that, all our USB devices appear in the mentioned field.
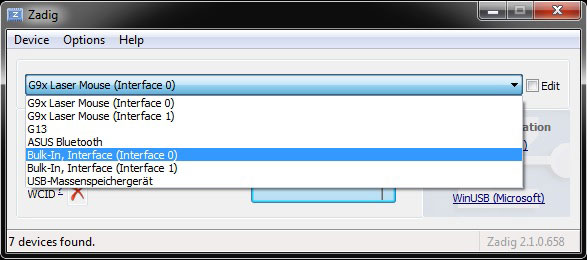
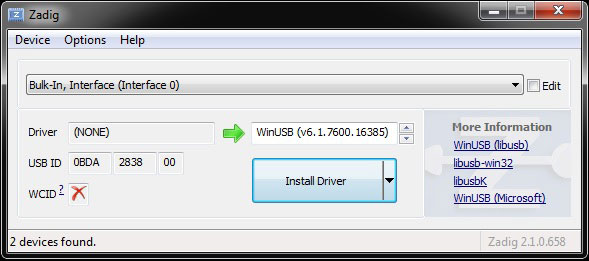
Here we select successively the Bulk-in interface (interface 0) and (Interface 1) and install each of the modified WinUSB driver that are provided by Zadig. Now this is accomplished, the display should look like this …
However, if we prevent the previously Windows Microsoft driver installation, we can select the two interfaces already at the start of Zadig software.
But what exactly is this software? In short, it provides so-called standard Generic USB drivers for a device by which you can read raw data from USB devices. It is this raw data in the form of other frequency bands which is of interest to us.
The driver installation must be carried out separately for each USB port on the PC. So the best you put the DVB stick from now on always in the same slot.
If the driver installation is complete, we can proceed with the installation of the software itself. You have the choice to decide which SDR software,freeware and payware, to choose.
Let us look at a freeware software called SDR# (Sharp SDR). It is available at Downloads.
Loaded the program in the current version and installed it, you will be rewarded with the following home screen.
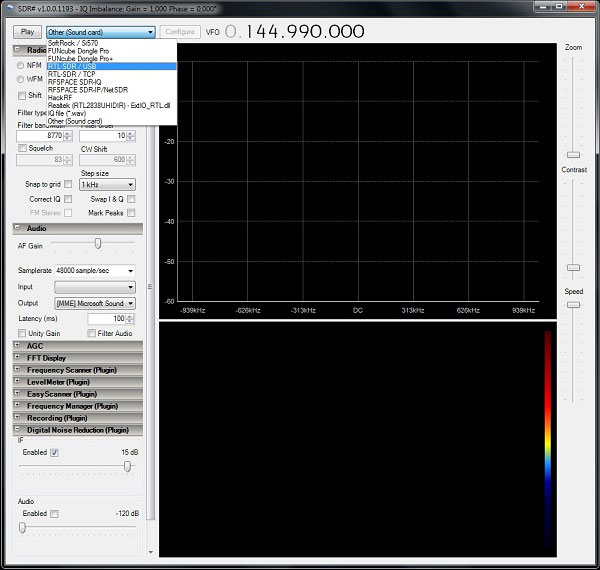
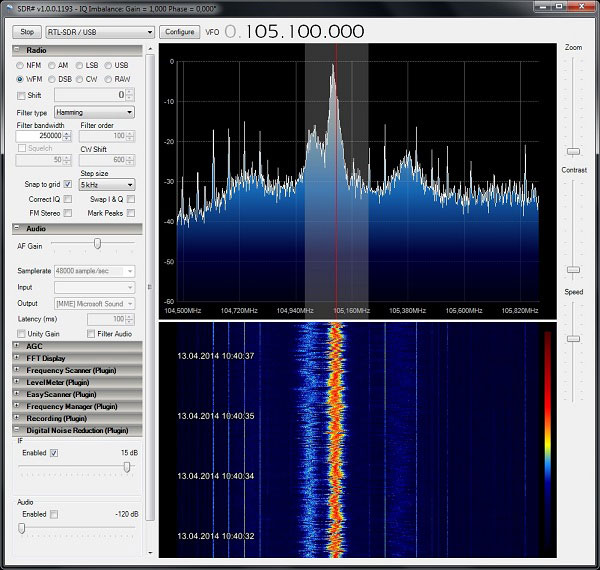
However, before we can select a source DVB-T Stick (RTL-SDR / USB), we need to install a USB library for SDR Sharp. This we also find on the SDR# website under the download item “SDR# RTLSDR Plugin”. The plugin is simply copied to the installation folder of SDR Sharp. Then the point RTL-SDR / USB appears in the menu which we can select and press Play”. We are rewarded with receiving various frequency bands. For example, some local radio stations which can be received over a wide frequency modulation.
Here is another example, a signal of a commercial car key with remote control …
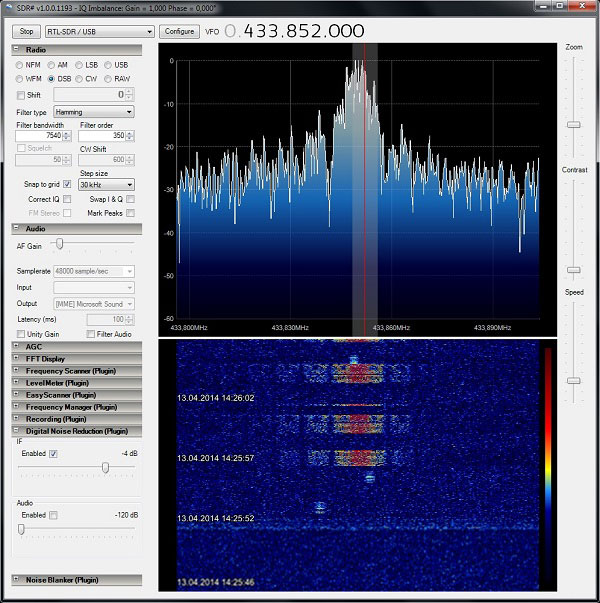
It is very nice to see how there is a pulsed signal transmitted.
Other plugins such as an audio recorder or a level meter you can download from here and implement them easy.
The frequency range of the R820T chipset is between 25 MHz and 1700+ MHz. Apart from the SHF and ShortWave range (may or may not be allowed!) all bands can be listened to. If you want to join in the enjoyment of shortwave, so there are the internet blueprints (or even finished units) for a StepUp Converter, that easy modulates the 0-30 MHz to a higher frequency, for example, 100-130 MHz, for to use them with our DVB-T Stick.
In addition, there are various Morse decoding programs which, for example, decode the CW radio broadcasts. From time to time, for example, someone’s sending his e-mail address, website and call sign, which you can then use to log on to the Internet and confirm receive. It’s really amazing what you can hear from a far distance.