
Installation …
Already with the predecessor model we were able to praise the fast and uncomplicated assembly. You only need two Phillips screws to attach the metal brackets to the radiator base. Retaining brackets have different holes and are compatible with the current Intel sockets and AMD AM4 socket. Previous AMD sockets are no longer supported.
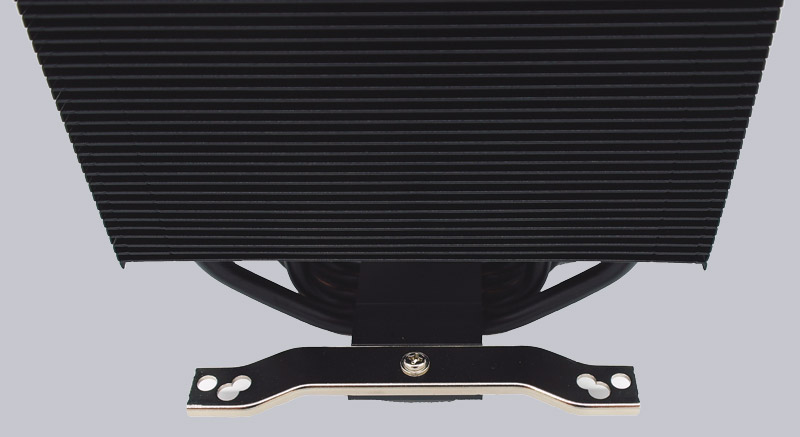
Now only loosen the fan brackets and screw the cooler with four screws on the AMD AM4 backplate or, as shown here, on the Intel LGA socket. The correct screws can be easily identified thanks to the exemplary labelled bag.
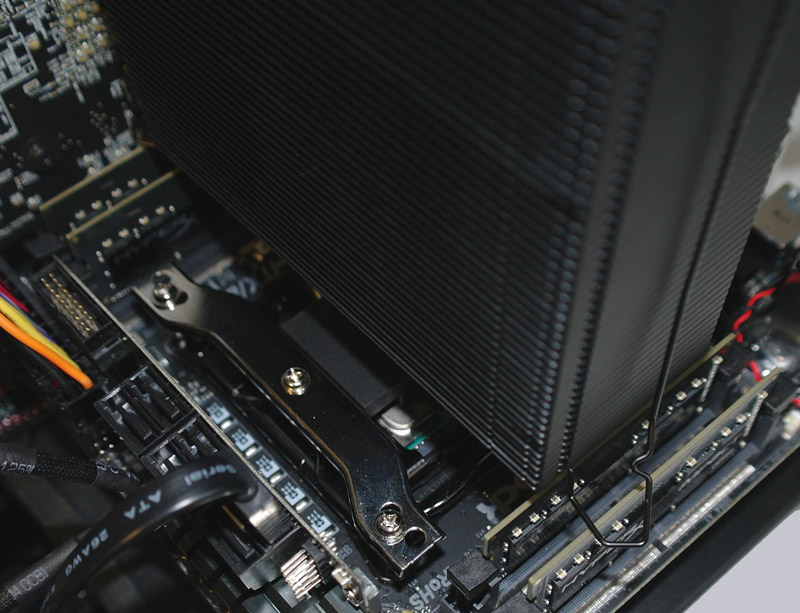
Then the BioniX fan can be fixed again with the bracket, but make sure that the antivibration sticker does not come loose and that the fan sits in the middle on the heat sink.
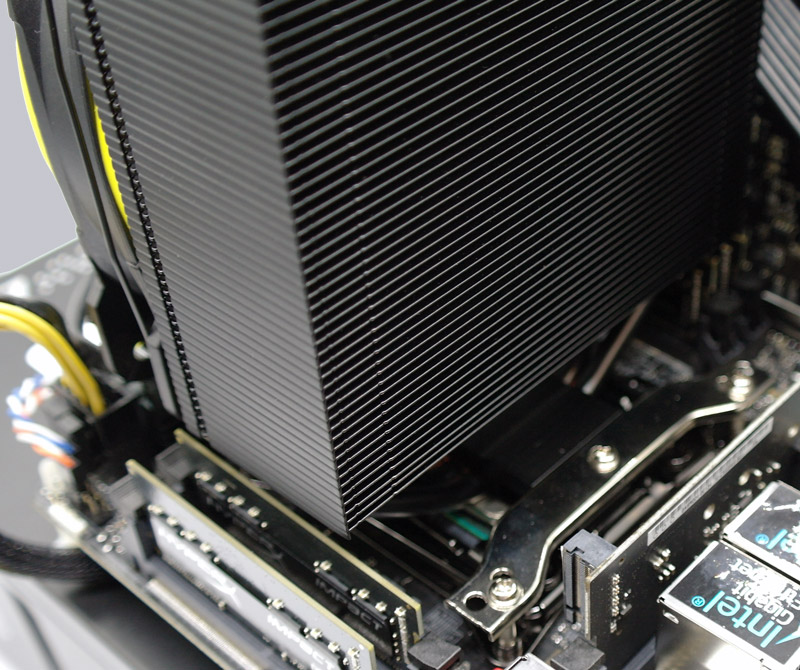
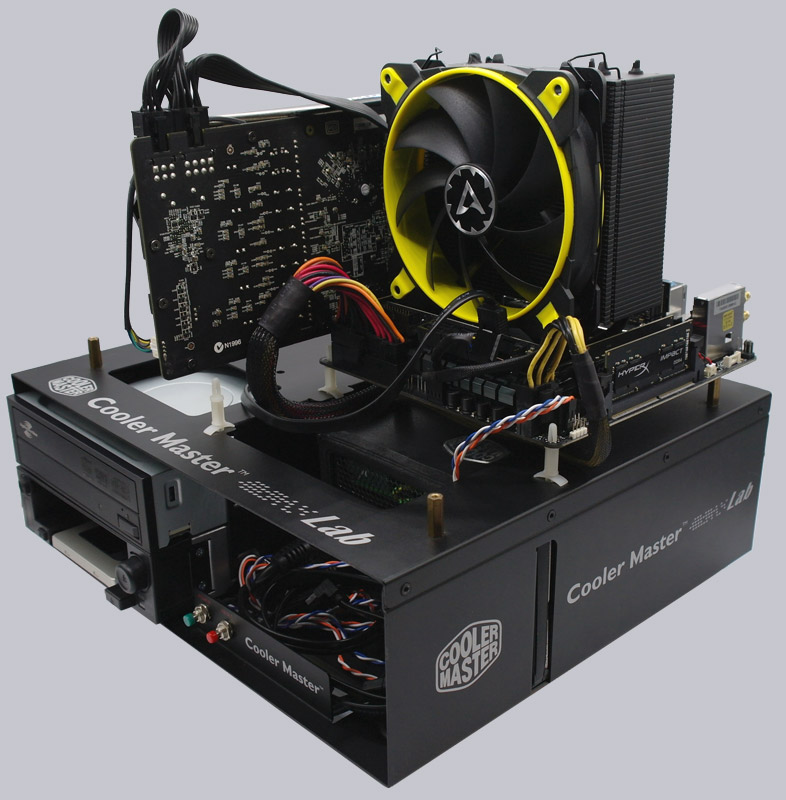
To illustrate the small dimensions of the cooler, we mounted it on an ITX system – more precisely on a ASRock X299E-ITX/ac motherboard with Intel Core i9-7900X CPU.
All in all, the installation is done quickly and without any problems, even without instructions. To improve it, we can only think of screws with a hexagon head or thumbscrews, which could even be turned with the fan mounted. Perhaps Arctic will take this proposal to heart with its next coolers.
Arctic Freezer 33 eSports One test setup and results …