
Installation …
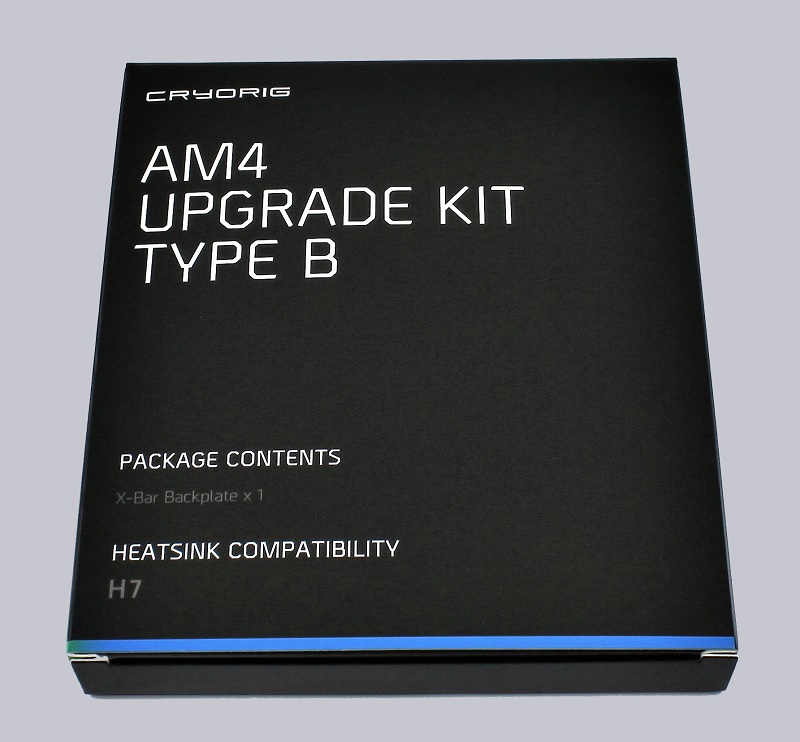
Within the technical details of the Cryorig H7 we already noticed: it was not compatible with AM4! However, there is an AM4 upgrade kit from Cryorig, which fortunately we have also been provided.
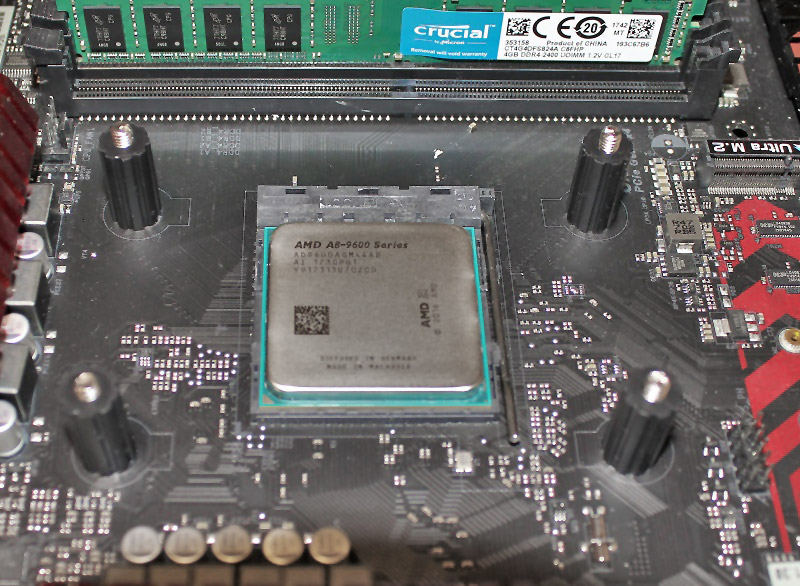
As usual we start the preparations with the mounting of the backplate.
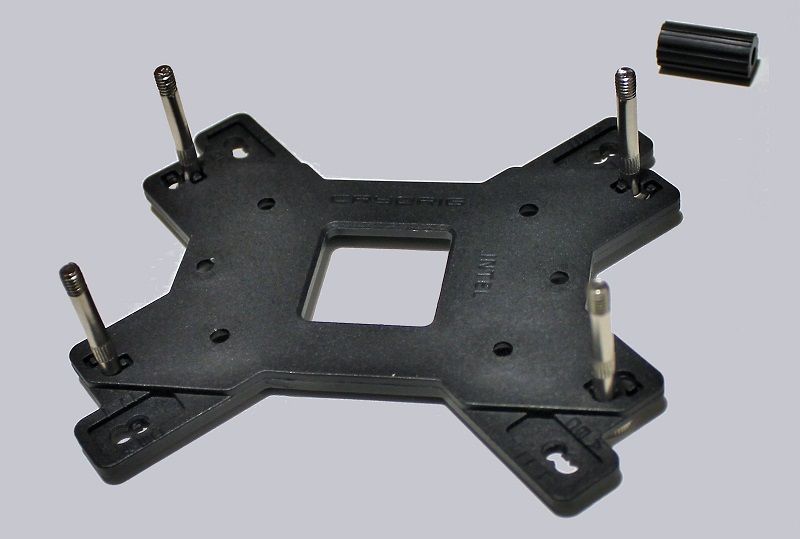
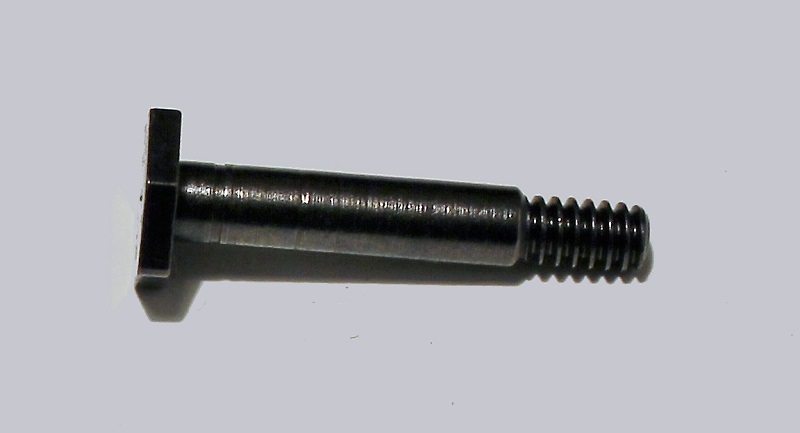
The screws have a corrugation in the middle …
… so that the black plastic sleeves can be attached and hold the backplate so relatively well in position.
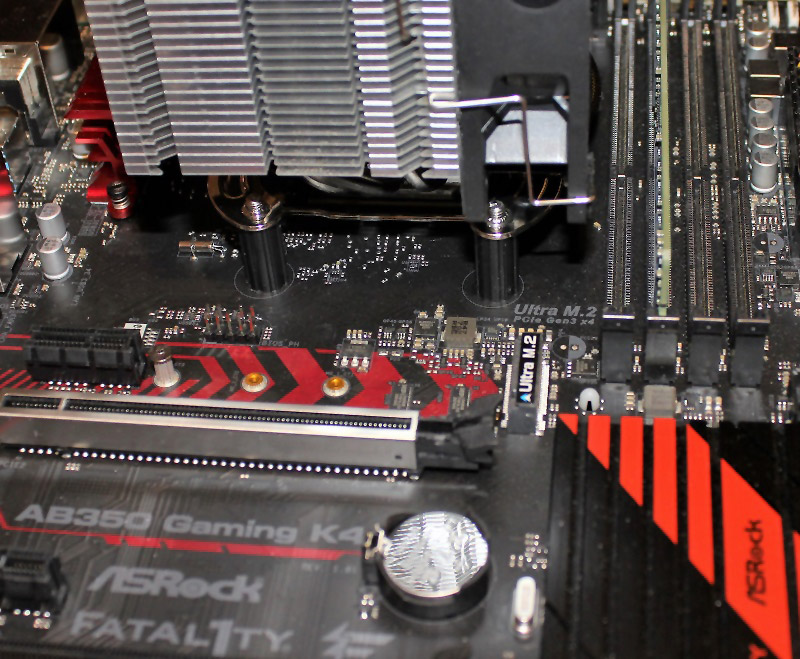
Now just align the bracket mounted on the cooler, apply thermal compound and screw the cooler on top of the CPU.
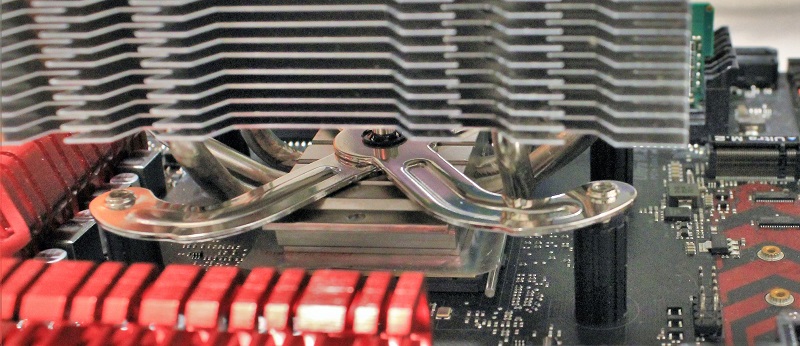
However, the screwing is not as usual from above, but from below, which was then a little trickier, because you have to tilt the motherboard, while holding the cooler and operate with the third hand then the screwdriver 😉 But at the end the Cryorig H7 was safely mounted on our test system.
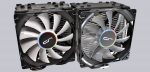
The Cryorig H7 Quad Lumi is inherently AM4 compatible. So we also prepared the backplate here.
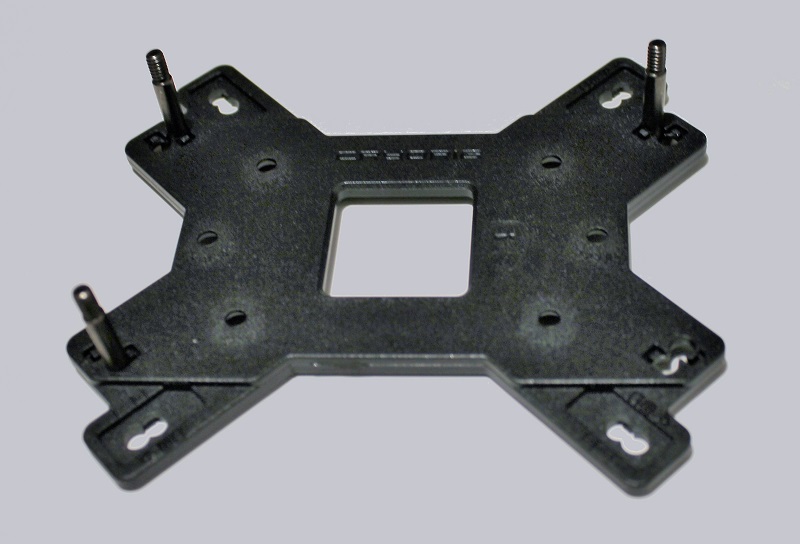
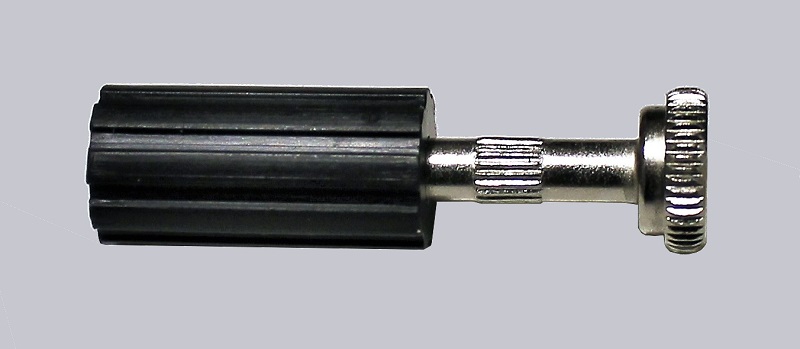
This time not with screws, but with hexagonal bolts.
With the help of these knurled cap nuts …
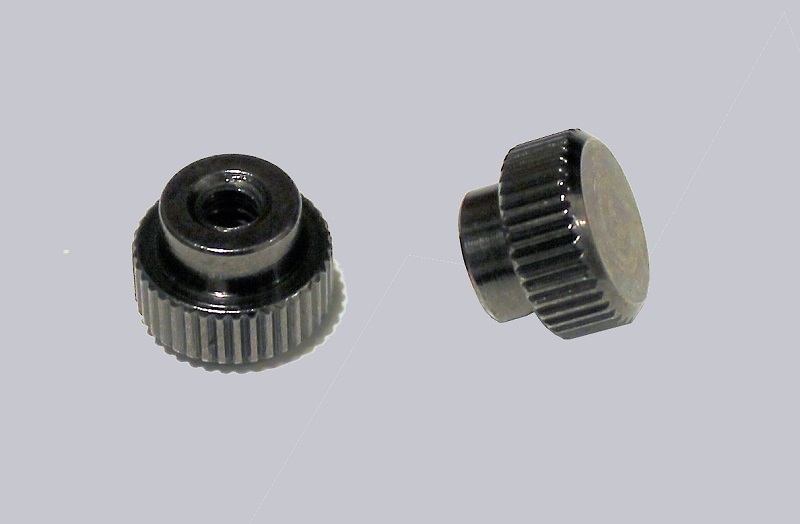
… we then connect the backplate to a second panel on the top of the mainboard. This ultimately provides the threads for the radiator fitting.
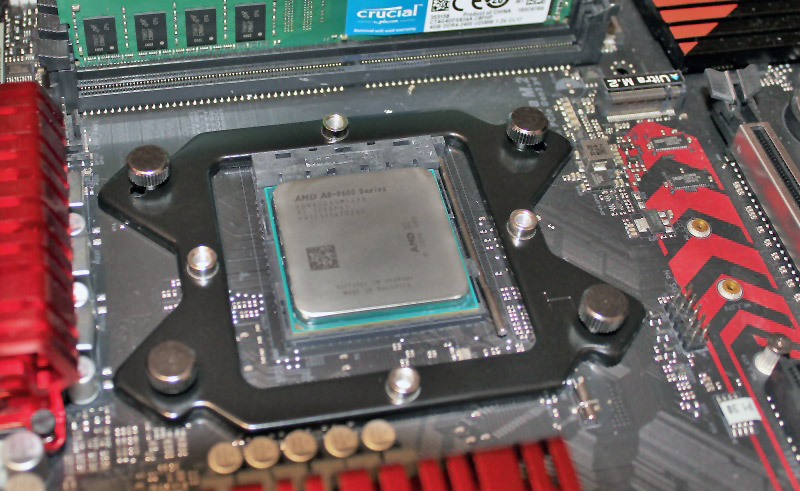
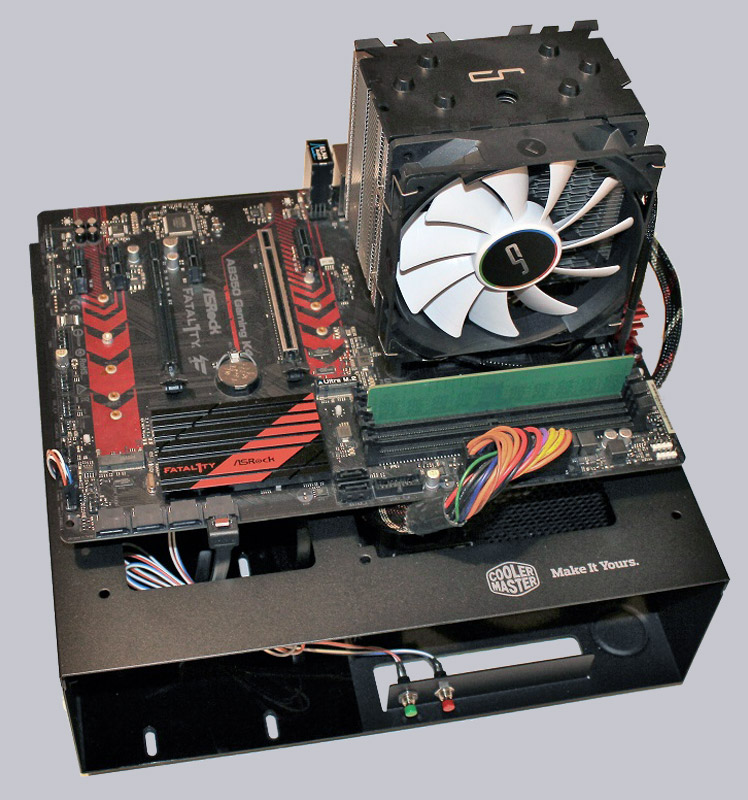
In the case of the H7 Quad Lumi, we now screw the cooler firmly from the top on our AM4 test platform.
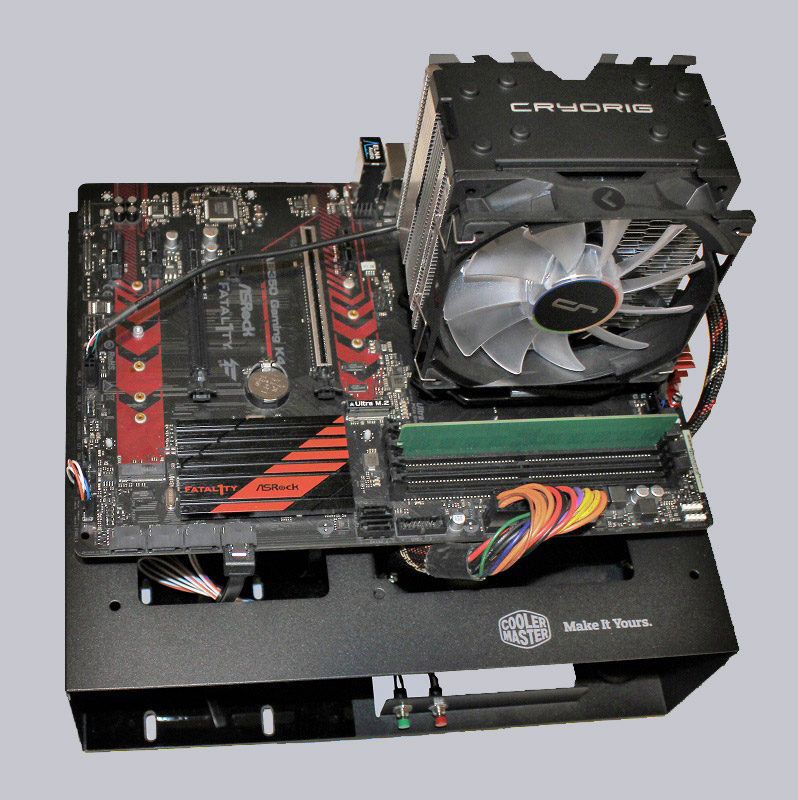
As promised, both coolers do not obscure a RAM slot.
Overall, both montages had their pitfalls. It is possible, but “Installation Made Easy” is a bit optimistic. This has already been solved easier by other manufacturers.
Cryorig H7 und H7 Quad Lumi test setup and results …