
Installation …
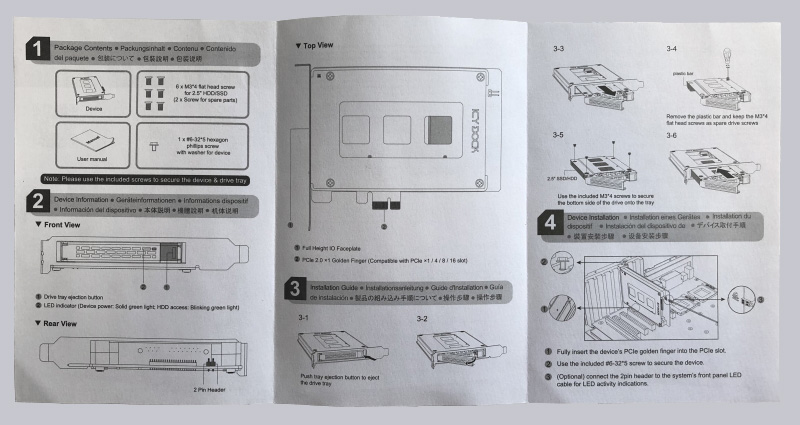
The installation is very easy, but we will have another look at the installation instructions.
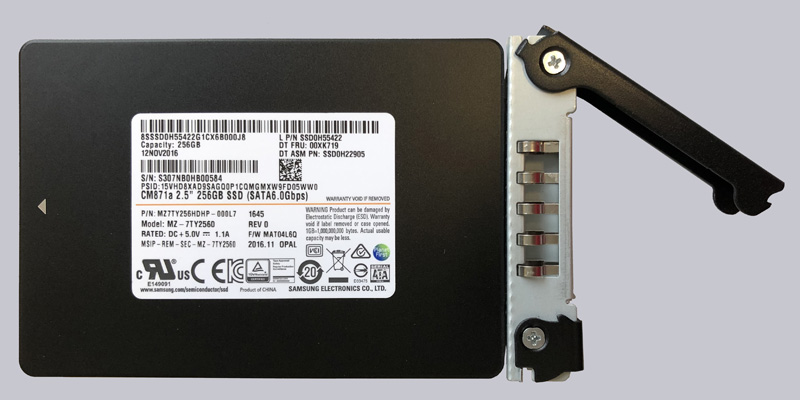
Of course, we’ll still show you in detail and with pictures how we equip the MB839SP-B with an SSD. We use a Samsung MZ-7TY2560 with 256GB capacity.
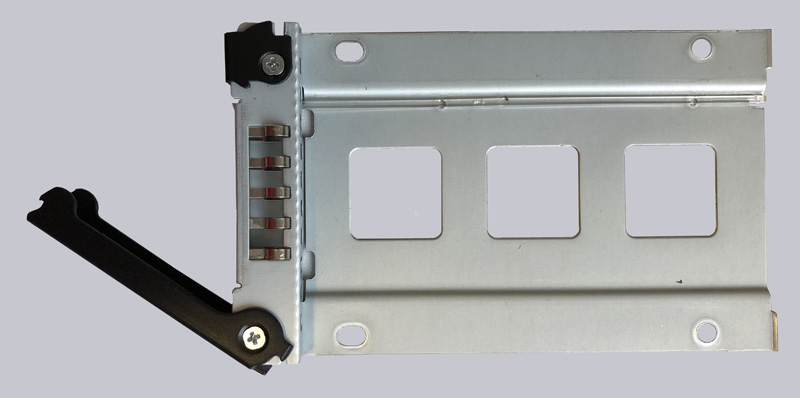
In order to mount the SSD, we first have to remove the black plastic protection. You can see it here on the right.
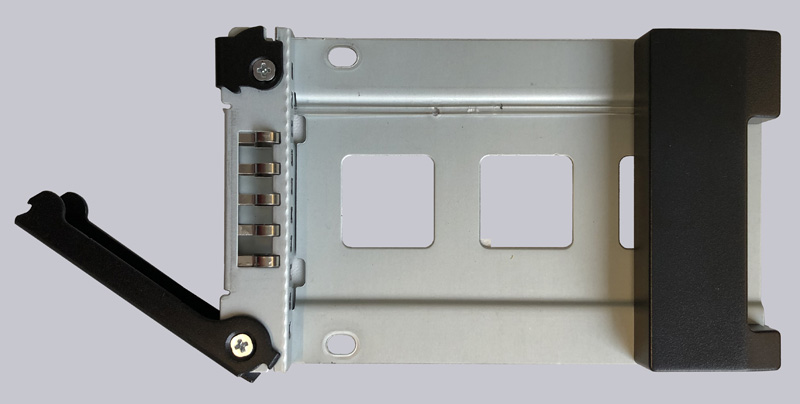
To do this, simply turn the holder around and remove the two screws (here on the right) under the plastic cover and put them aside.
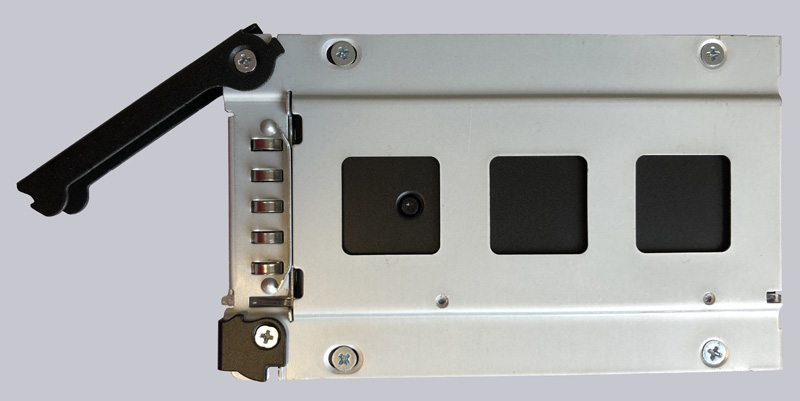
When you are finished with it, the mount should look like this.
Next, simply slide the SSD underneath and fix it with 4 screws.
Logically, it must be noted that the connection of the SSD (or HDD) naturally points in the insertion direction.
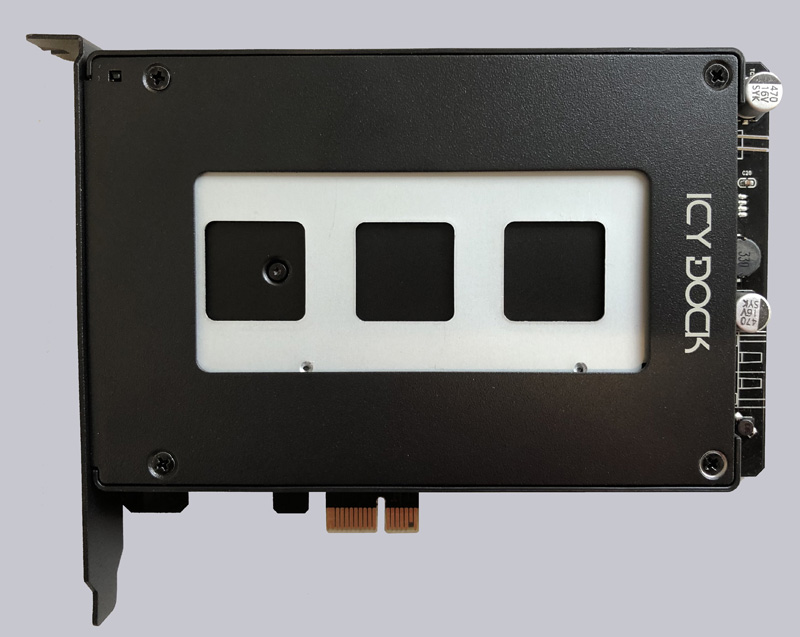
Finally the whole thing is pushed into the removable frame and locked. This is easy to do and feels neither wobbly nor choppy.

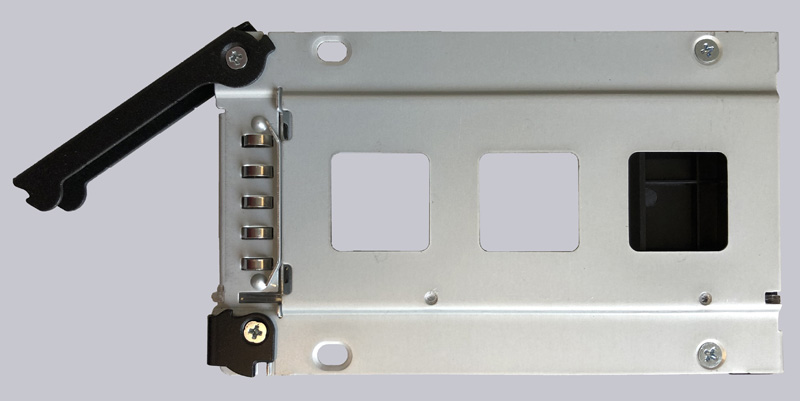
For the sake of completeness, let’s take a look at the other side before we turn to the benchmarks.
Finally, the removable frame has to be installed in the case, of course, and we’ll show the pictures later in the practical testing.
Let’s now see if the ToughArmor can also convince in practical testing.
Icy Dock ToughArmor MB839SP-B Practical testing …