
BIOS and Overclocking …
Get fast to the right UEFI settings …
BIOS and Overclocking
UEFI BIOS Update
ASRock E3V5 WS overclocking
ASRock E3V5 WS memory settings
ASRock E3V5 WS voltage settings
Overclock even easier
BIOS undervolting
Fan control
Energy consumption
BIOS and overclocking …
Let us continue with the BIOS / UEFI Setup options and the UEFI overclocking. By pressing F2 or Del during PC boot, you get access to the UEFI Setup.
The ASRock E3V5 WS UEFI BIOS has a graphical interface that allows intuitive operation with the mouse or can still be conventionally operated with a keyboard.
A great feature for beginners is the ASRock EZ Mode (Easy Mode), providing a clear start page with the most important information and still not seems overloaded. The ASRock EZ Mode page offers basic information such as time, date, CPU temperature, motherboard temperature, fan speeds and important details about the hardware.
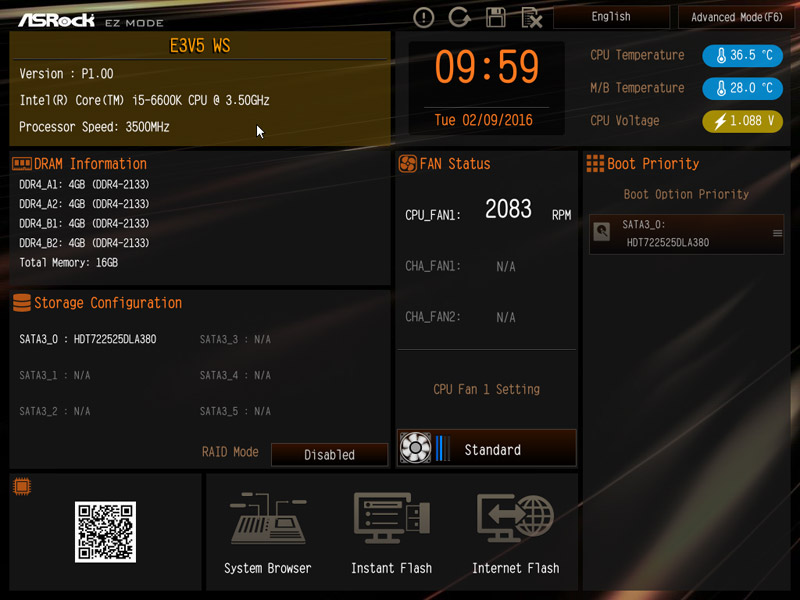
You also find a one click fan adjustment.
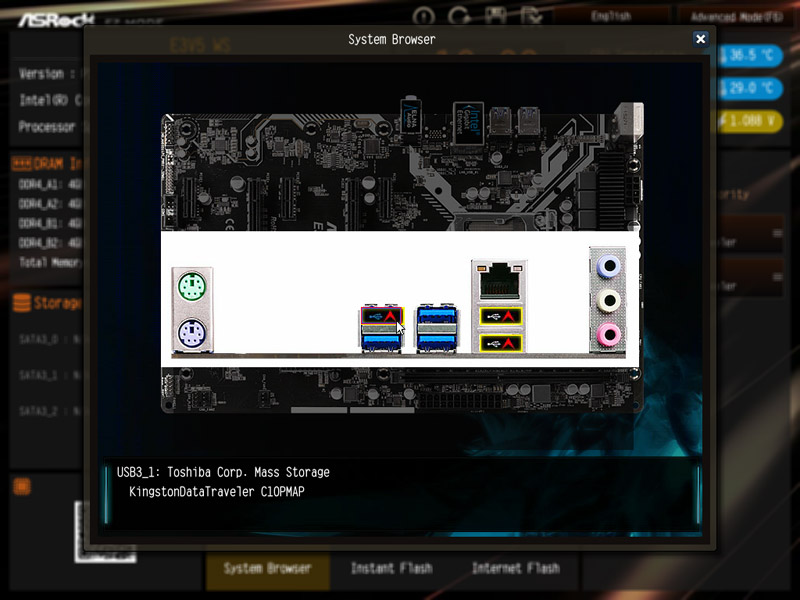
Who like to get more details about the installed hardware, can start the System Browser view, to view graphically the installed motherboard components.
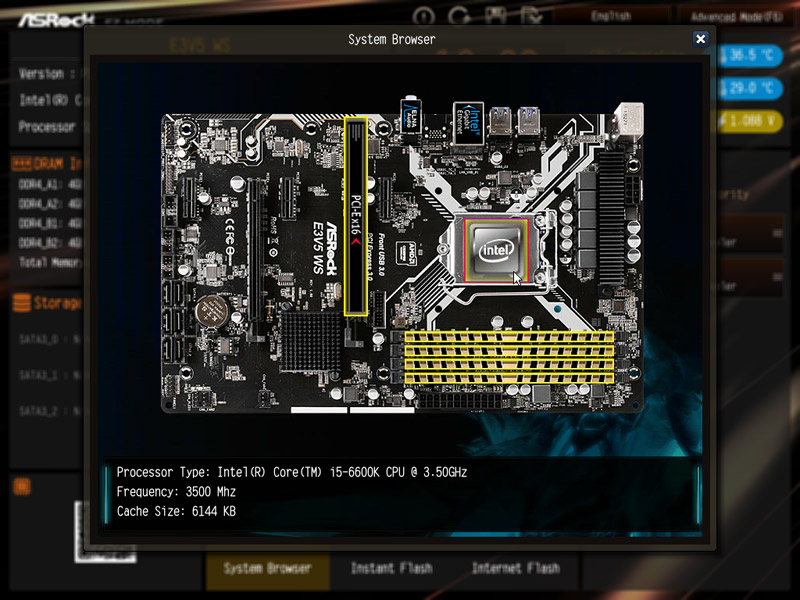
More information are available with a click on the component and with a click on the I/O panel you can see the installed devices of each port.
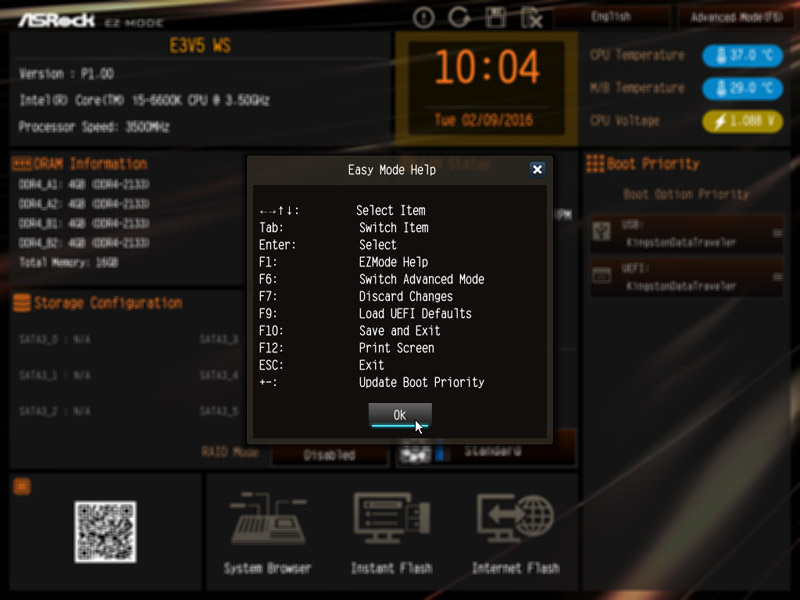
Some functions can be activated with keyboard shortcuts or using the F-key.
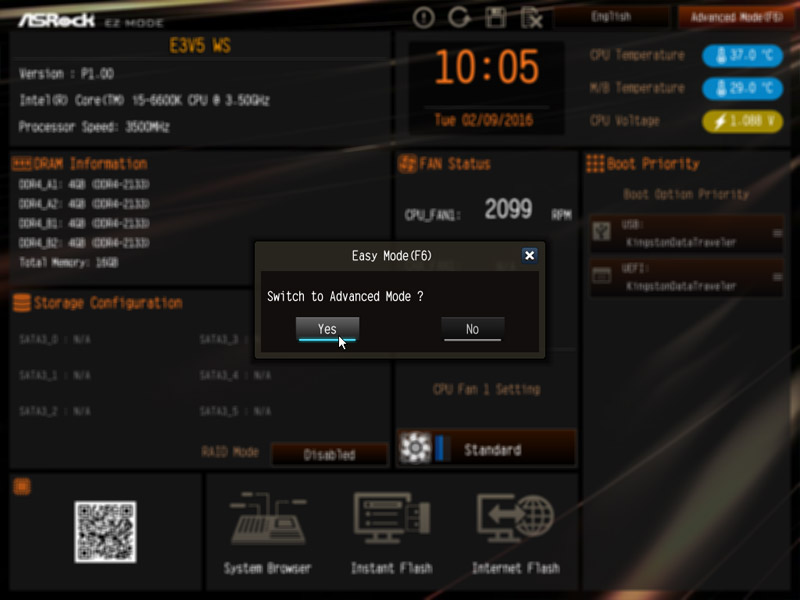
And with the F6 key you can get back to the ASRock advanced mode after a short confirmation, which you can also set as standard option – good job, we really like this feature !
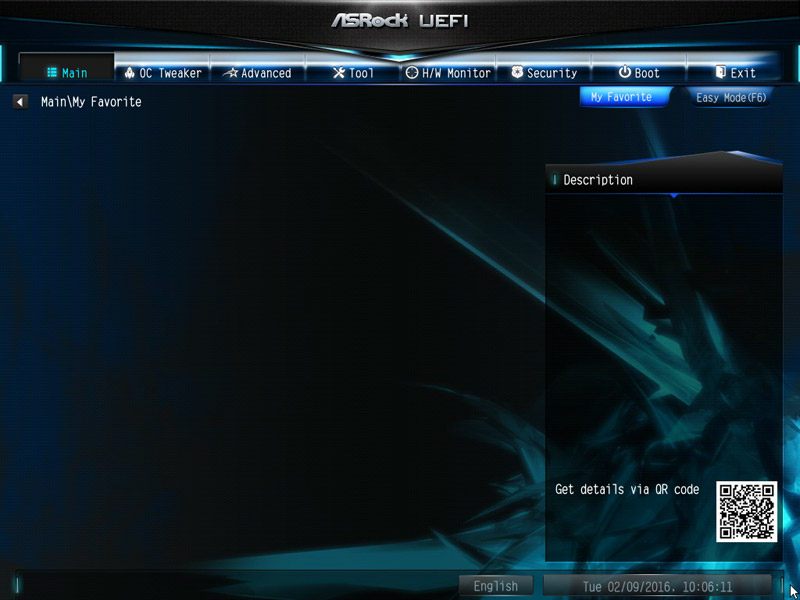
In Advanced Mode at the first screen you can see the UEFI version, a language selection, the Easy Mode button and the My Favorite menu item, the installed DDR4 memory and the CPU used – in our case at first the Intel Core i5-6600K CPU.

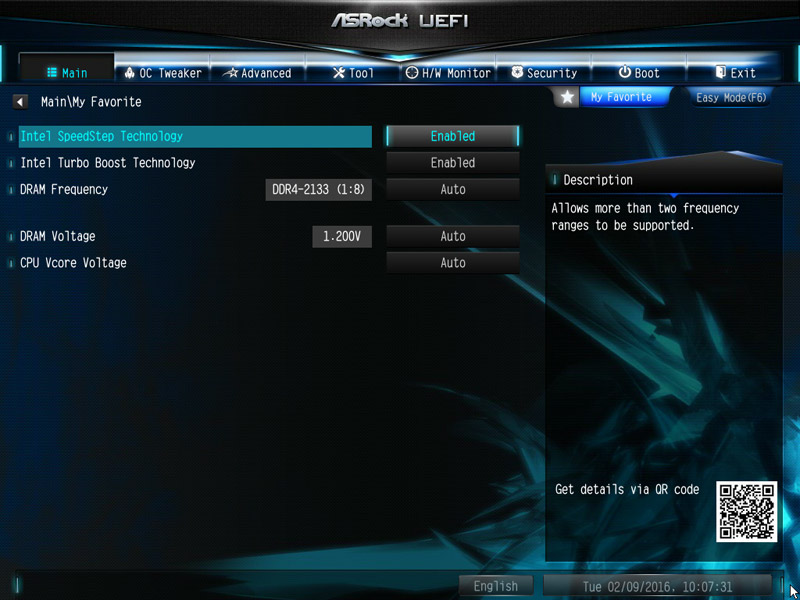
The My Favorite feature is very useful, because you can store often-needed menu items in the my favorite overview page. You start with a blank page – incidentally it’s also blank after a BIOS update.
By simply selecting the desired button and then press F5 …
… then the feature is contained in the My Favorite overview page.
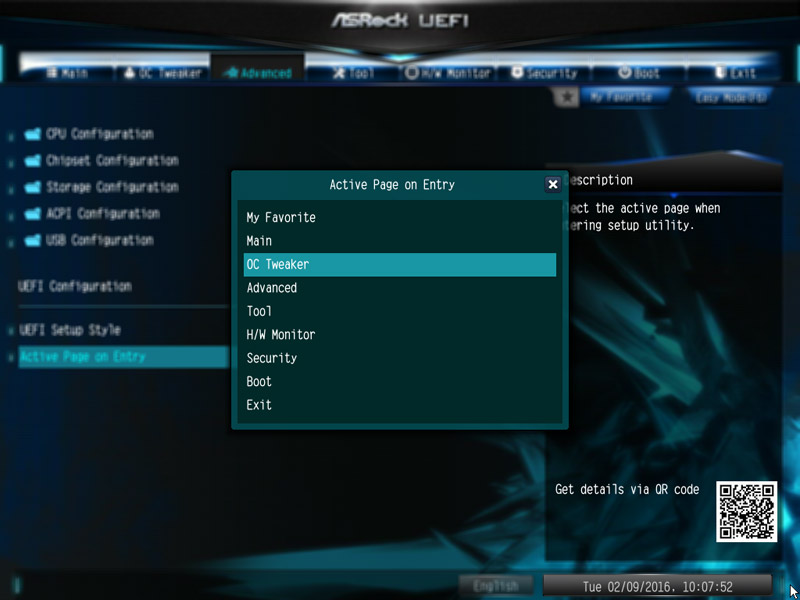
Of course, this C232 motherboard also has the UEFI Setup Style selection and offers the Active Page on Entry selection, where you can select which UEFI page you want to see when you enter the UEFI Setup. You could just add all necessary points to the My Favorite overview and start directly to this My Favorite overview page. At the ASRock Fatality E3V5 WS you find the Active Page on Entry option and the Full HD UEFI selection now in Advanced.
UEFI BIOS Update …
Before we begin with the UEFI settings, we first update the UEFI BIOS to the latest version. To flash UEFI update ASRock offers some possibilities, e.g. the very simple Instant Flash or the ASRock Internet Flash with a direct connection to the Internet.
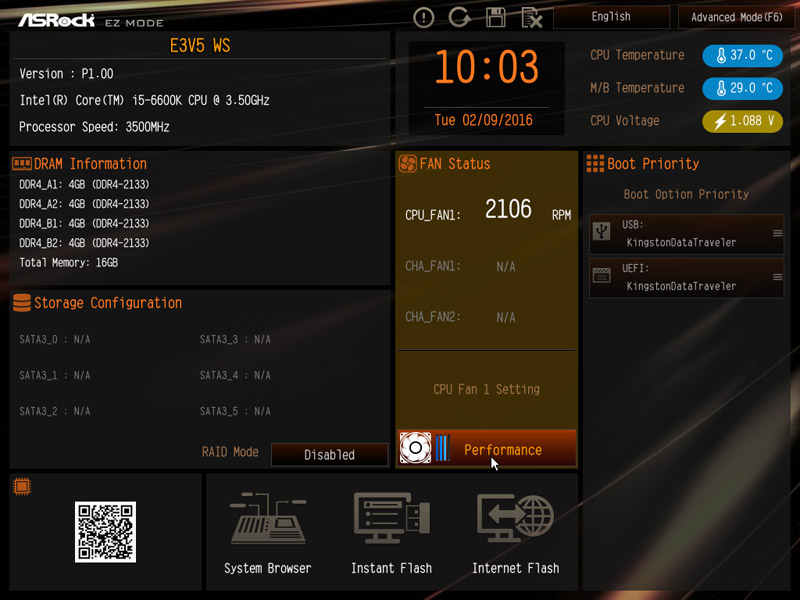
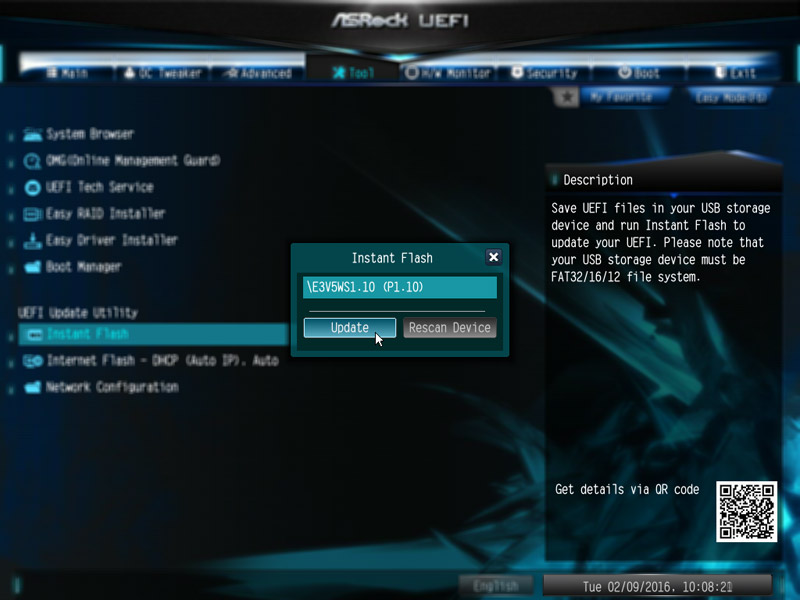
By the so-called ASRock Instant Flash option in the tool screen or via F6 during PC start you get into the ASRock Instant Flash utility. Or you can, as shown in the next image, start Instant Flash over the previously mentioned EZ Mode page.
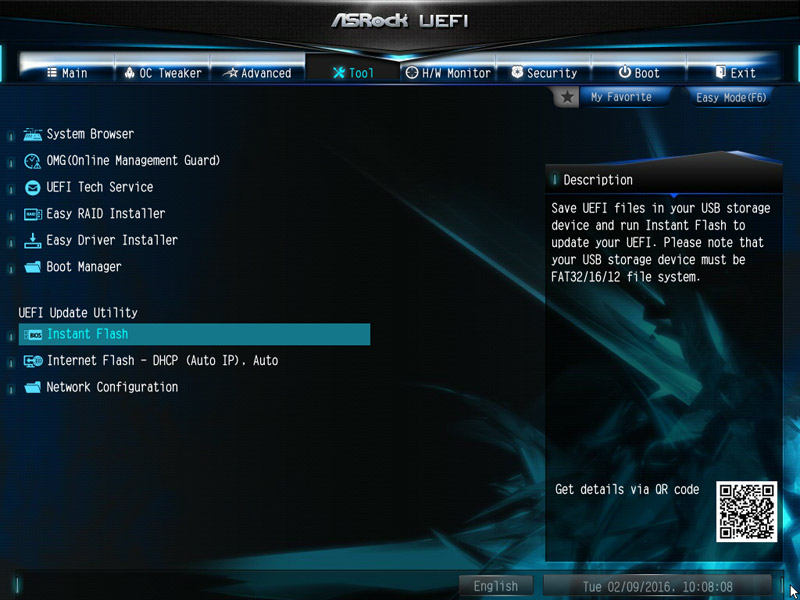
Now you can easily flash a previously downloaded ASRock BIOS without a boot CD or similar by simply starting the ASRock Instant Flash utility. Just select the BIOS Flash ROM from the desired drive, like an USB stick and even without a boot medium it is flashed and available after a restart. The board is supplied with the BIOS P1.00. At testing date, the UEFI BIOS version P1.10 was available as latest download, which we updated of course immediately.
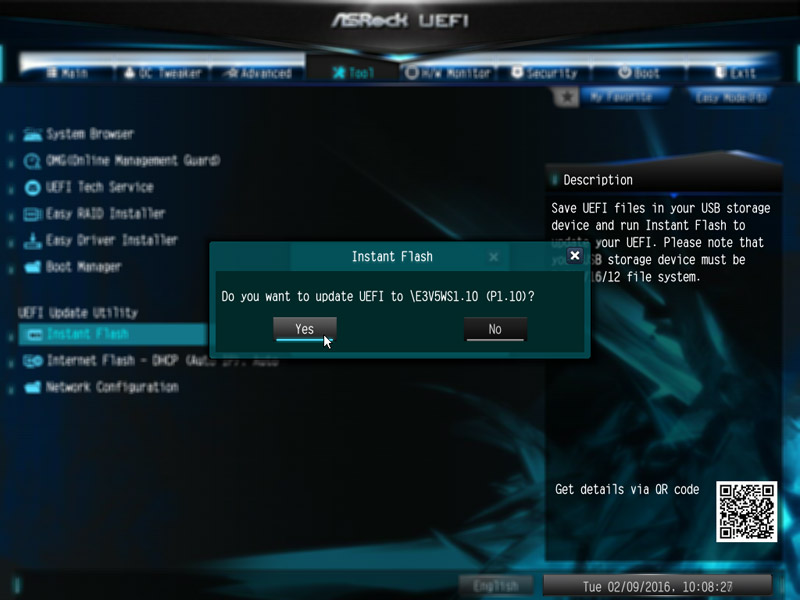
Now you confirm the UEFI update.
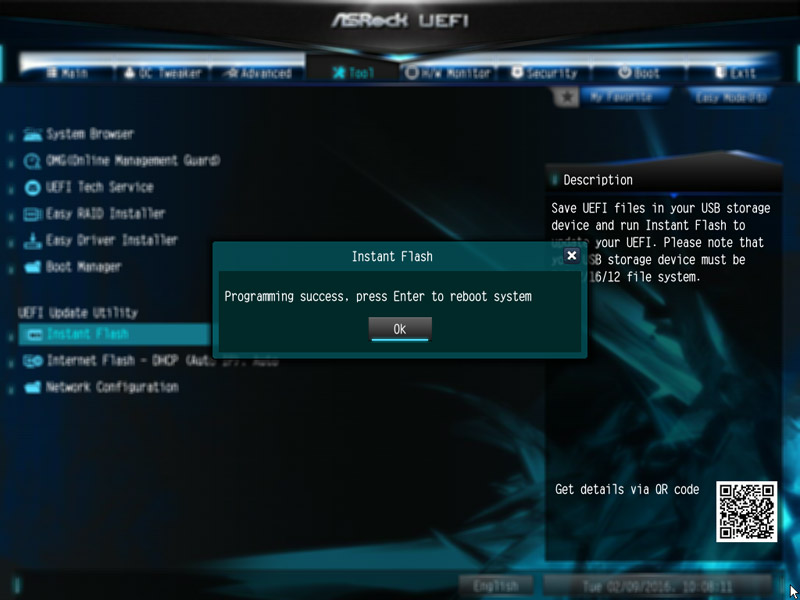
And already the new UEFI will be installed.
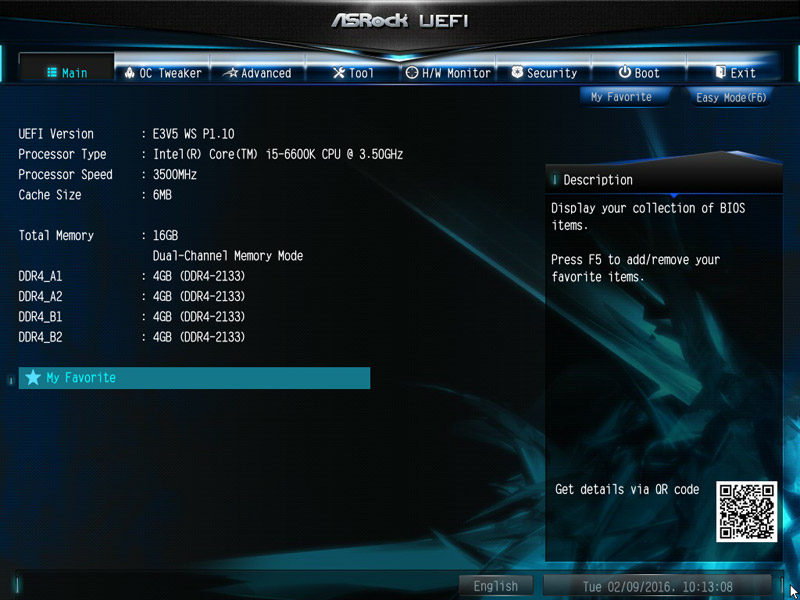
The new UEFI version is available after a restart and can be checked on the entry page. Here you can see the new P1.10 UEFI with the Intel Core i5-6600K CPU.
And here you can see the new P1.10 UEFI used with the Intel E3-1230 v5 Xeon CPU with 8 MB cache.

If you need technical UEFI support, you can now even contact the ASRock Tech Service over the UEFI setup and a network connection.

On the tool page you can also find the ASRock System Browser with details of the current hardware, which could in our view, also be shown as a thumbnail view in the startup menu.

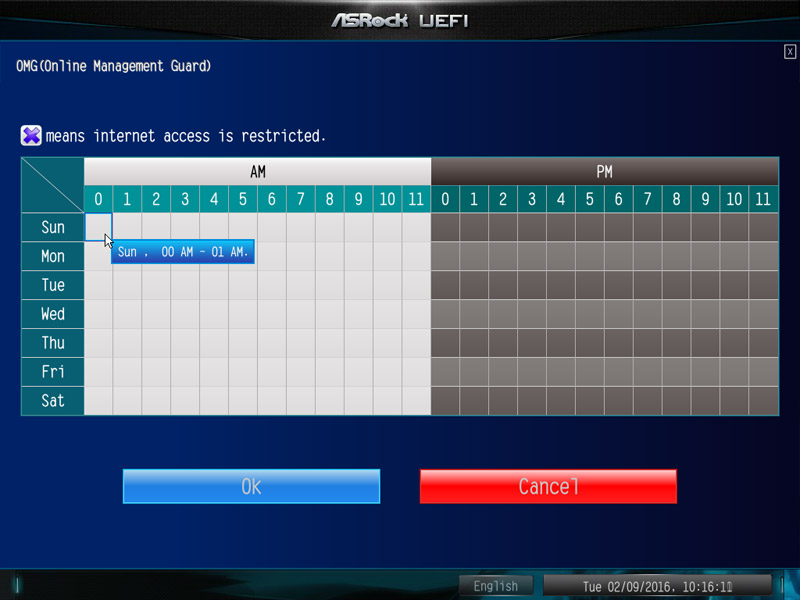
In addition, there is also the OMG – Online Management Guard, with which you can define the times and days for the Internet access. This is for example useful for parents who like to specify a fixed Internet time for their children and want to block access with a password secure in UEFI BIOS, or for companies that allow Internet access for their employees only during lunch or after regular working hours.
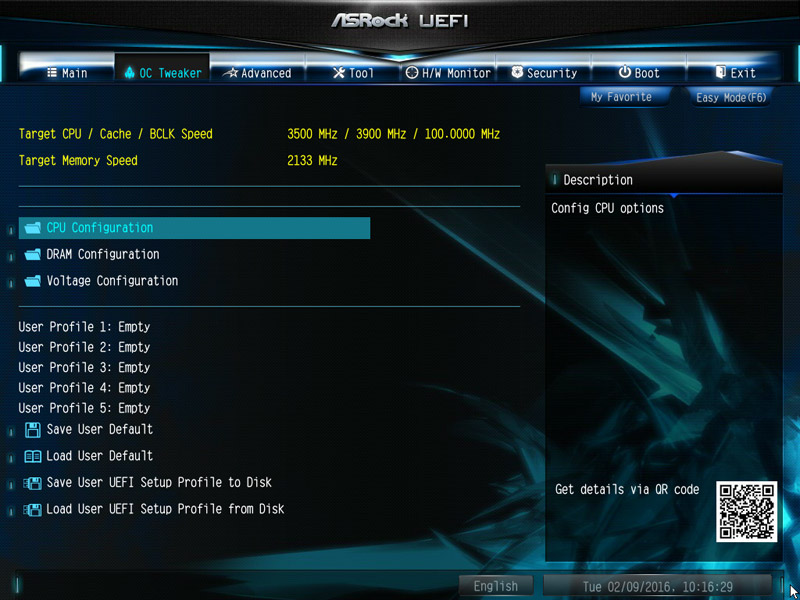
ASRock E3V5 WS overclocking …
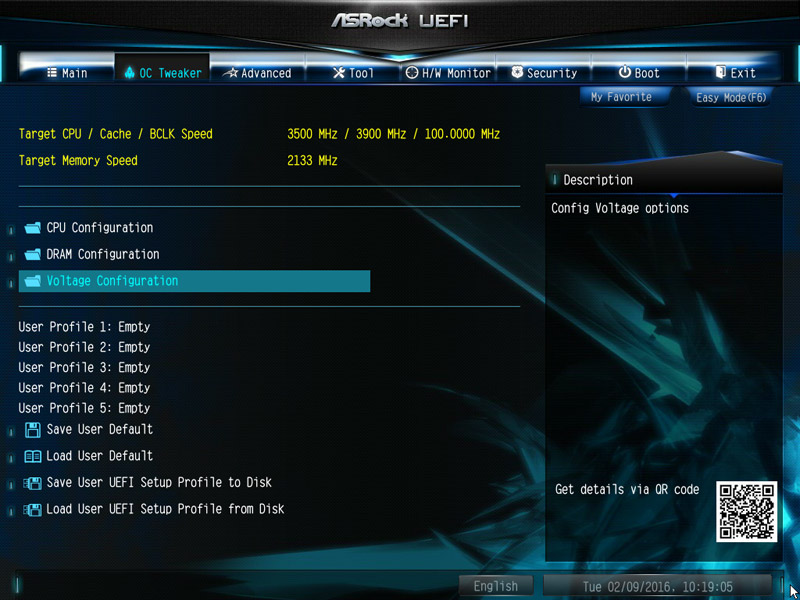
ASRock split the settings in CPU Configuration, DRAM Configuration and Voltage Configuration.
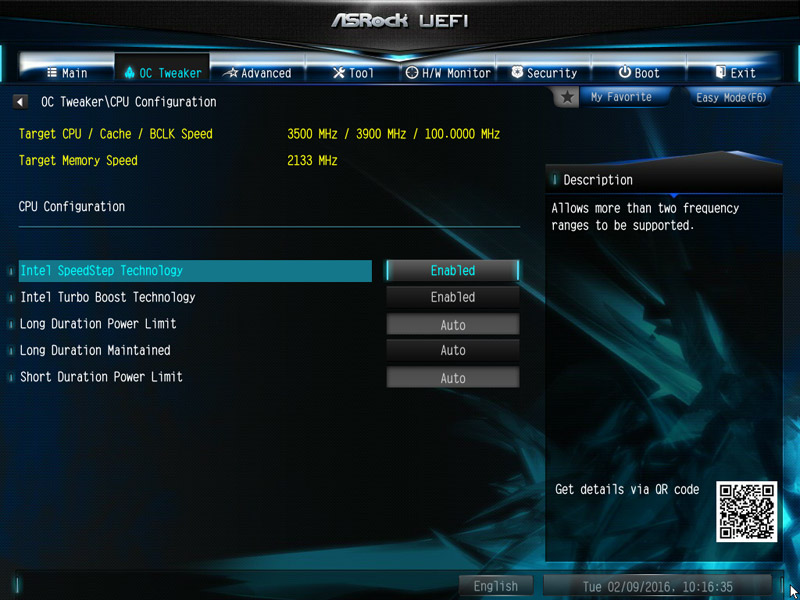
A look at the options under CPU configuration can however not augur well, because in the E3V5 WS UEFI setup, there are unfortunately almost no Intel LGA1151 overclocking settings. There are no settings for the BCLK and no settings to increase the CPU multi. So you cannot overclock the C232 combo motherboard over the base clock – short BCLK, nor by the multi. So we could even not increase the CPU frequency of our Intel Skylake “K” CPU with unlocked multiplier over the CPU multiplier. Only the Turbo activation is available.
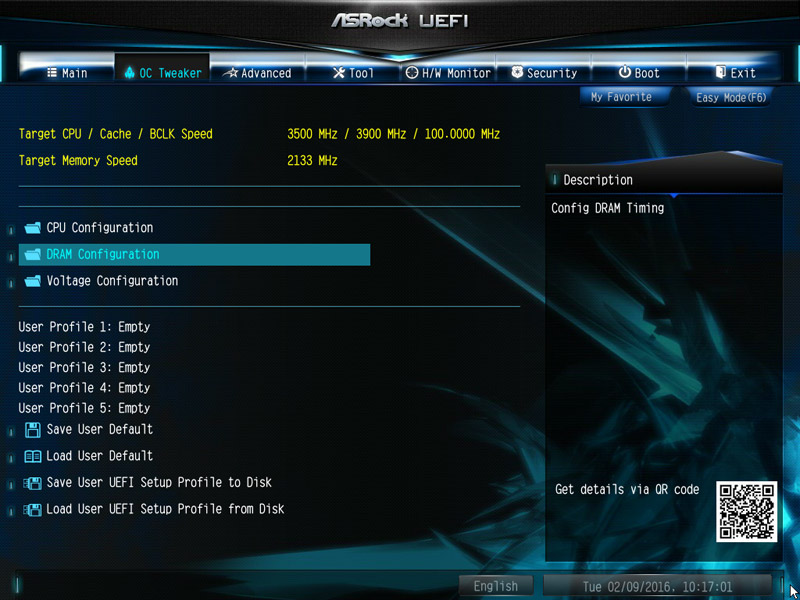
ASRock E3V5 WS memory settings …
Let us continue with the DRAM Configuration.
In the DRAM Configuration Menu is an option to change the DDR4 reference clock to 100 MHz or 133 MHz.
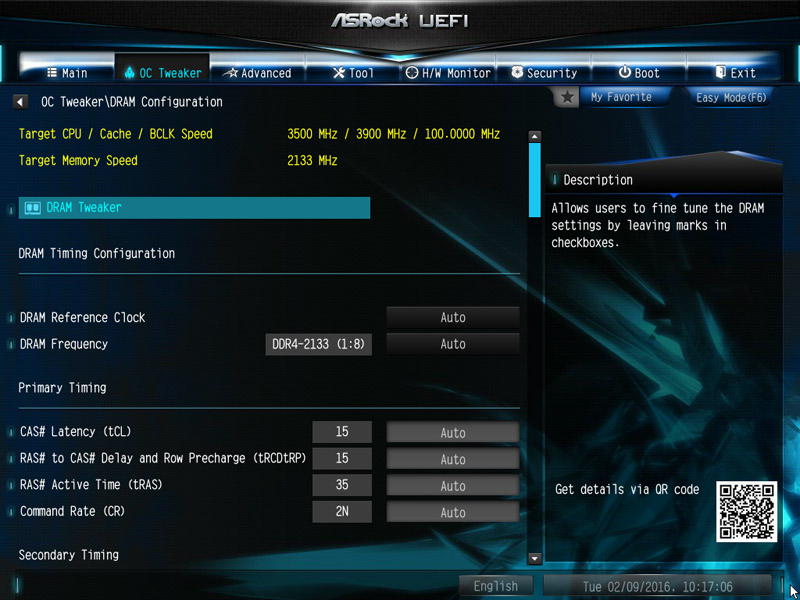
For the DDR4 memory settings one can change the memory speed from DDR4-800 up to DDR4-2133.

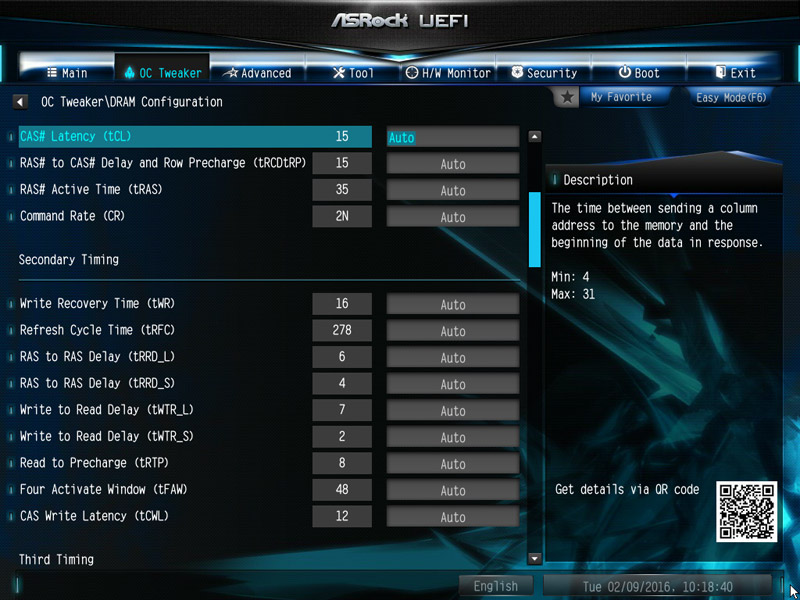
Higher clock rates are with the default BCLK frequency of 100 MHz not possible and a manual BCLK boost (see Intel OC guide) is unfortunately on the C232 chipset (yet?) not supported. But fortunately you can adjust at least all DDR4 timings manually, obtaining so a little more performance from your memory modules.
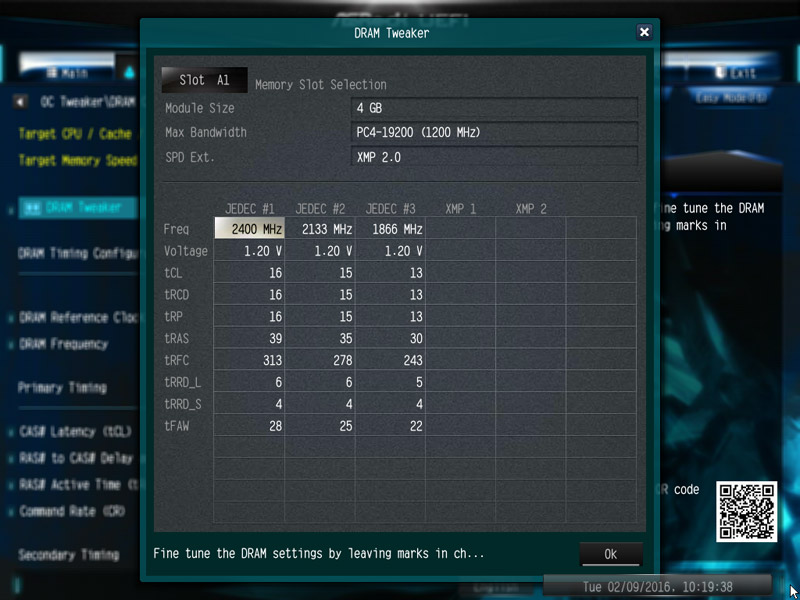
In addition offers the ASRock E3V5 WS a clear DRAM Tweaker menu with direct selection of all memory values.
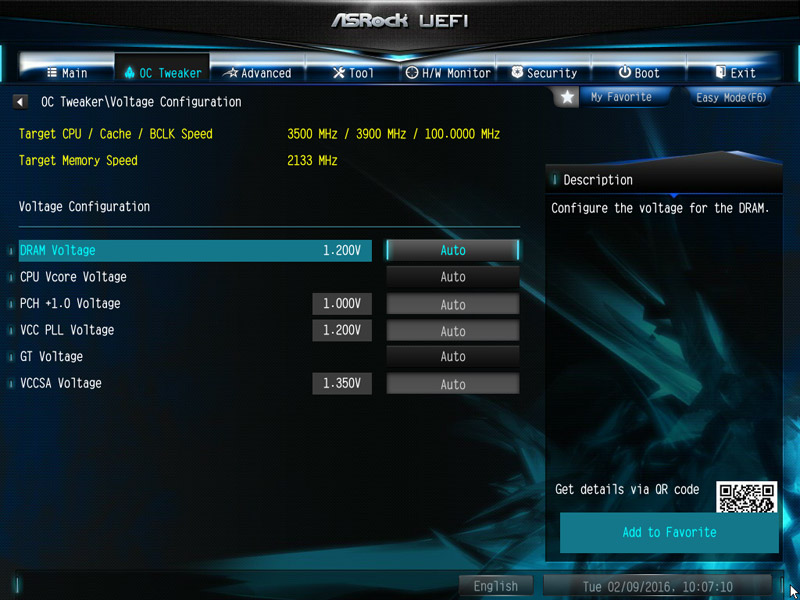
ASRock E3V5 WS voltage settings …
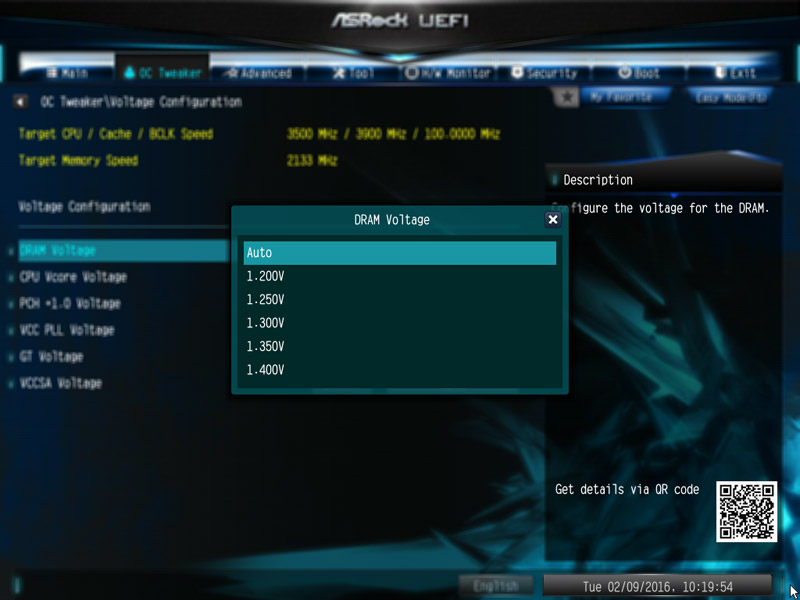
Now we come to the voltage settings that can be adjusted in the UEFI.
The motherboard has basic voltage settings, such as, for example, changing the memory voltage between 1.200 and 1.400 volts.
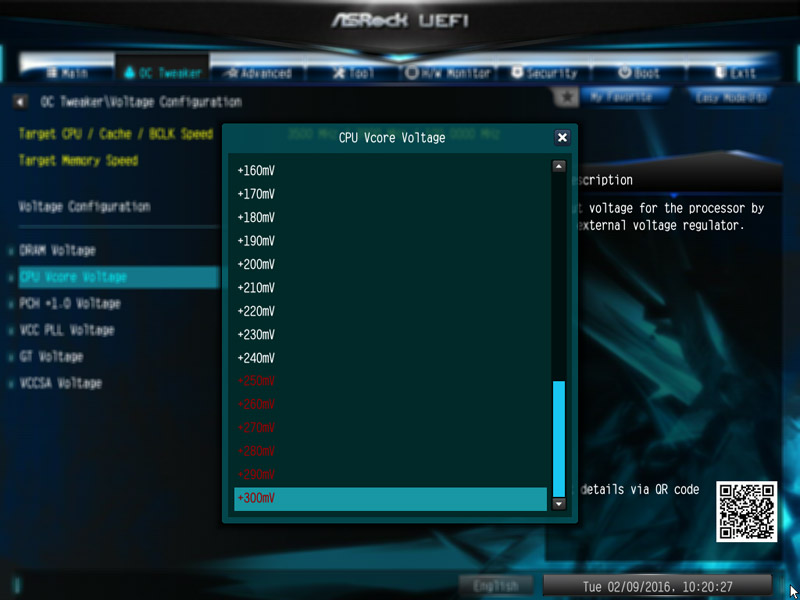
With the Intel Core i5-6600K Test CPU we could change the VCore between -0.100 volts and +0.300 voltage offset.
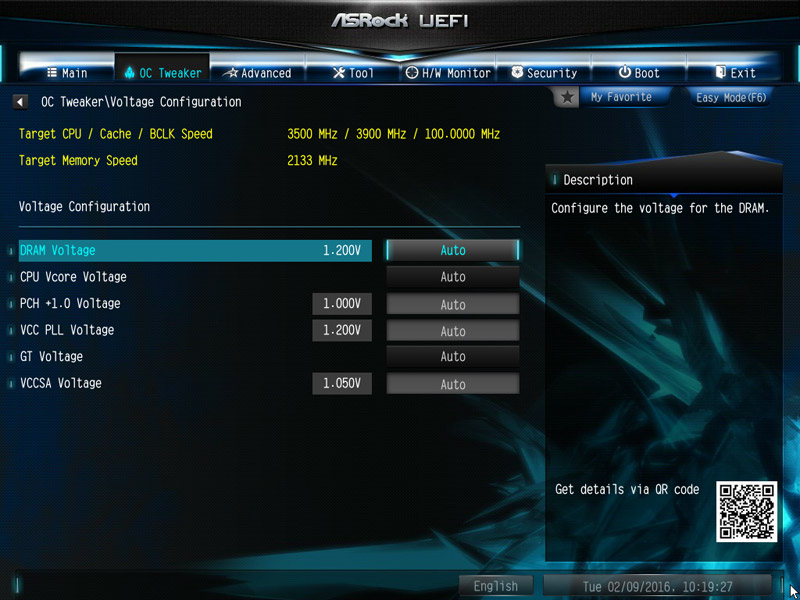
Additionally the motherboard has voltage settings for GT -0.100 to +0.300 volts offset, PCH +1.0 Voltage (Chipset) 0.900 to 1.250 volts, VCCPLL Voltage 1.100 to 1.300 volts, VCCSA Voltage (System Agent Voltage) 0.950 to 1.350 volts, Short Duration Power Limit, Long Duration Power Limit and Long Duration Maintained.
Here you can see all values for voltage configuration:
Overclock even easier …
Usually, at this point would be the OC settings to Load Optimized CPU, but because the Intel C232 currently unfortunately no settings for BCLK nor unlocked multi, we can left this part.
Nevertheless you can save up to five different BIOS settings with names in the UEFI under OC Tweaker, to load these settings later.
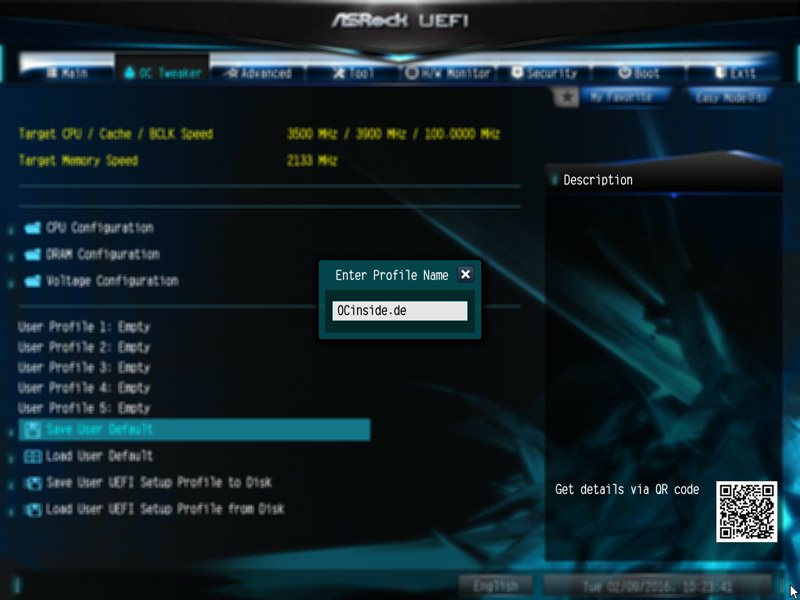
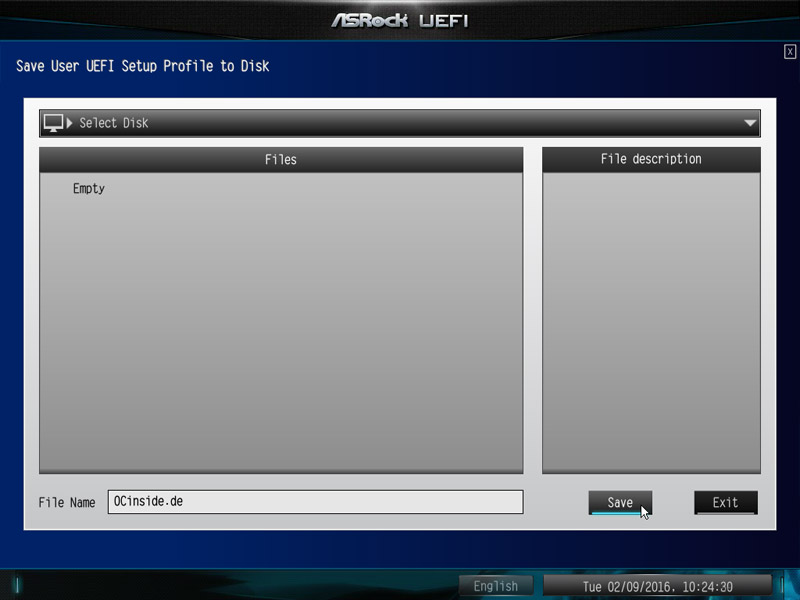
Also interesting is the “Save User UEFI Setup Profile to Disk” option.
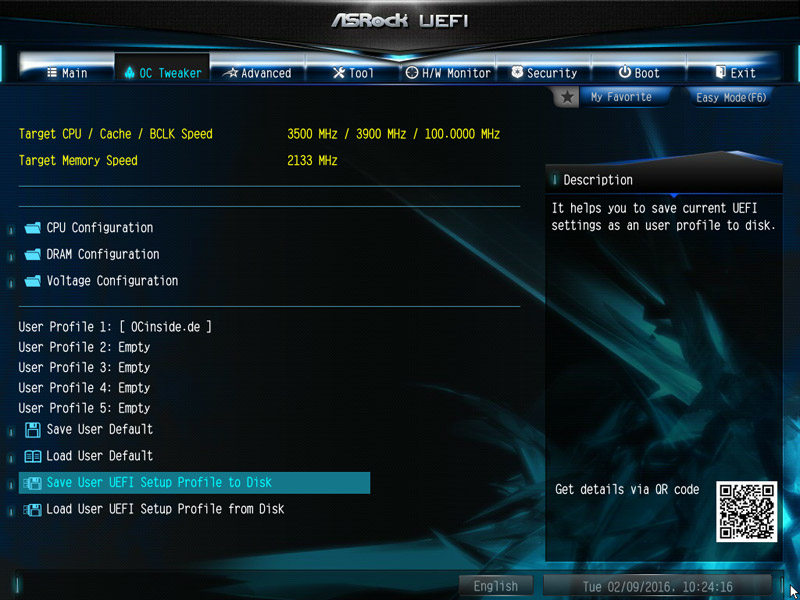
Just click and save your own UEFI settings on the hard drive or on an USB stick.
BIOS Undervolting …
The underclocking was also tested again in this review. Unfortunately you could not set a lower multi by the BIOS, neither with the Intel Xeon E3-1230 v5 CPU, nor with the Intel Core i5-6600K CPU.
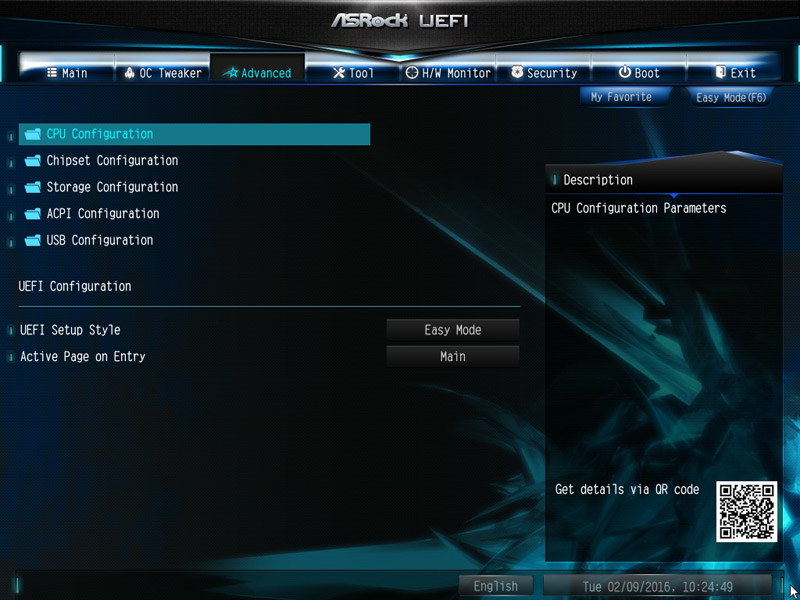
But the E3V5 WS offers much more UEFI settings, there are still the CPU, Chipset, Storage, ACPI and USB Configuration to select from.
Tip:
A tip if the USB keyboard and/or USB mouse does not work in Windows 7, because no driver has been installed: ASRock provides in the USB Configuration a PS/2 Simulator selection, which can be activated easily, and afterwards you can use the keyboard and mouse in Windows. Or start the Windows 7 USB Patcher to directly integrate the corresponding Intel USB 3.0 eXtensible host controller – short xHCI drivers in the Windows 7 ISO file.
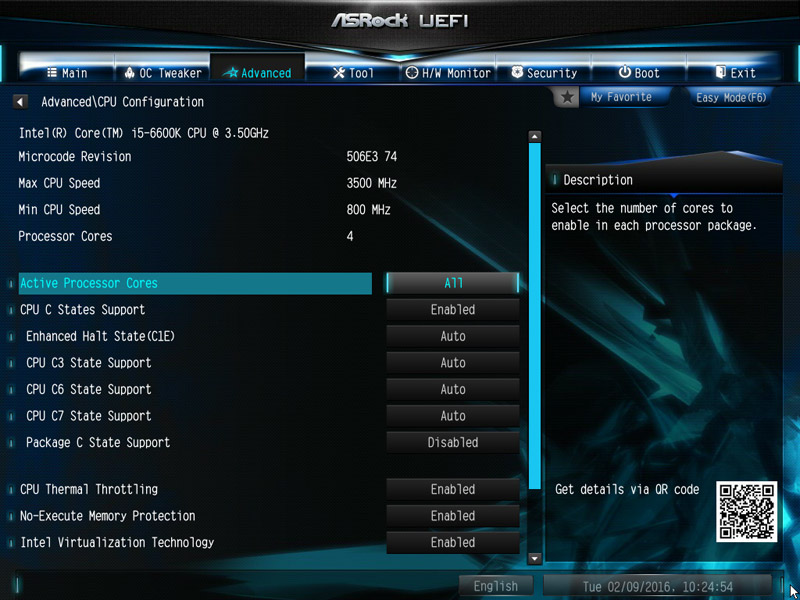
Who like to save power with Intel Core i5, i7 or Intel Xeon PC, should also go through the settings in CPU Configuration menu below Advanced.
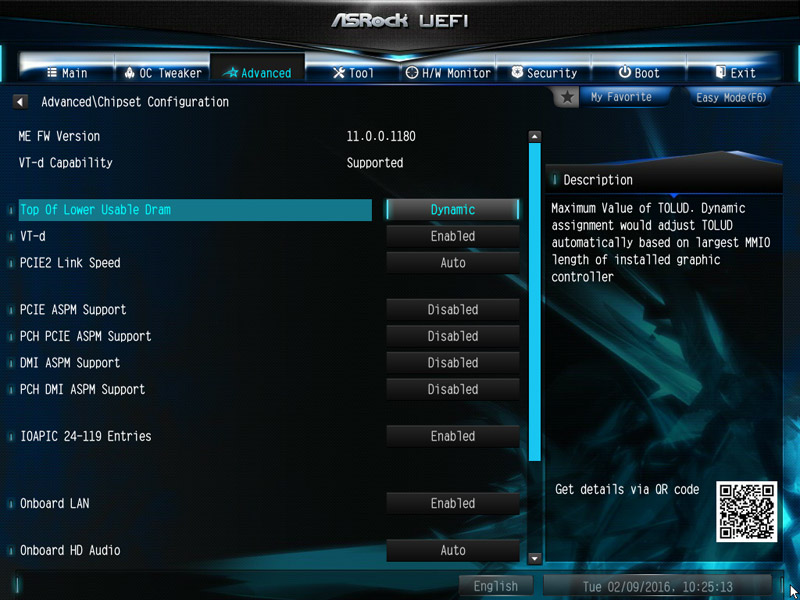
Other settings can be found in the Advanced Chipset Configuration Menu.
Fan control …
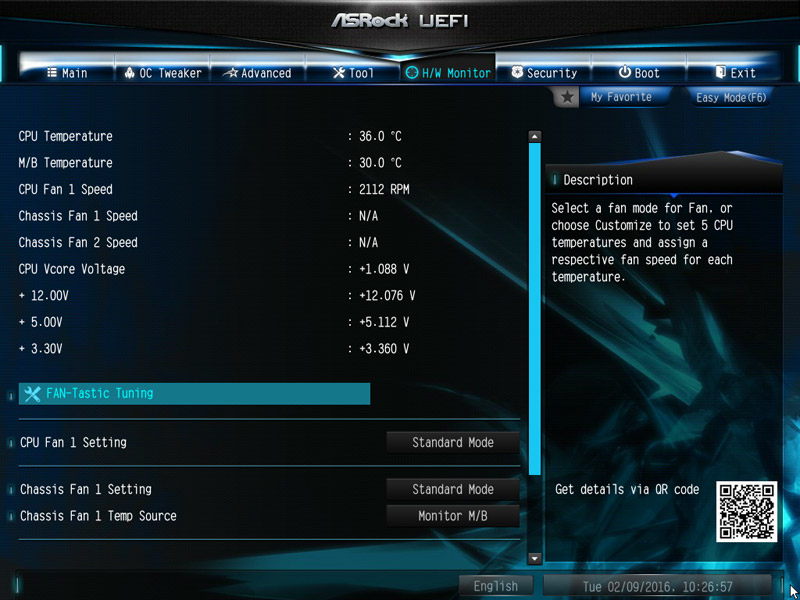
The UEFI setup of the passively cooled E3V5 WS motherboard has an extensive, temperature-controlled fan controller for the 4-pin CPU Fan 1, 4-pin Chassis Fan 1 and 4-pin Chassis Fan 2.
The integrated fan controller settings can be found in the H/W monitor directly below the display of temperature and voltage values.
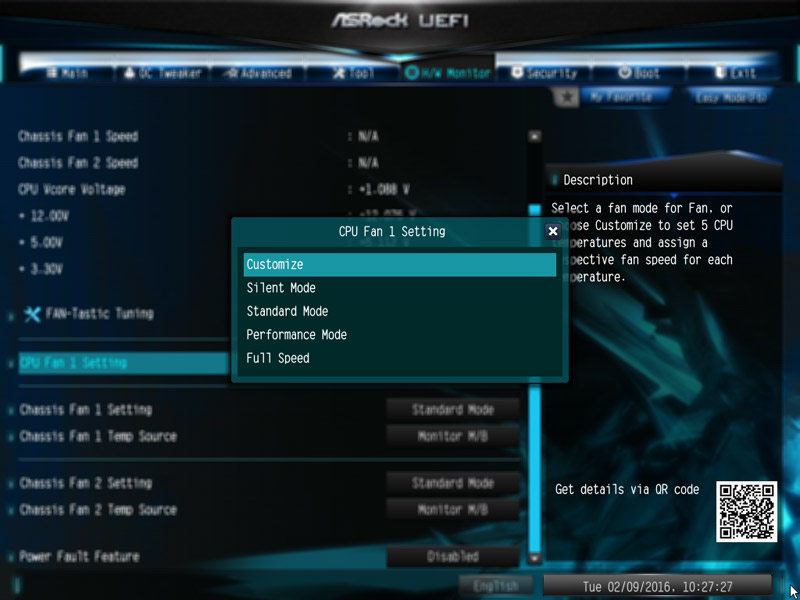
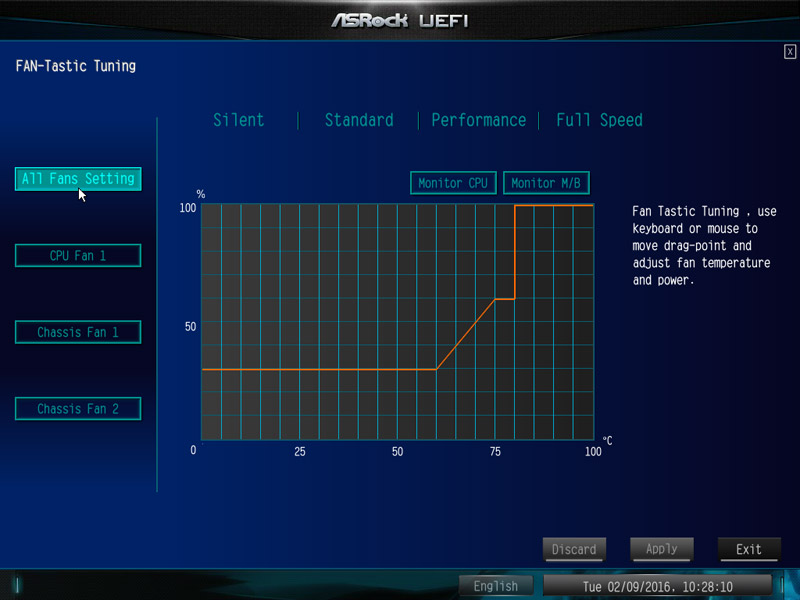
In the fan control you have the choice between Customize, Silent, Standard, Performance and Full Speed.
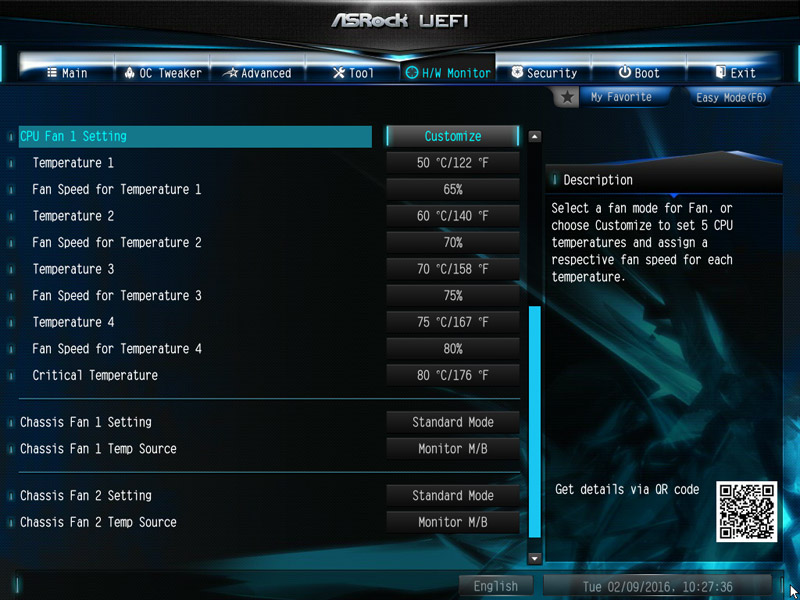
In Customize mode several temperature steps are available, where you can assign a particular fan speed.
Since the announcement of X99 motherboards, ASRock has even implemented a graphical interface in the UEFI setup for controlling the fans. You can find the FAN-Tastic Tuning menu also in the H/W monitor and thus can make all the settings very clearly. Simply select the respective fan connector on the left and select the mode on the right side – e.g. Performance.
In Customize mode you can even set all the values directly in the chart and save them.
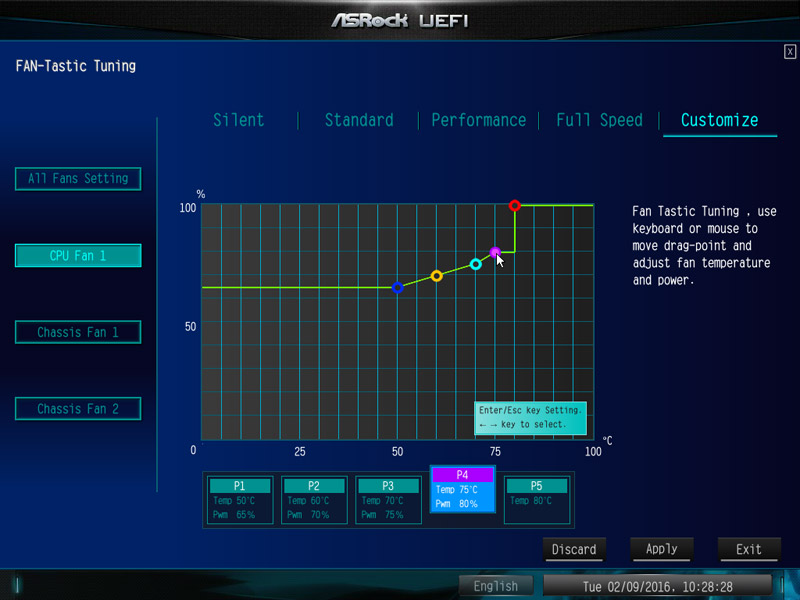
Regarding the Chassis Fan connectors you can select which source you want to use for temperature measurement – monitor CPU sensor or monitor motherboard sensor. Then just click Apply or exit the menu and save the values.

You can usually get along without an expensive Fan Controller, because the fans are controlled with this fan control based on the CPU or the motherboard temperature.
Energy consumption …
The PC power consumption will vary depending on hardware and PC load. The power consumption of the test PC with 4x 4GB DDR4 RAM, hard drive and Cooler Master Silent Pro M 600W PSU was without overclocking depending on load at the following consumption:
– With MSI Radeon R9 280 graphics card and Intel Core i5-6600K LGA1151 CPU the entire Intel C232 PC Power Consumption was 44.3W idle and 253.3 Watt at full load.
– With MSI Radeon R9 280 graphics card and Intel Xeon E3-1230 v5 LGA1151 CPU the entire Intel C232 PC Power Consumption was 46.2W idle and 256.4 Watt at full load.
An ASRock Z170 Extreme6 motherboard with an Intel Core i5-6600K LGA1151 CPU and 4x 4GB DDR4 memory had the following power consumption:
– With MSI Radeon R9 280 graphics card the entire power consumption was 50.5W idle and full load 259.1W.
– With integrated Intel HD Graphics GPU 530 the total consumption was 36.0W idle and 70.7 Watt at full load.
An ASRock X99 Extreme6 motherboard with an Intel Core i7-5930K LGA2011-3 CPU had the following power consumption:
– With MSI Radeon R9 280 between 60.5W idle and 290.4W load.
An ASRock Z97 Extreme6 motherboard with an Intel Core i5-4670K CPU had the following power consumption:
– With MSI Radeon R9 280 between 53.1W idle and 270.7W load.
– With Sapphire HD6870 graphics card the entire power consumption was 55.8W idle and 219.5W full load.
– With integrated Intel HD Graphics 4600 GPU the total consumption was 33.5W idle and 94.5 Watt full load.
An ASRock Fatal1ty FM2A88X+ Killer motherboard with an AMD A10-7850K Kaveri APU had the following PC energy consumption:
– With Sapphire HD6870 between 56.3W idle and 233.5 Watt full load.
– With internal AMD Radeon R7 GPU between 30.2W idle and 118.8 Watt full load.
An ASRock FM2A85X-ITX motherboard with an AMD A10-5800K Trinity APU had the following power consumption:
– With Sapphire HD6870 graphics card from 52.9W to 221.0 Watt.
– With internal AMD Radeon HD7660D GPU 29.4W idle and 120.4 Watt full load.
ASRock E3V5 WS Result and general impression …