
Installation …
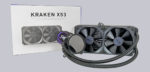
The installation is easy, also thanks to the well-illustrated operating instructions. Only the font is a bit small.
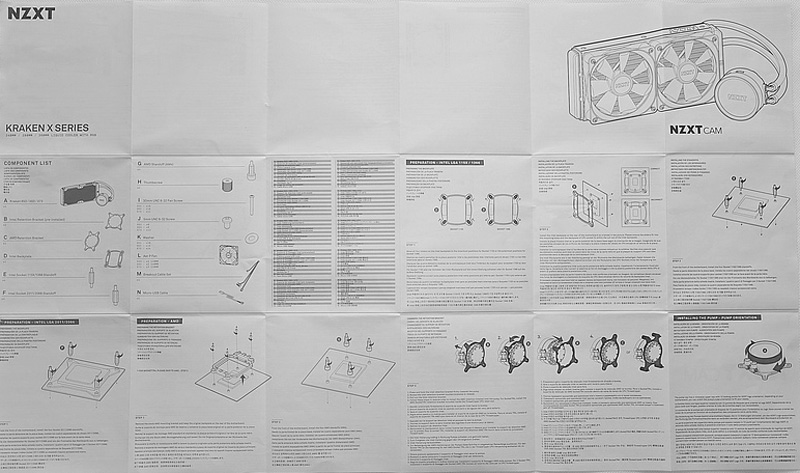
The installation is enormously simplified by the original AMD Backplate. For an Intel CPU mounting an extra backplate is included in the delivery. On the pump are the connection for the versatile connection cable, pump-fan plug (to read out the rpm), SATA power connection and a special Lightning Controller connection are combined on one plug. This connector controls the all in one water cooling. However, on the X models the fans must be connected directly on the board. A Y-cable is not included.
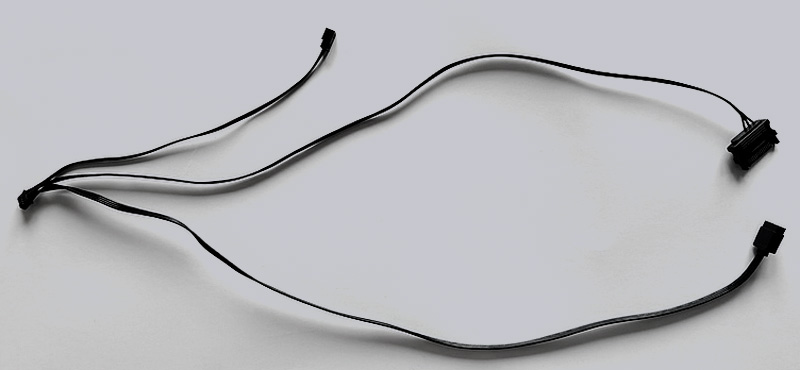
The supplied Micro-USB post socket cable is used to connect the pump unit. The pump unit is then controlled by CAM software. But also here the cable is a little bit short and for Full ATX mainboards very tight.
A disadvantage is the pre-applied heat-conducting paste, which does not forgive any installation mistakes, as NZXT unfortunately does not supply any additional heat-conducting paste.

When mounting the NZXT Kraken X53, you do not have to pay attention to the correct position of the display, as it can be rotated in 12 steps. The arrangement of the tube can therefore be adapted to the conditions of the motherboard. The tubes should be aligned upwards or sideways if possible and should be placed over the radiator if possible to transport possible air out of the pump.
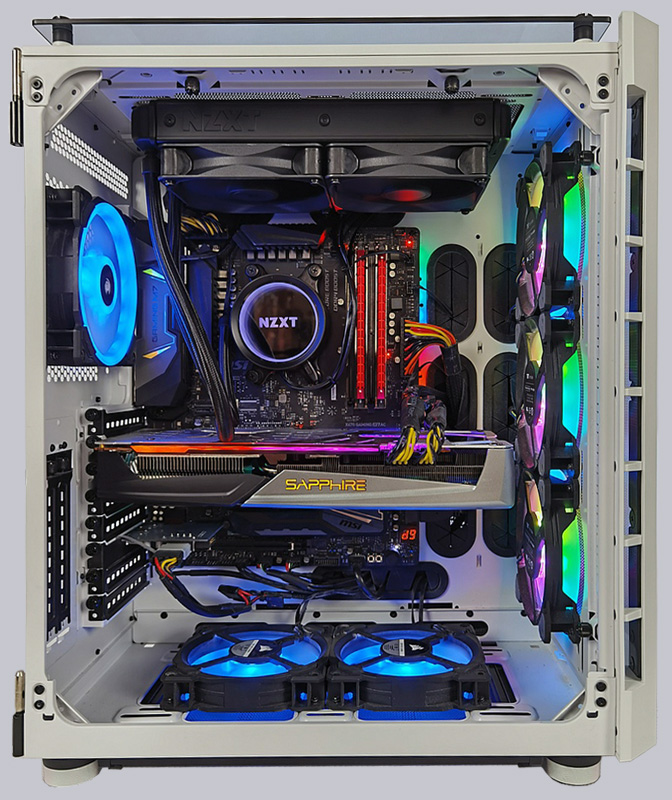
Once installed, it looks like this.
Introduction to the NZXT CAM Software …