
Practical testing …
After a lot of theory we finally come to the exciting practical testing. The HDD carriages worked very well, so that the HDDs were simply inserted …
… and then the slide could be clipped together. The HDD is already ready for installation.
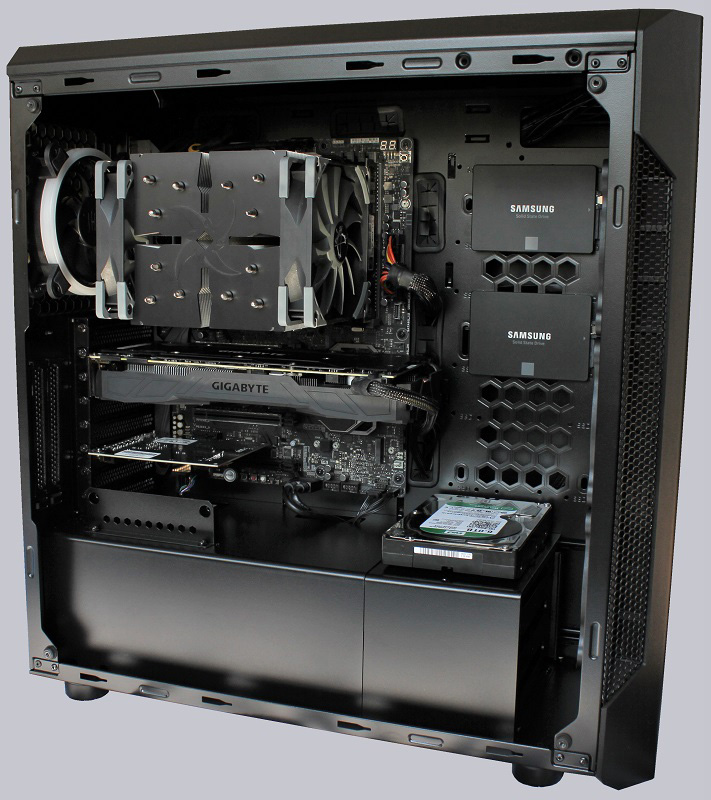
Since we use three HDDs, the third had to be installed in the front interior, for which rubber elements were previously mounted.
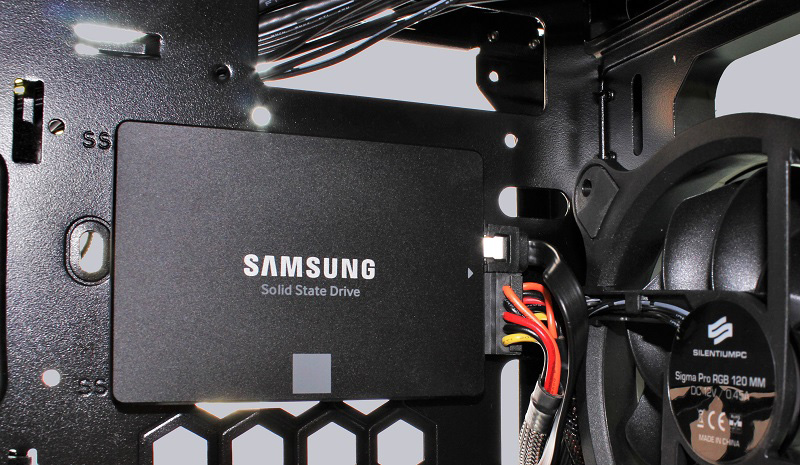
This also works pleasantly simple and even looks pretty chic together with the side-mounted SSDs.
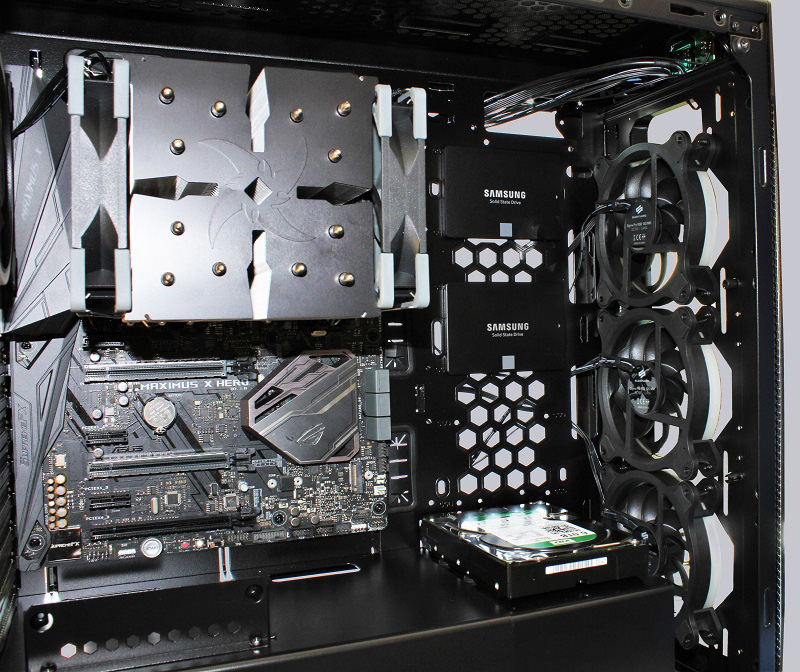
While wiring we noticed, however, that the SSDs either needed a little distance to the case or a recess was necessary at the connection points, because it was difficult to use such two SATA power plugs from the same string. We finally had to make do with washers.
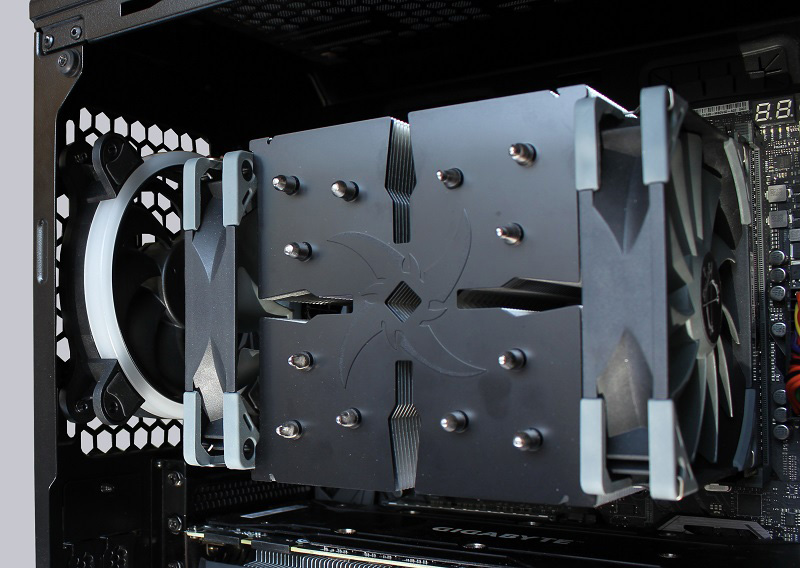
Large air coolers such as the Scythe Ninja 5 are no problem for the SilentiumPC AR7X TG RGB. A luxury problem could only be that the rear 120mm RGB fan is no longer optimally visible. Here you could simply “get along” with two more SilentiumPC RGB fans for the Scythe Ninja 5 😉
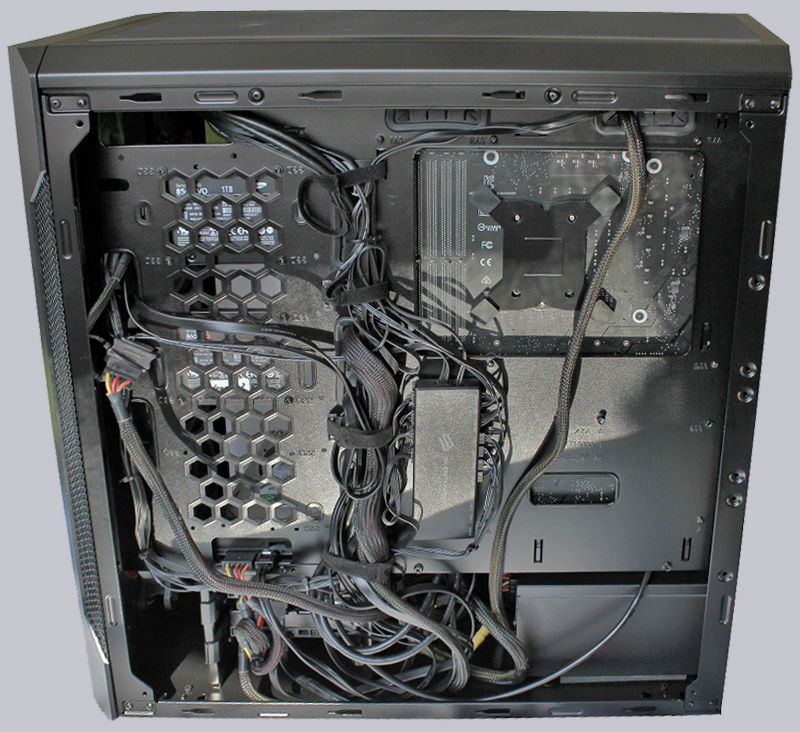
With a little patience you can also manage the cable management to some extent. Fortunately, the side wall in front of it comes at the end 😉
The rest of the installation went smoothly, so that the Asus Maximus X Hero Mainboard together with Gigabyte 1080 graphics card and Creative Sound Blaster sound card found their way into the housing without further ado. All in all, the visible interior looks appealingly tidy and offers something for the eye in every corner.
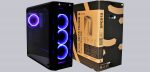
At the end of the practical testing, as always, we focus on the optics, which are really impressive thanks to the four pre-assembled 120mm RGB fans and window. Of course we have a video for this on our OCinside YouTube Channel.
Note: Please allow our cookies first to see this external content!
SilentiumPC Armis AR7X TG RGB Result and general impression …