
Layout, design and features …
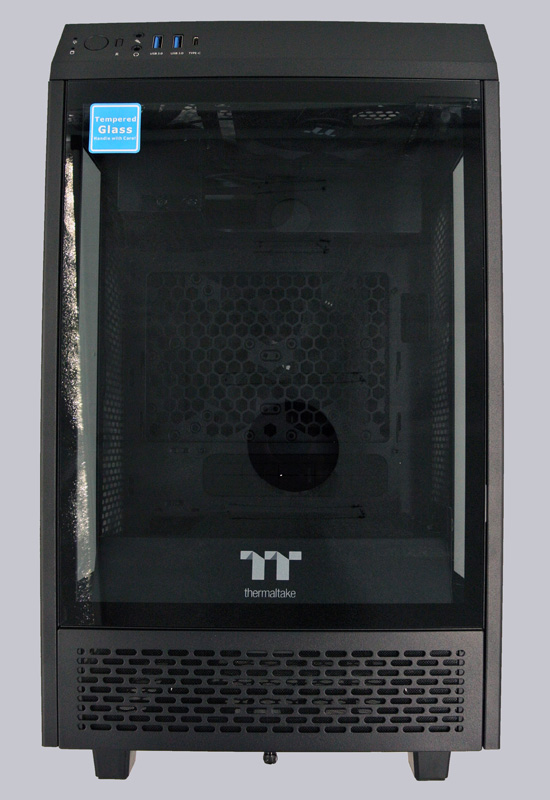
Before we start disassembling the case step by step, let’s take a look at it from all sides, starting with the front. The Thermaltake The Tower 100 convinces in plain black with a lot of glass. An eye-catcher here is the Thermaltake logo.
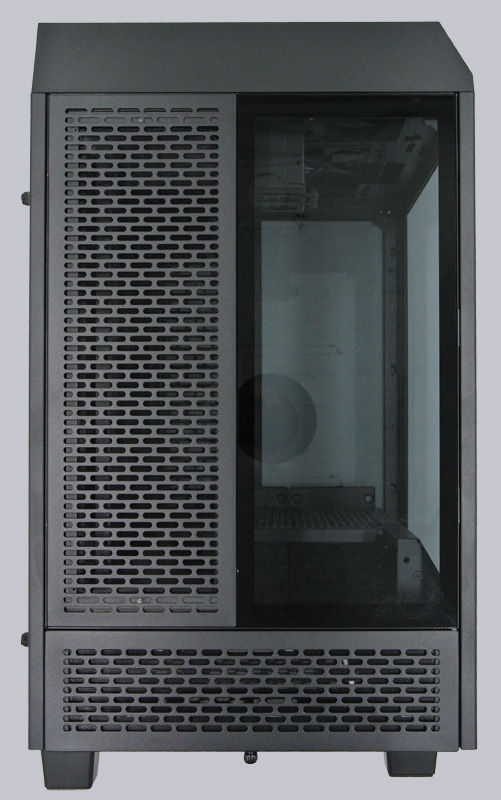
A short 90° turn and we can see the case from the side. Here you can see the generous fan grilles, which allow a reasonable airflow. The look of the front in the lower area continues here appropriately. The manufacturing quality is also convincing.
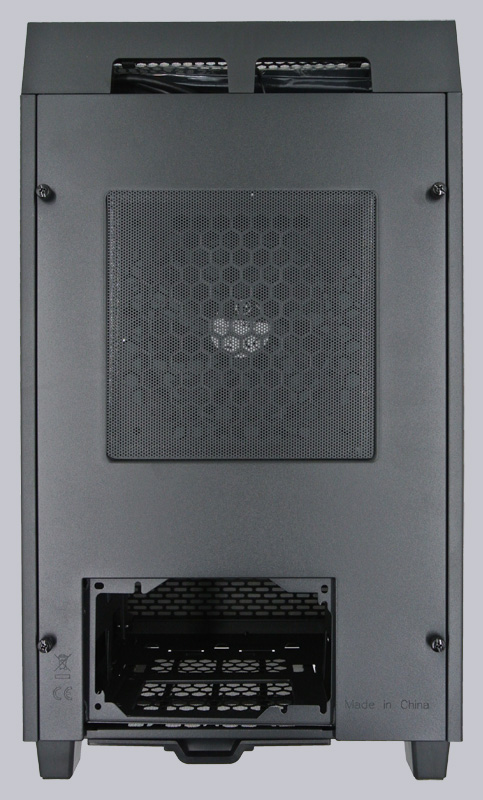
From the back, we can already see a fan through the dust filter, the slot for the ATX power supply and the non-existent hole for the ATX bezel. But more about that later …
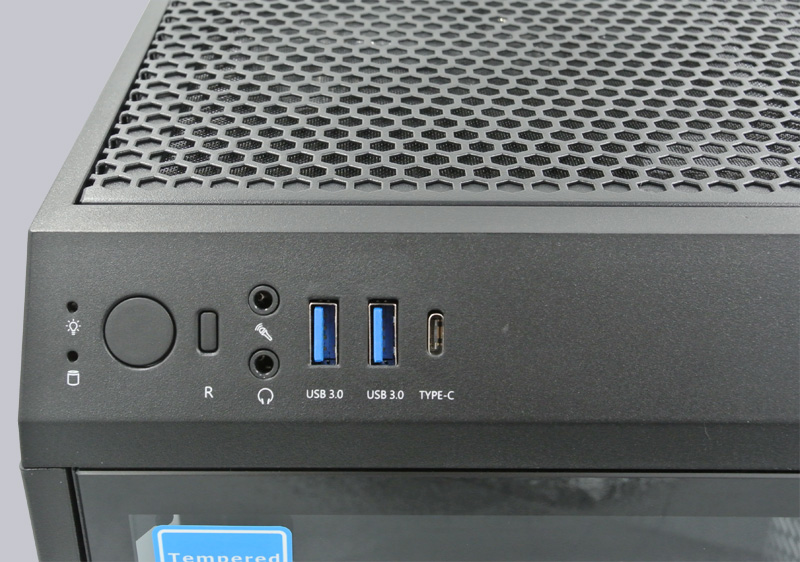
In terms of the FrontConnection, the most necessary is available in the latest version. A third USB-A port or a second USB Type-C port would certainly have been desirable, but they are acceptable. The classic jacks for microphone and headphones are also on board.
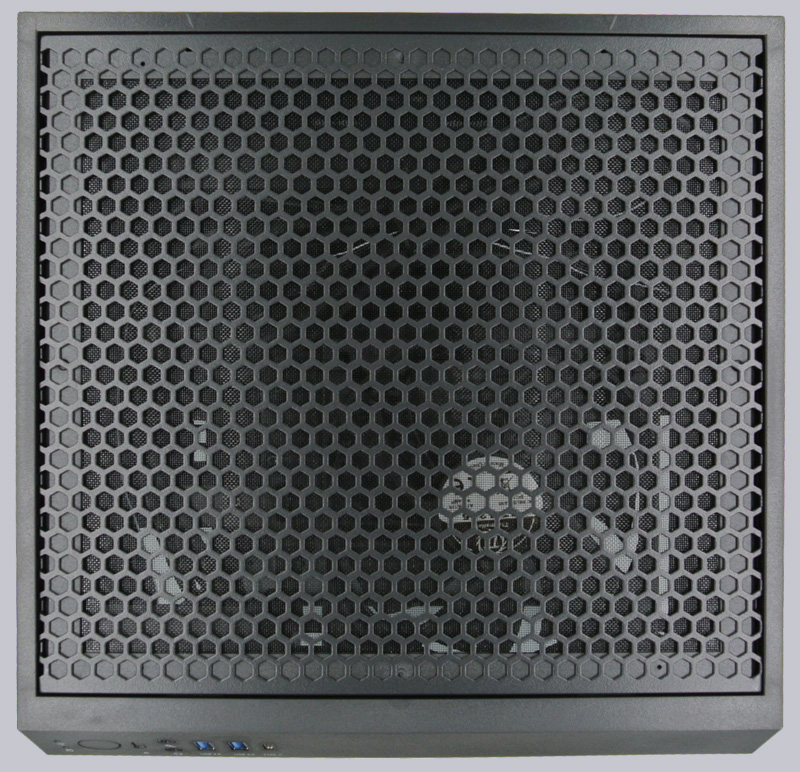
Seen from above, Thermaltake’s The Tower 100 case also looks very tidy. A dust filter is also installed here, and the second factory-installed 120mm fan is also clearly visible.
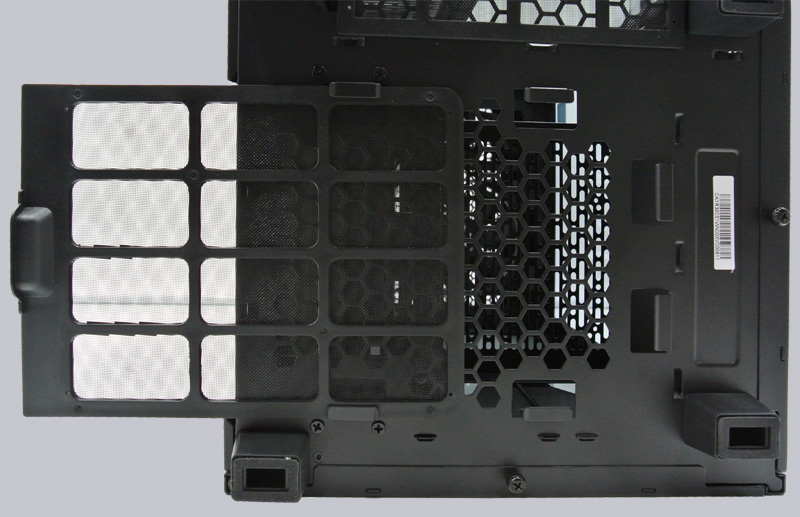
Finally, before we start installing the components, we take a look at the underside. The dust filter for the power supply can simply be pulled out. Directly above it is a second dust filter, which is positioned underneath the graphics card.
Now we come to the installation of the hardware.
Thermaltake The Tower 100 Practical testing …