
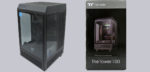
ITX PC Bauanleitung …
In the following we will now deal with the internal structure and the installation of the hardware in the case.
Preparing the case …
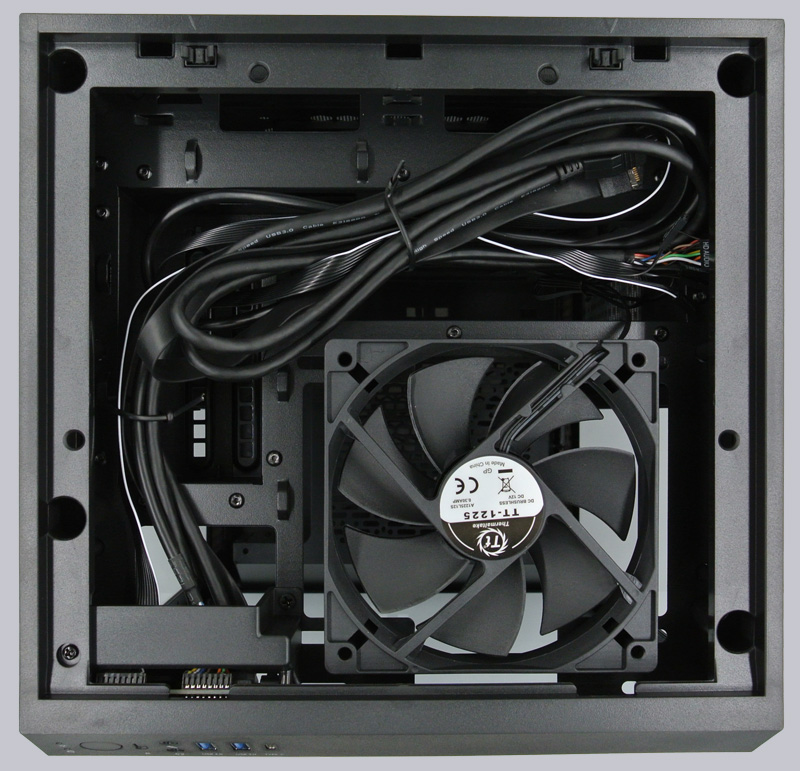
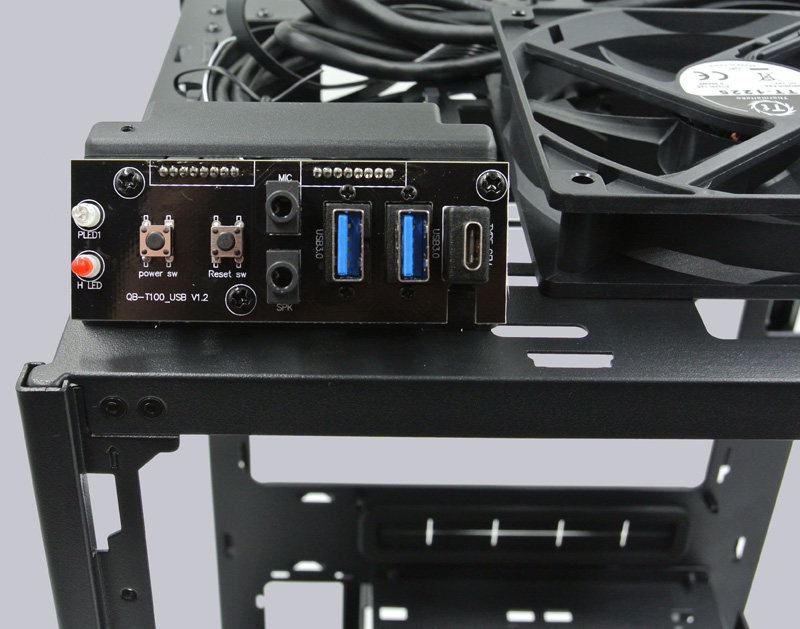
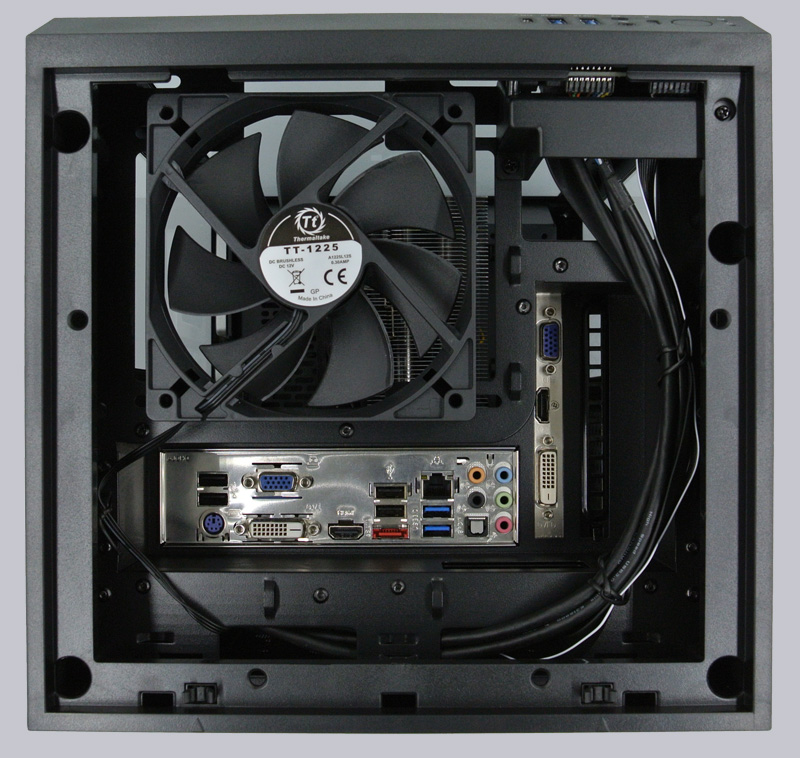
The upper dust filter, which is also the lid of the case, can be easily removed with a short press on the area marked with 2 arrows. Underneath we can then discover the upper 120mm case fan as well as the motherboard connection cables.
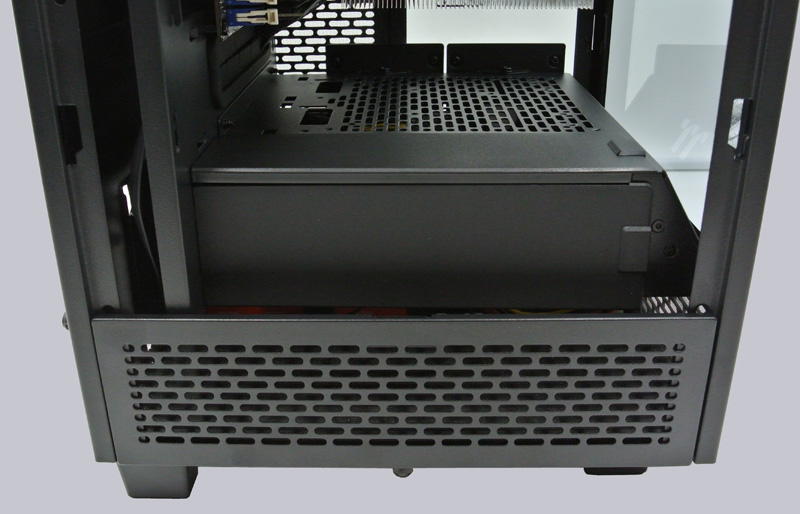
Next, we remove the 4 thumbscrews and remove the back panel. Now we can take a look at the 3.5 inch HDD mounts and the ATX power supply bay. If you really want to install 3.5 inch HDDs here, you will have to do without the 120mm fan at the back.
This one we can have a good look at here.
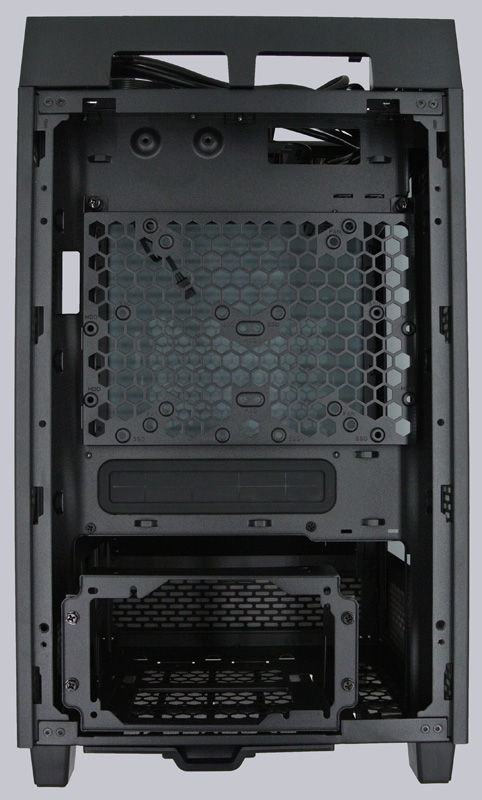
To remove the sides, you have to loosen an optically hidden knurled screw at the lower end. Afterwards, you can simply pull the 2-part side panel up and down.
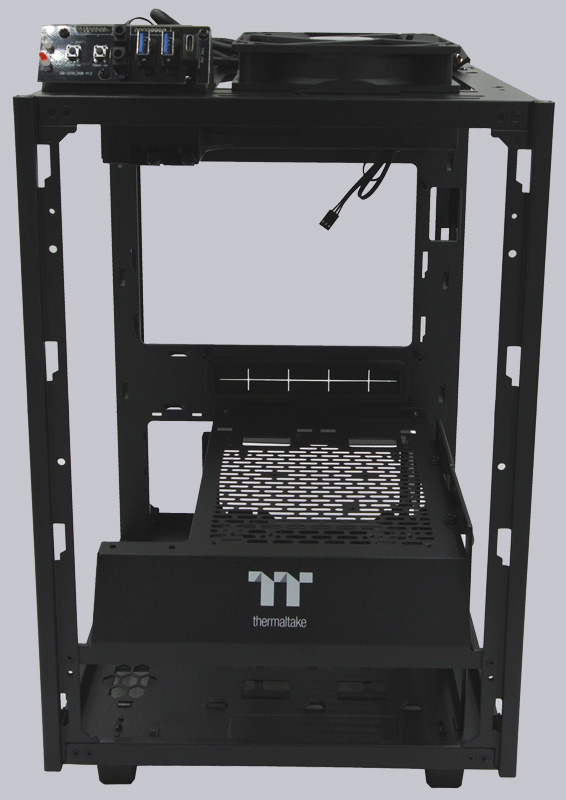
To remove the lid, 4 Phillips screws must also be loosened. Once this is done and all side panels are removed, the case should look like this. Despite the fact that it is made of plastic, it makes a very stable and visually high-quality impression.
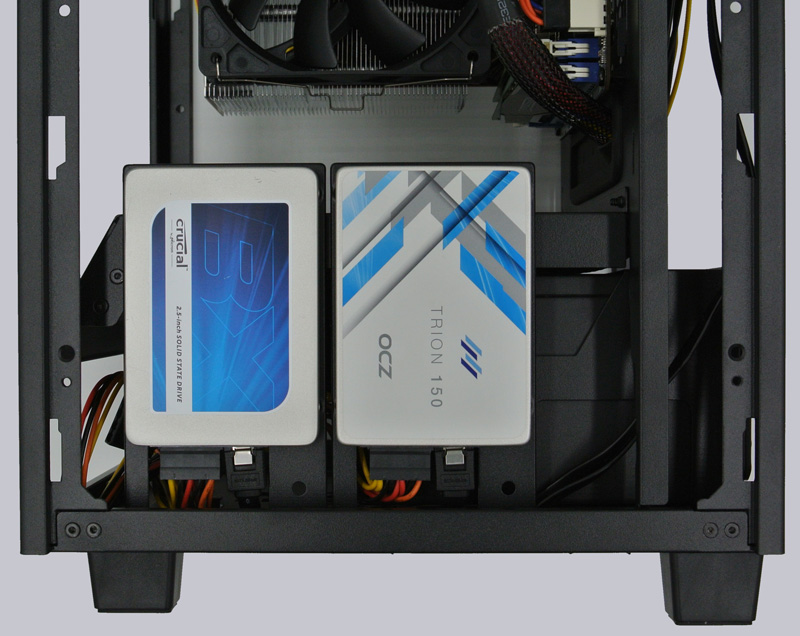
Here is another picture from the side. Here you can see the two 2.5 inch slots for the SSDs.

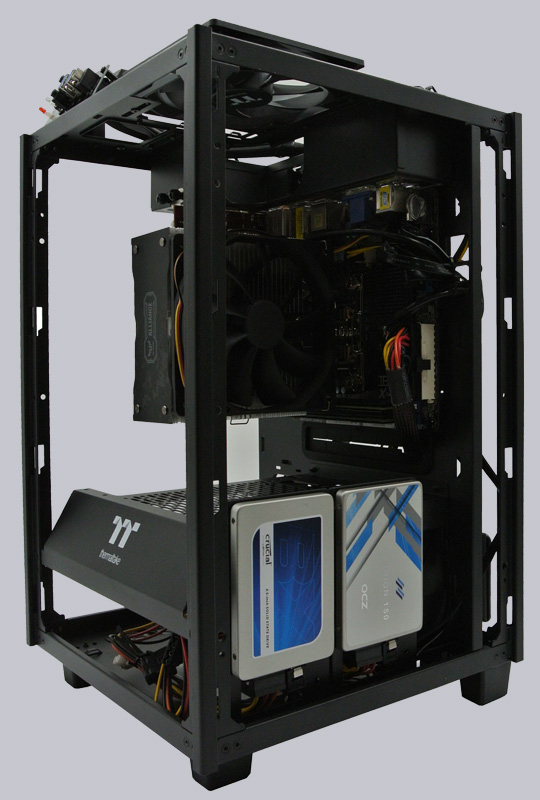
Without the casing, it is easy to see that Thermaltake has done a clean job. The front panel makes a very high-quality impression.
Installing the ITX motherboard …
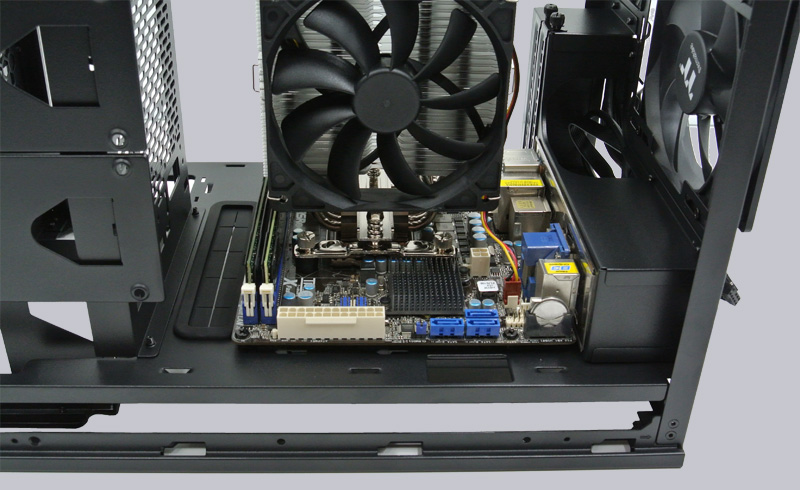
After we have removed all unnecessary things that could interfere, we now insert our ASRock ITX motherboard including processor, cooler and RAM and screw the motherboard tight.
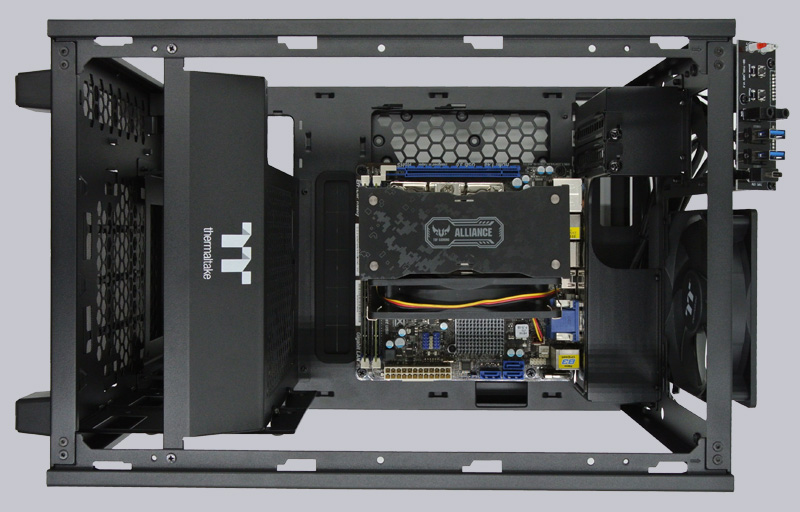
From this perspective, you can clearly see where the ATX panel will eventually go. The connection cables will later be connected from above and led out through the two openings. Space for a clean cable management is definitely available here. A big praise to Thermaltake at this point.
Install graphics card …
Of course, there is also room for a graphics card in the case. In the extreme case, even one with 2.5 slots width as well as 33cm length. Unfortunately, we could not install our usual GeForce 1070ti here, since it would not have fit into the case thanks to Arctics Accelero Twin Turbo III with 4.5 slots width.
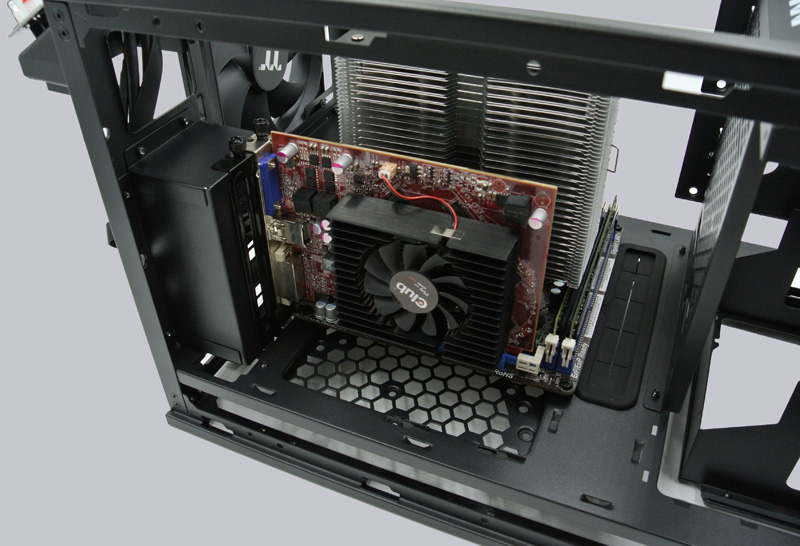
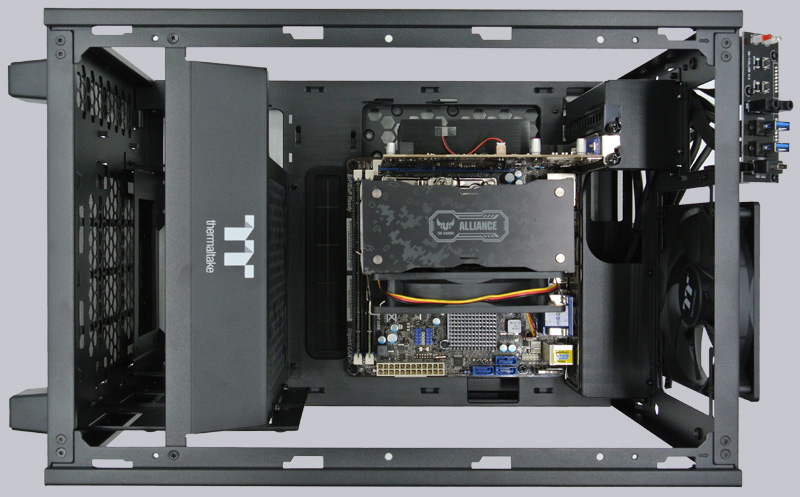
Viewed from above, you can once again clearly see how much space is available in this “small” case.
Installing the power supply …
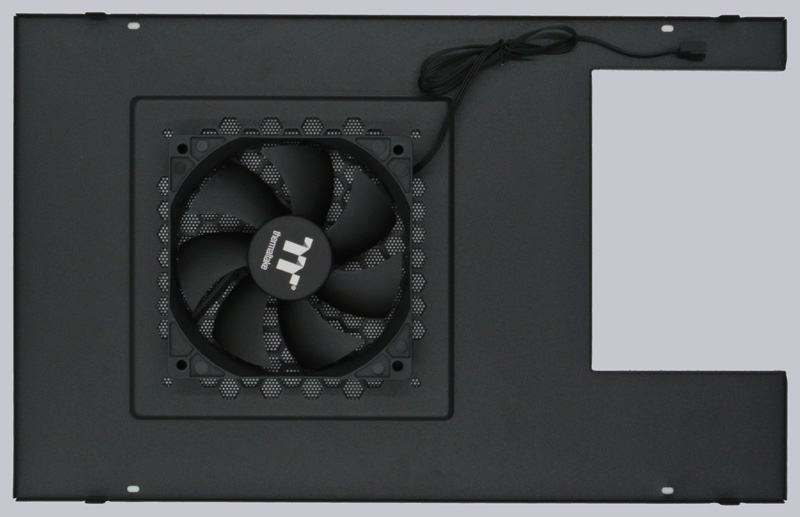
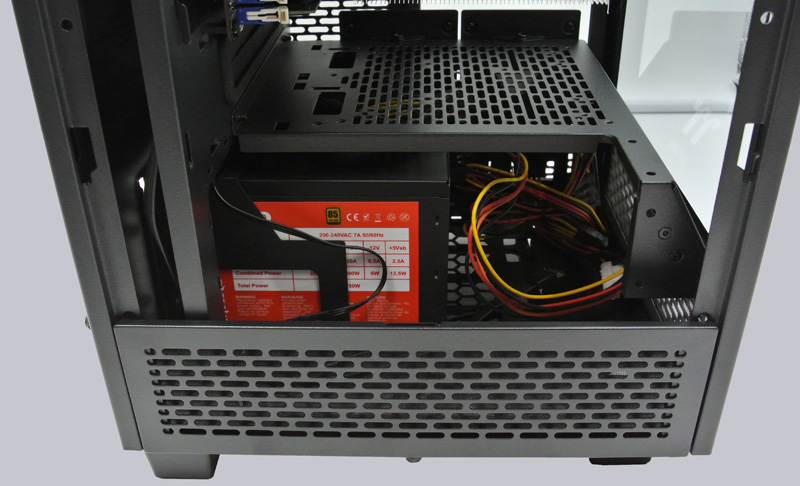
In the next step we insert the power supply, this is easy by hand. We can comfortably guide the cables along the back.
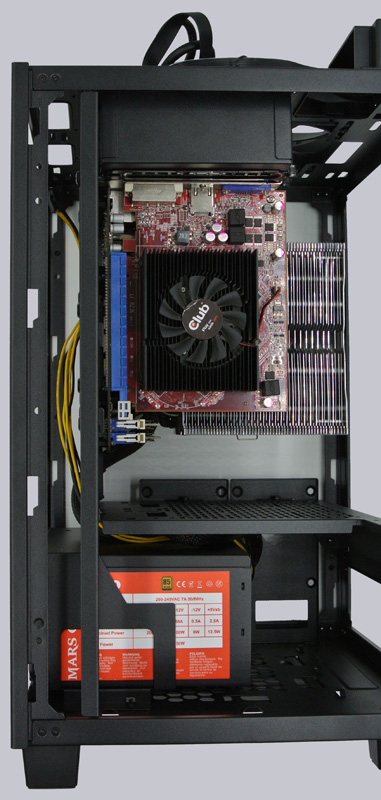
There is enough space above the power supply to place the cables directly upwards. This is especially helpful if the cables of the power supply are a bit short.
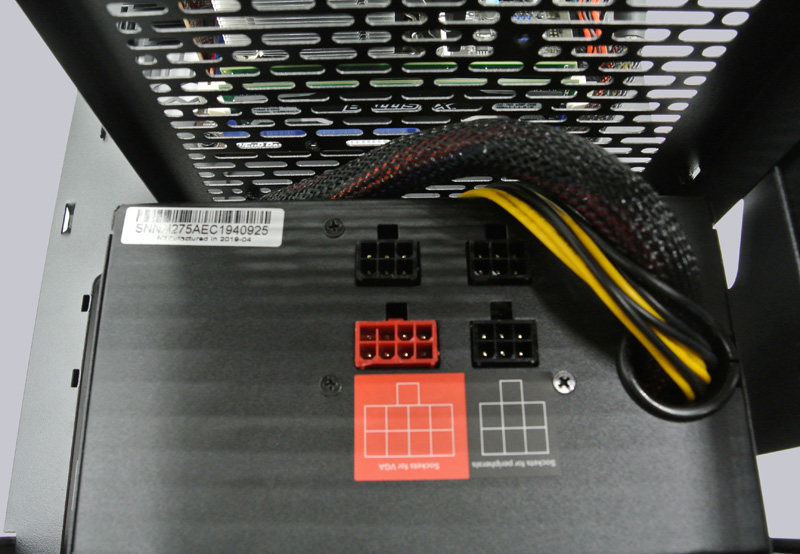
Cabling the power supply …
Through the cable guides on the side of the motherboard, we can easily reach all the connections of the motherboard.

Insert SSD …
The SSDs are fixed in the corresponding brackets with 4 included screws each.
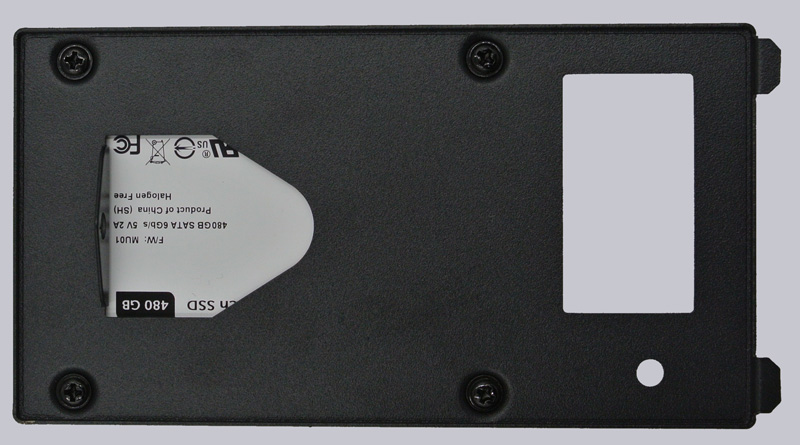
Afterwards, they are simply plugged in. It is recommended to connect the SSDs with the SATA and the power cable beforehand, since this would be a bit tedious afterwards.
Mount radiator optionally …
By the way, you can install the 120 radiator in the red delimited area. This would be suitable for a graphics card with AIO water cooling, for example. Because a halfway powerful processor is not cooled too well with it.

Before the assembly, here is a picture from another perspective.
As already mentioned, we find the connection a bit unusual under the lid.
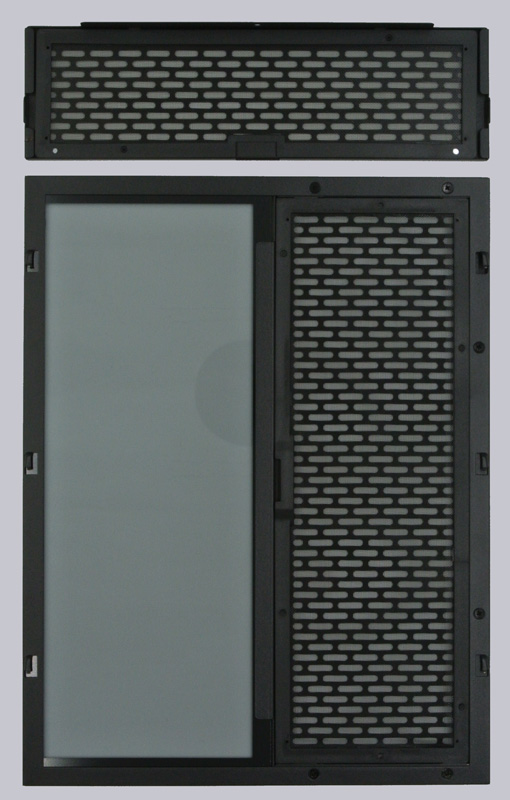
So that the appearance of the case is right even in the last corner …
… you still have to install the two bezels that are in the box.
Close the case …
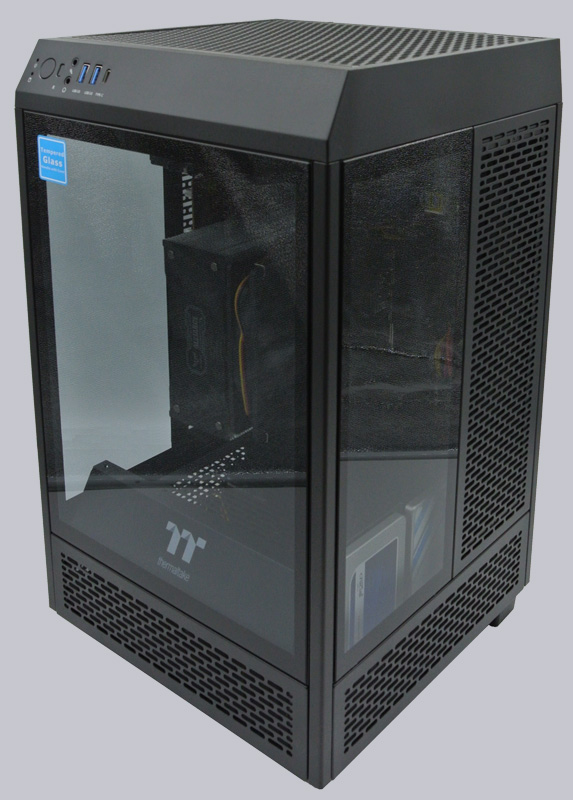
Now that we have reassembled everything in reverse order, The Tower 100 PC is ready.
By the way, the two openings on the case’s back leave enough space for all connection cables.

Let us now come to the conclusion.
Thermaltake The Tower 100 Result and general impression …