
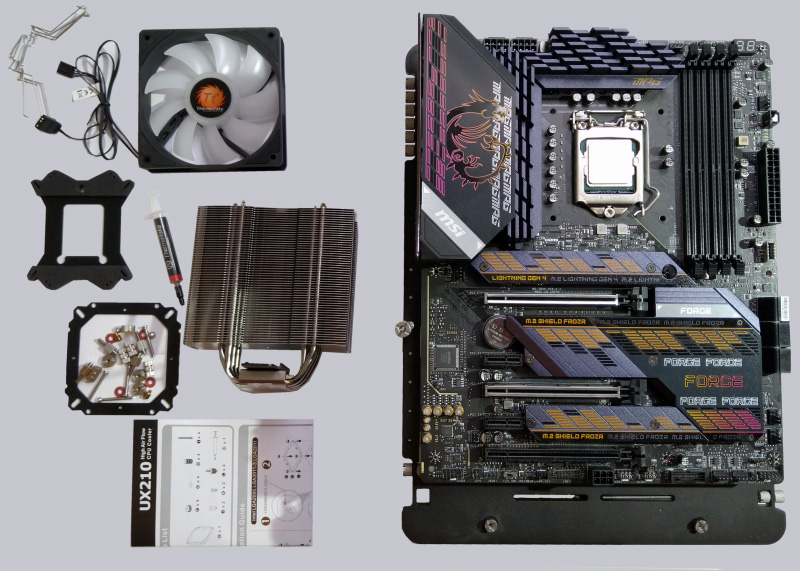
Installation …
The same back and front plate are always used for mounting on the different socket types. Both are provided with numerous pre-drilled holes, since the hole spacing for cooler mounting differs for the different sockets. The assembly instructions must be studied very carefully to ensure the correct orientation of the plates and the selection of the correct drill holes for the respective socket. Which parts/screws you need for your own board is unfortunately only apparent from the exploded drawings in the leaflet.
Basically, the assembly works similarly for all board types (except for the LGA 20xx).
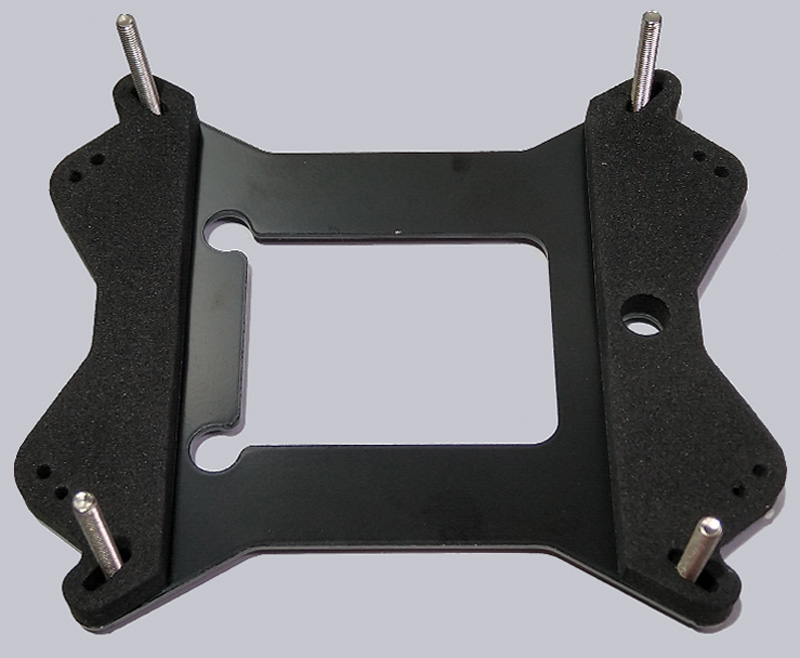
The backplate is placed on the back and the long fixing screws are pushed through at the matching holes.
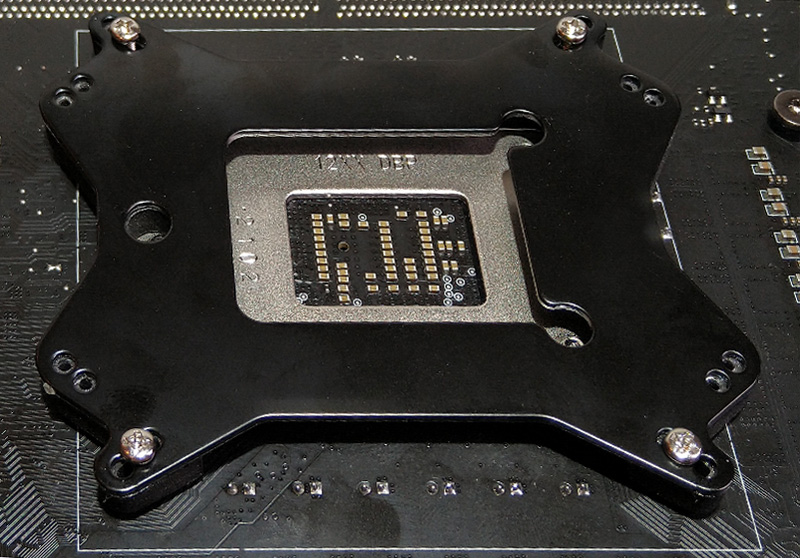
Washers and spacers are now placed/screwed on from the front.
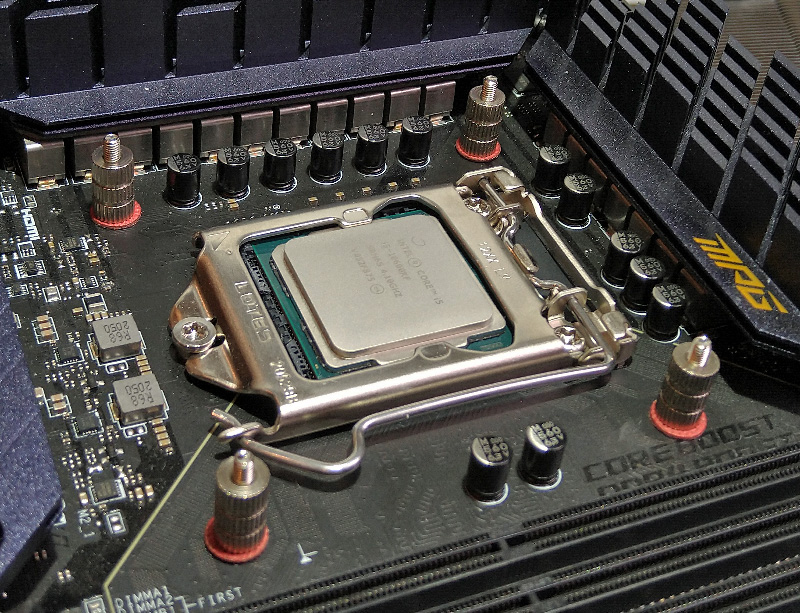
Then the front plate is put on and fixed. With this, you have put together a “cage” around the processor, …
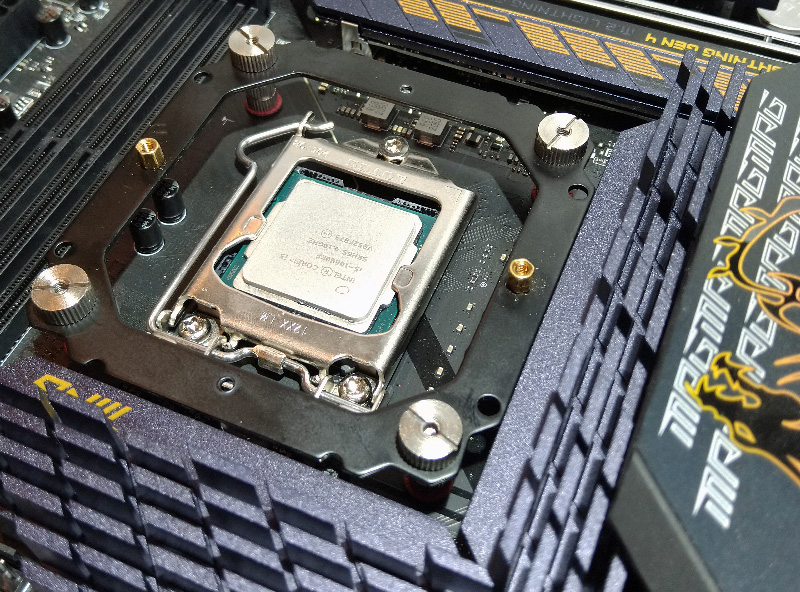
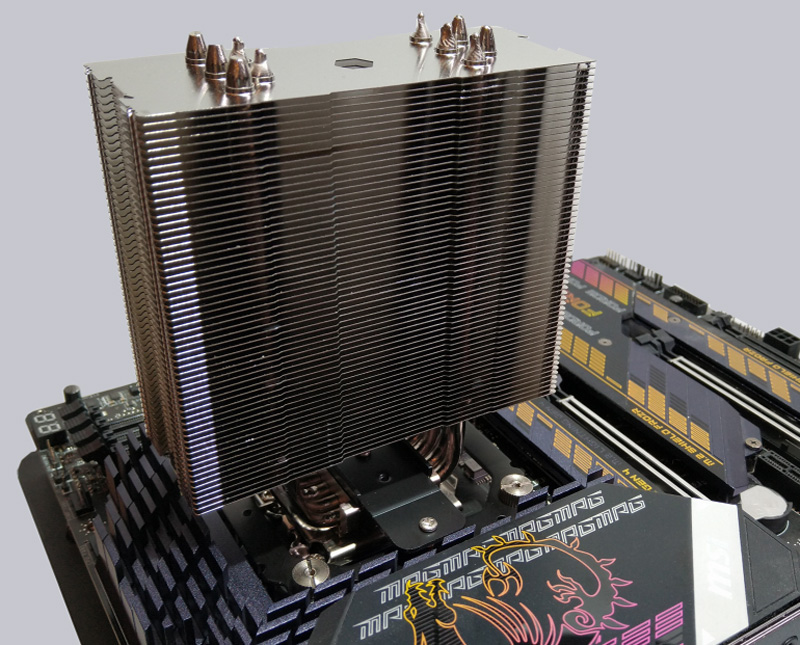
… on which then the heat sink is simply attached with two screws.
The backplate is not used for the LGA 20xx sockets, suitable spacers with double screw thread are used directly on the board.
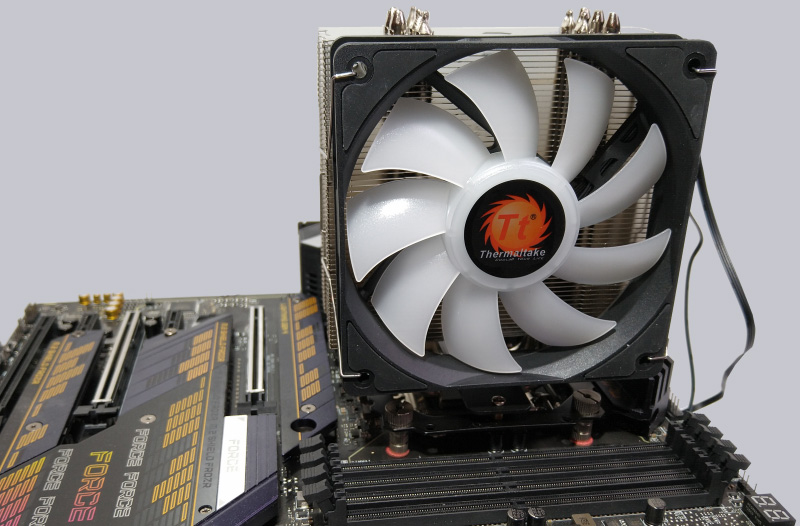
The ready-mounted cooler protrudes relatively far from the board, the RAM slots remain easily accessible and are not blocked by the fan.
Overall, the assembly is relatively simple. The drawings in the handout are very detailed, but unfortunately also printed very small. A PDF version was not yet available on the manufacturer’s site during the test, but was then published on 27.01.2022 and is available for download at Thermaltake. The updated version of the manual now also lists the LGA1700 socket of the 12th Intel generation called Intel Alder Lake. So Thermaltake continues to work regularly on their products and thus also supports newer processors.
Thermaltake UX210 ARGB CPU Cooler Test setup and results …