
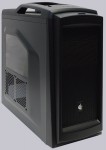
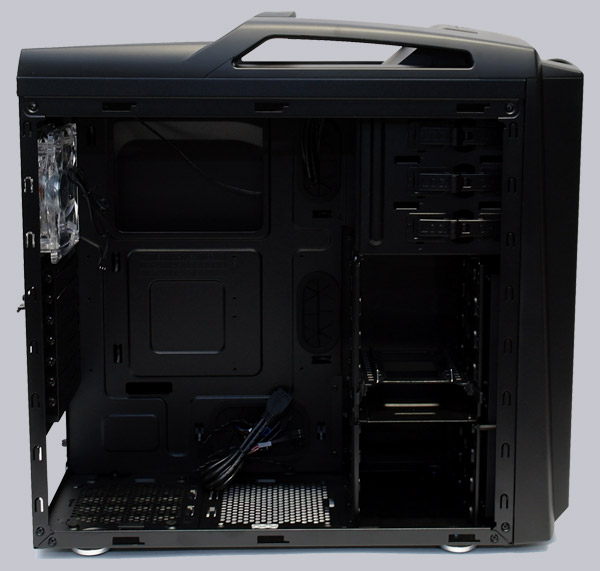
Let us now take a look inside of the CM Storm Scout 2 case. The CM Storm Scout 2 is also inside of the chassis completely black coated. All plate edges are very well deburred, folded and rounded, so one can work in this case thus without injuries. We can’t wait to install the PC components into this nice enclosure.
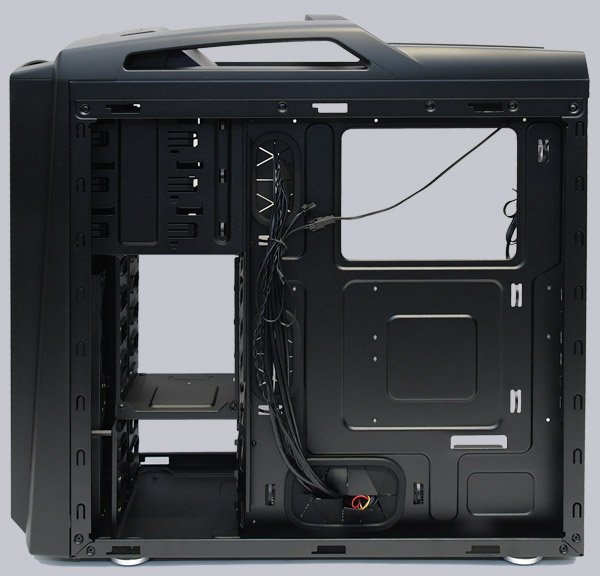
This backside picture shows very clearly the huge cut-out that makes life easier for the heatsink assembly even after the installation of the motherboard. Furthermore, you can see very nice that you can route the cables through the rubber cut-out behind the motherboard rear panel. This concept provides a clean PC and has been already proven in some cases Cooler Master.
The top three 5.25″ drive bays are provided with a drive locking mechanism, so that the drives can be mounted very easily without using any screws. Just slide it as in the example below to open …
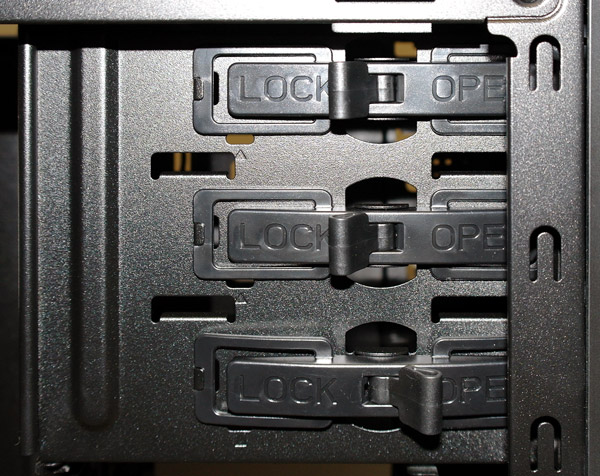
Then insert the drive and slide the drive locking mechanism to Lock:

Here we’ve build an animation of it:

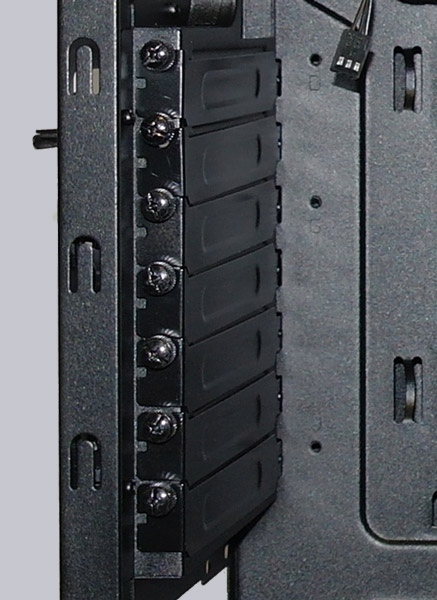
The internal 3.5-inch drives are installed with special mounting rails, which we already know from other cases – simply snap two rails to the drive and slide it into the 3.5″ HDD cage. At the end position both sliding rails will catch and hold the drive secure in the cage. The middle section with the additional 3.5″ drive bays can be unscrewed by the way for a gaming PC to provide enough space for one or two long graphics cards.
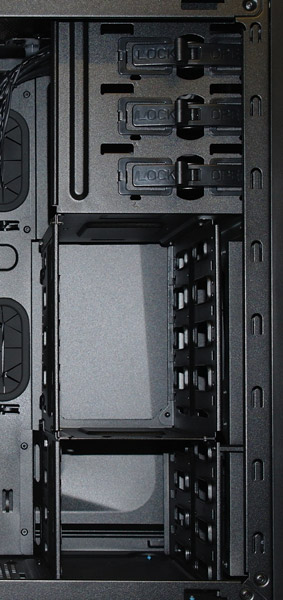
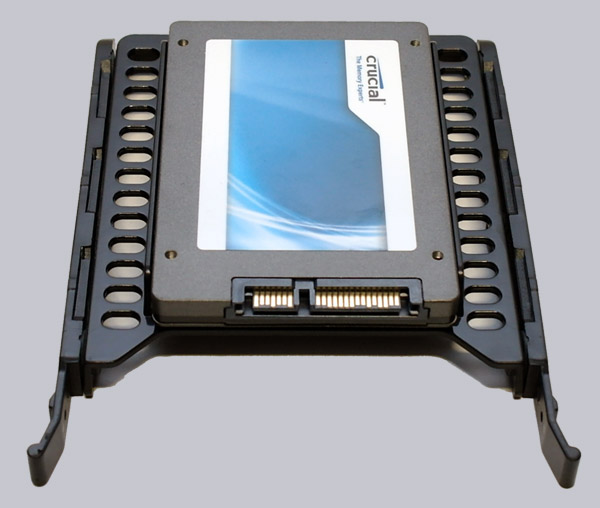
Since most PCs should be equipped with at least one 2.5″ SSD, Cooler Master has integrated a 3.5″ to 2.5″ mounting frame, where one can install a 3.5″ SSD on both sides, alternatively one can install a 1.8 drive.
Here you can see the black coated slot brackets that have been provided in this case like the side panels with metal thumbscrews. Thus, the cards can be mounted easily secure without a screwdriver.
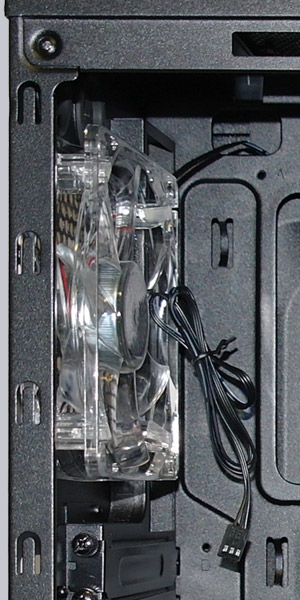
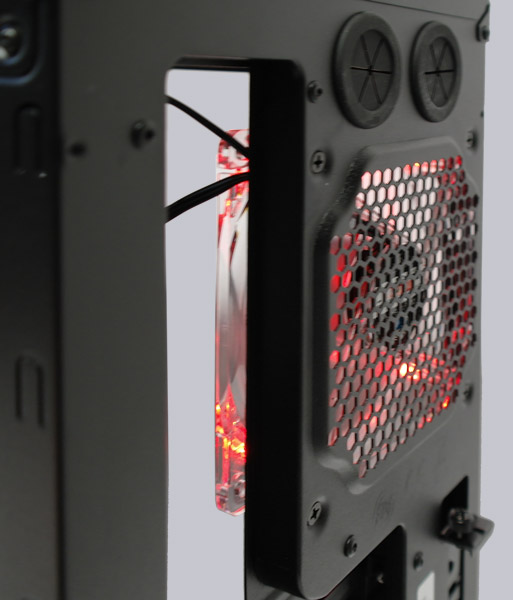
Over the backplate a 120mm LED fan is already integrated to offer a good circulation of the warm CPU air.
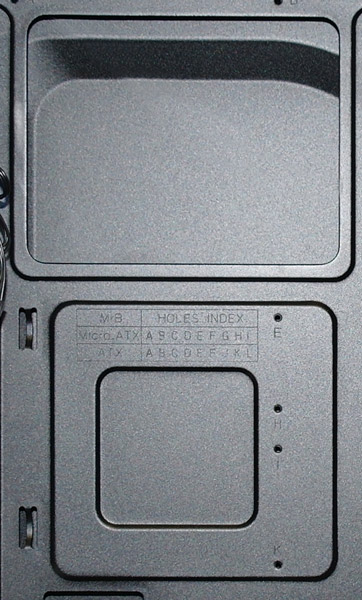
Cooler Master has integrated a lot of more features to make the upgrade more easily, for example the large motherboard tray cut-out to mount the CPU cooler from the motherboard back side without removing the motherboard and labeled holes to ensure using the right ones depending on the motherboard size. The motherboard tray can’t be removed, but by the large cut-out this is no problem in this case.
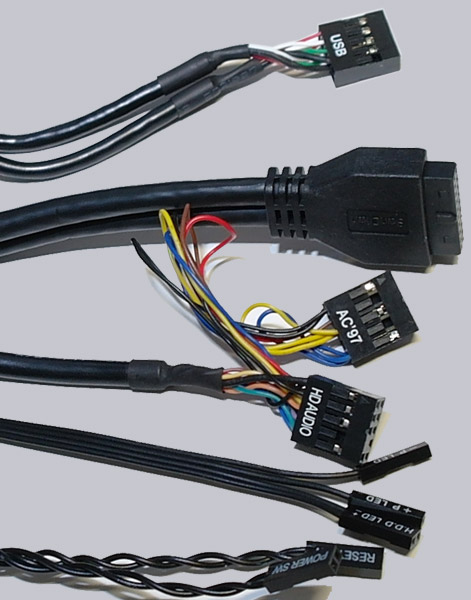
All I/O panel connectors of both LEDs, power button and reset button are well labeled. The internal USB connector for both USB 3.0 ports and both USB 2.0 ports and the connector for the 3.5mm audio plugs are each build in one block, whereby the audio connector offers an AC’97 and a HD audio pin allocation. So it is not necessary to connect each pin to the motherboard. Nevertheless one should compare the pin allocations of the plugs with the motherboard manual before the installation. The USB3.0 connector can be plugged into an external USB 3.0 port at the motherboard rear to pass-through the USB3 port.
Once everything is mounted and connected, the fan LED light can be switched on with the upper button, wherein the red light of the fan is shining not only through the rear mesh, but also to the motherboard in the interior of the PC, which can be watched through the case window.
Result and general impression of the CM Storm Scout 2 Case …