
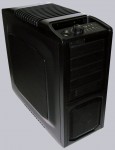
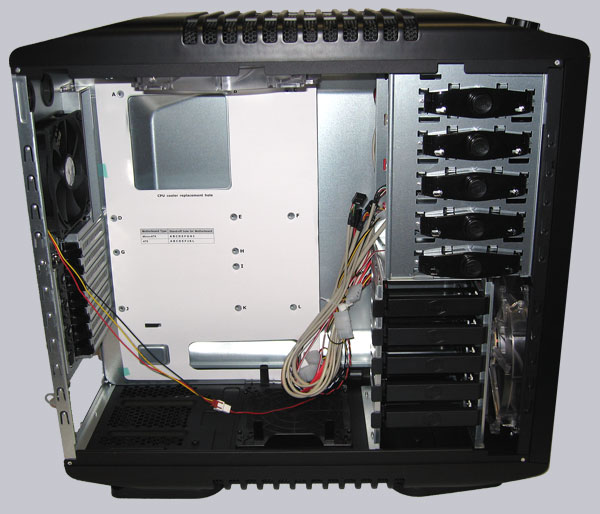
Let us now take a first view inside of the CM Storm Sniper housing, because at least by now it should become clear that this case is not only for gamers, but also excellent suitable for overclockers.
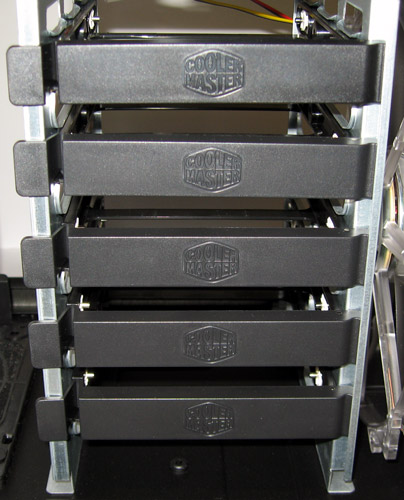
The next features are very interesting for all PC home constructors, because CM Storm found a solution for the Sniper Case to assemble all 5 1/4″ drives only with one push to a button. A nice feature for the many drive assemblies, which can be mounted into the enclosure.
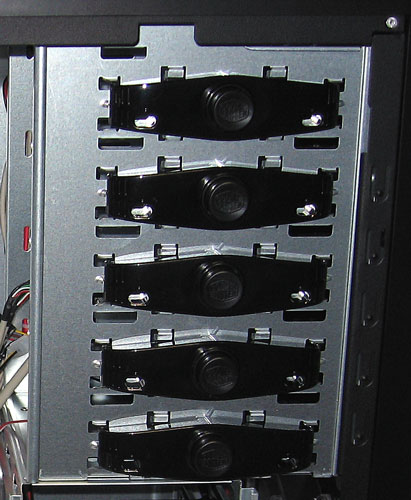
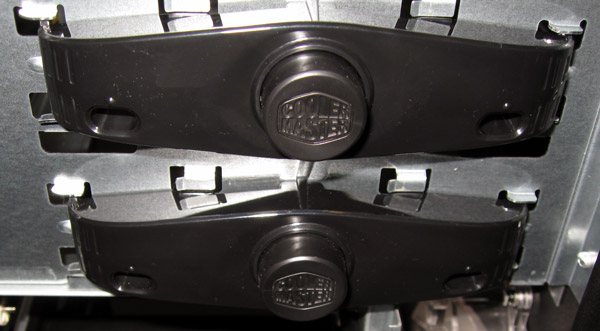
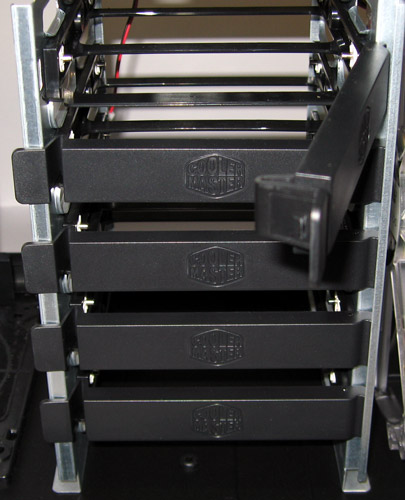
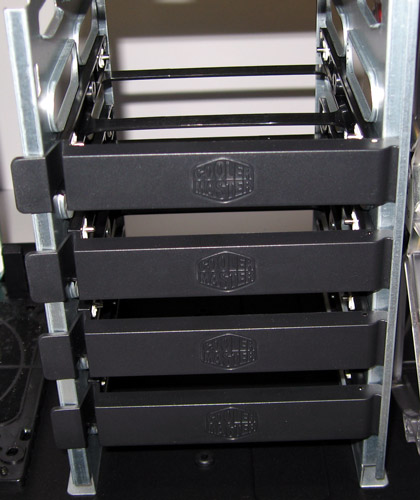
Just slide the desired 5.25″ drive (or 3.5″ drive with the provided bay) into the drive bay, and press the large Cooler Master button to fix the drive firmly in the enclosure. That’s really a nice construction to permit a very fast assembly of new drives.
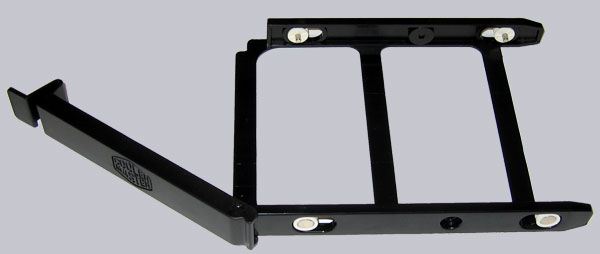
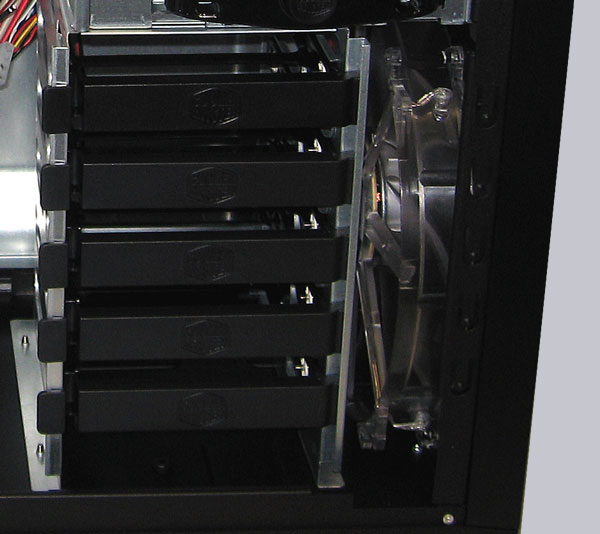
And the internal 3.5-inch drive assemblies are also fixed with an interesting mounting bracket in the hard disk cage, which is by the way laterally attached to ensure a better air flow with the front fan and to ensure a fast access to the HDD cables. For the assembly just pull the small lever a little bit on the left side …
… until the small plastic nose gets out of the mounting frame.
Then it’s possible to get the small plastic frame out of the HDD cage.
In this plastic frame one put the desired hard disk, lock it with the four small attached metal pins and push it simply again into the hard disk cage – that’s it!
But not only all drive assemblies, but also the expansion cards are installed with a special mounting plate inside of the CM Storm Sniper, which can be also removed and replaced with screws. The upright slot by the way doesn’t take flying cards, but it’s the so-called StormGuard. In the StormGuard Security Bracket one can thread cables and fix the slot bracket with the knurled thumb screw, in order to secure various devices on a LAN party against thieves. One main condition is of course that the expensive mouse or keyboard has a cable.
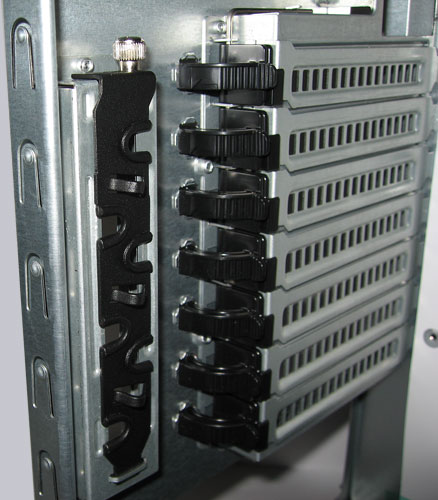
Once again back to the slot brackets, whereby it’s easier to see the function of the brackets with this animation. For the assembly of a card one press on the small plastic clip until it’s possible to move them to the rear. Then plug the expansion card into the slot and push the lever back. A small drawback is that one must press relatively strongly on the clip and can’t see easily when the small pin of the plastic clip sits correctly in the expansion card. With the durability of such constructions surely is also a little bit skepticism required, but most manufacturers build those clips unfortunately from plastic.
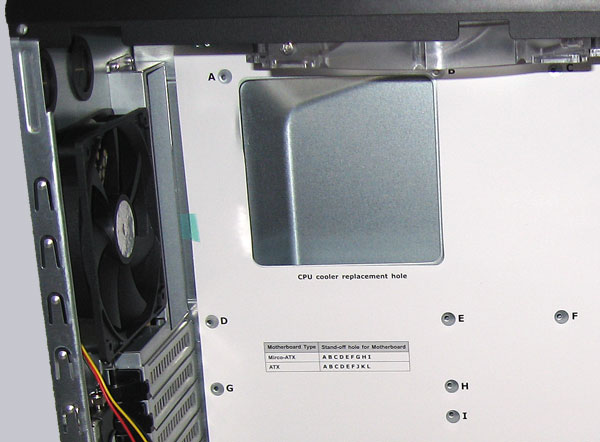
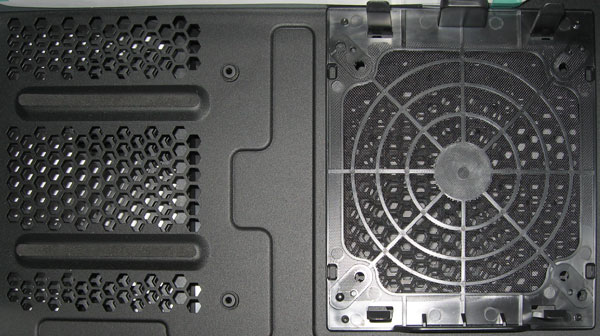
As like the previous tested Gigabyte iSolo 230 case the CM Storm Sniper offers an inscription for all holes at the rear mainboard mounting plate, in order to mount ATX or Micro ATX motherboards more easily. However, who install quite often motherboards, surely faster remove this note than Cooler Master printed it. The next picture shows the marking of the holes and at the left one can see the 120 mm fan, which blow the hot air out of the case reliably and silent.
The heat is carried additionally with the 200mm – yes, 20cm – Cooler Master fan out of the case, which is equipped with blue light emitting diodes as described on the previous pages.

And where a hot storm gets out of the CM Storm case, there has to get fresh air inside of the case. For this reason there’s a 200mm LED fan in the lower front as already mentioned.
And if that is still not enough, it’s possible to mount another 200mm or 2x 120mm fans in the side panel and one 140mm or 120mm fan with dust collector in the bottom of the case for overclocked high-end hardware.
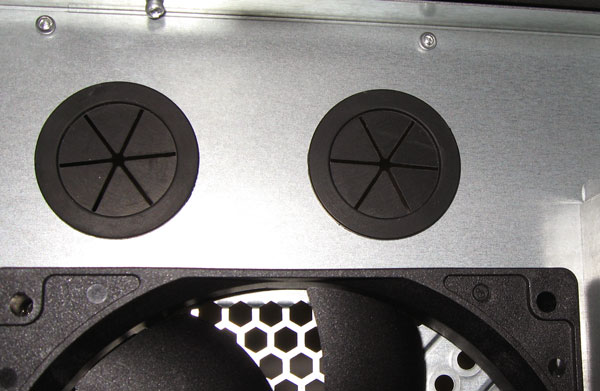
And if this is still not enough, then integrate a water cooling device in the CM Storm Sniper. Because even for a water cooler there are drillings with rubber sleeves for water cooler tubes in the upper range of the enclosure rear.
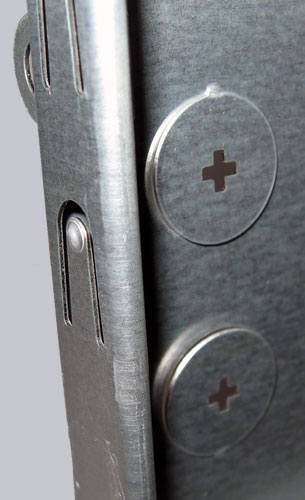
And additionally there’re two break out drillings at the lower rear side of the case beside the power supply.
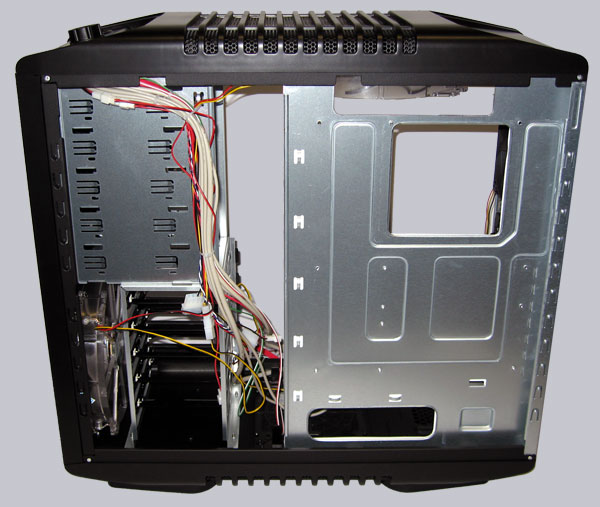
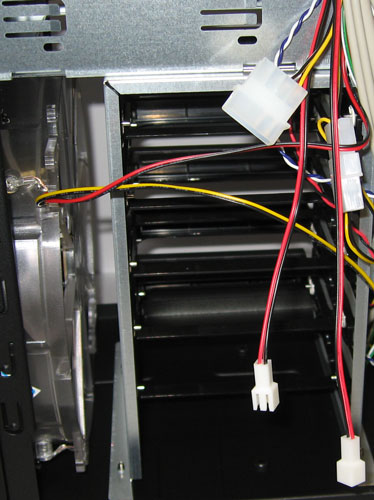
The next picture shows the wiring of the CM Storm Sniper case. All cables are already led to the upper operating sector with the I/O panel, whereby all fans are connected with an adaptor cable in order to adjust them over the large variable resistor.
Here is a picture of the power cables for the fan control and 2-pole plugs for two optionally connectable LED fans, which can be switched on or off over the button at the operating sector.
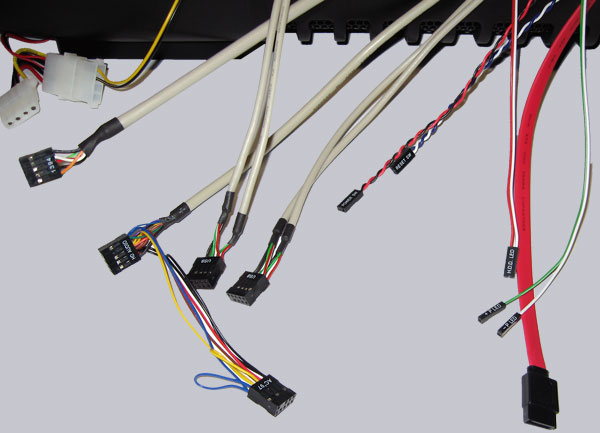
All plugs of the I/O panel connectors, power button and reset button are perfectly described. The IEEE1394 Firewire plug, the two USB plugs and the audio plugs are each build in one block, whereby the audio connector offers an AC’97 and a HD audio pin allocation.
So it’s not necessary to connect each pin to the motherboard. Nevertheless one should compare the pin allocations of the plugs with the motherboard manual before the installation. The pin allocations of these blocks are by the way exemplary eaxplained in the manual.
Result and general impression of the CM Storm Sniper Case …