
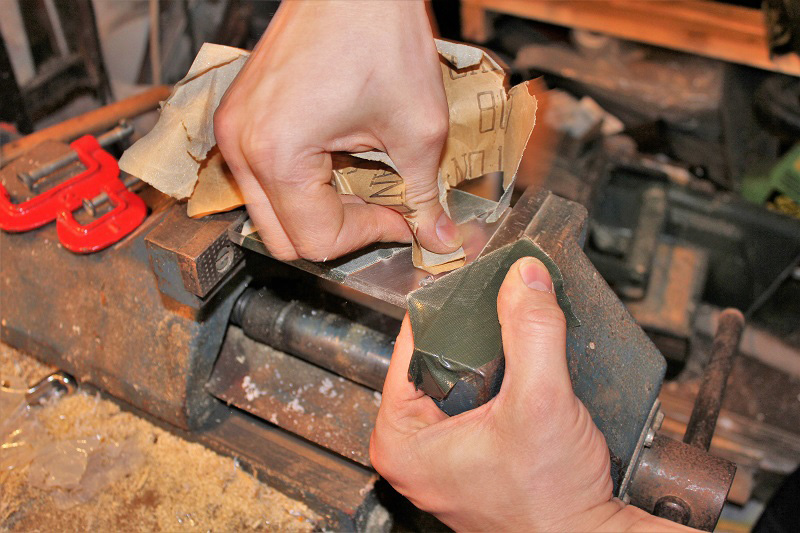
In order to give the cooler an individual visual touch – and perhaps also to hide a little bit of carving from drilling 😉 – we now glued two strips off to grind them milky.
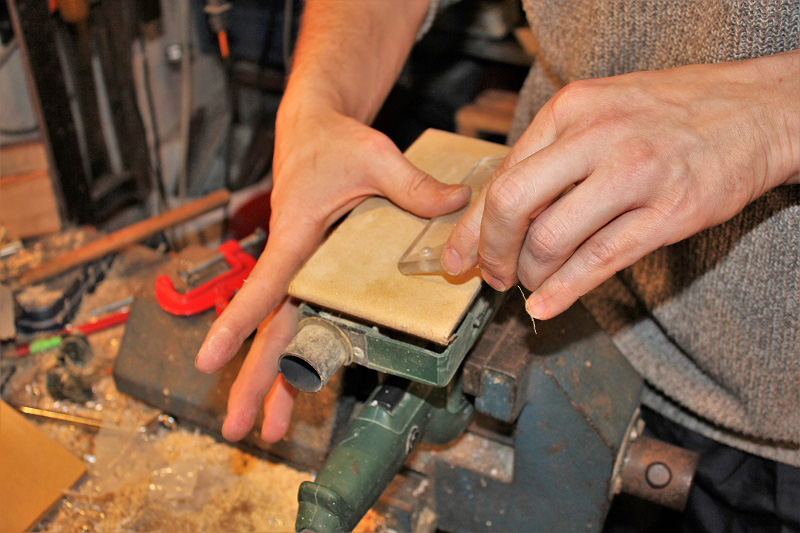
With the orbital sander, we also worked the edges. Later, the light from the RGB LED, which we will still use, will break at these areas.
Assembly …
After all the work, there was still mounting the cooler and the exciting question of whether everything would fit.
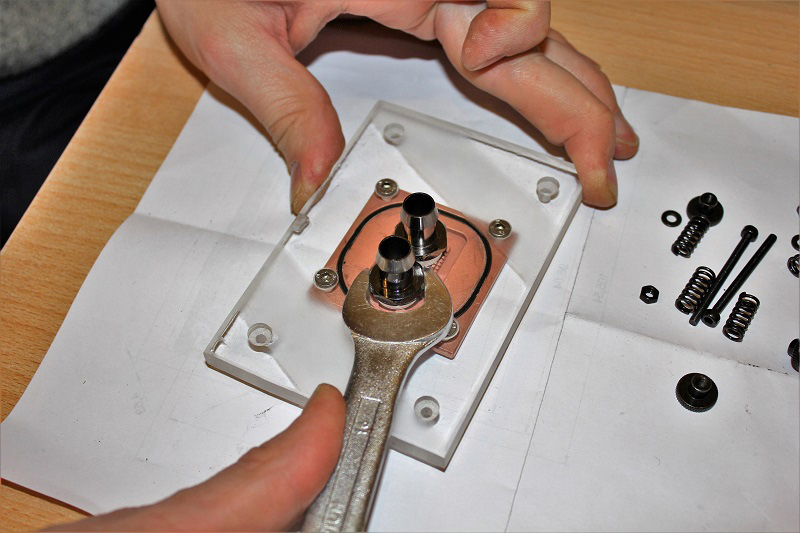
Our concern was unfounded. Everything fits wonderfully and so we have the cooler mounted as a test on our AM4 benchtable.
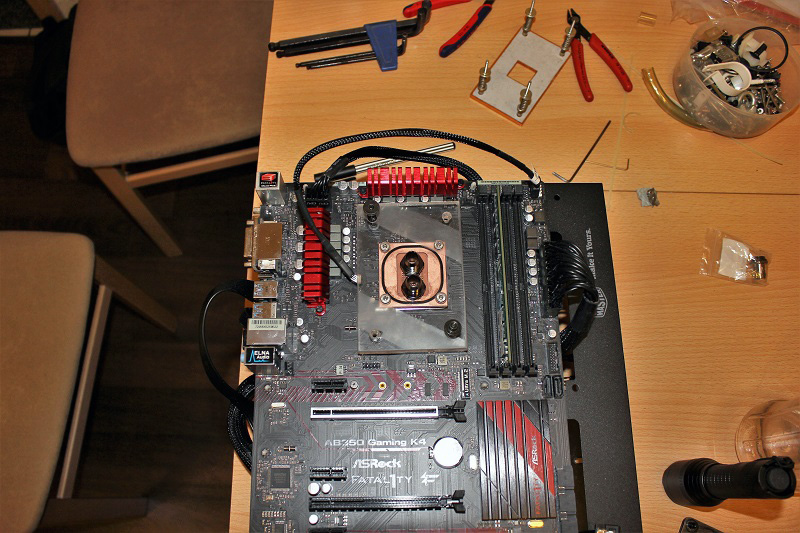
By the way, for the assembly we used a universal mounting set, which can be ordered e.g. here *Ad.
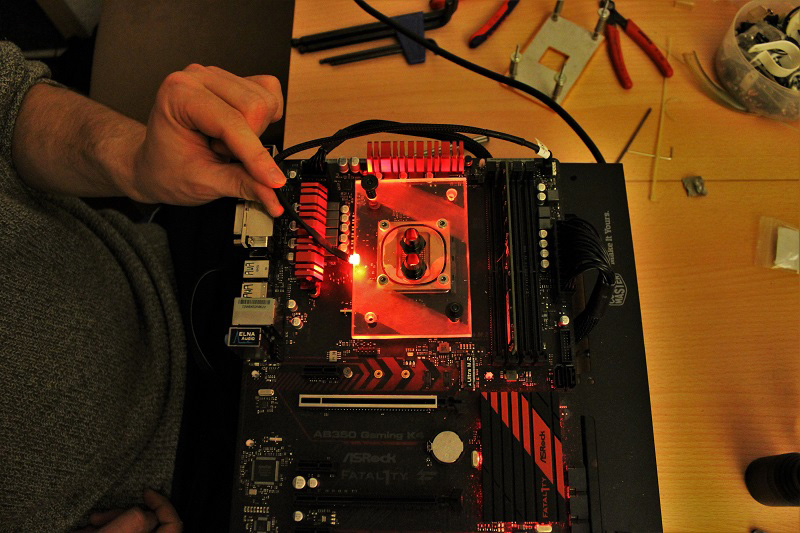
Of course we also wanted to test what the LED lighting looks like.
Let’s come to the overall impression and to the conclusion …