
Layout, Design and Features – inside …
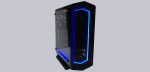
Now we come to the interior of the AeroCool Project7 P7-C1 case. After removing the side panel or glass panel (depending on the case type) we can get access to the well-thought-out motherboard side.
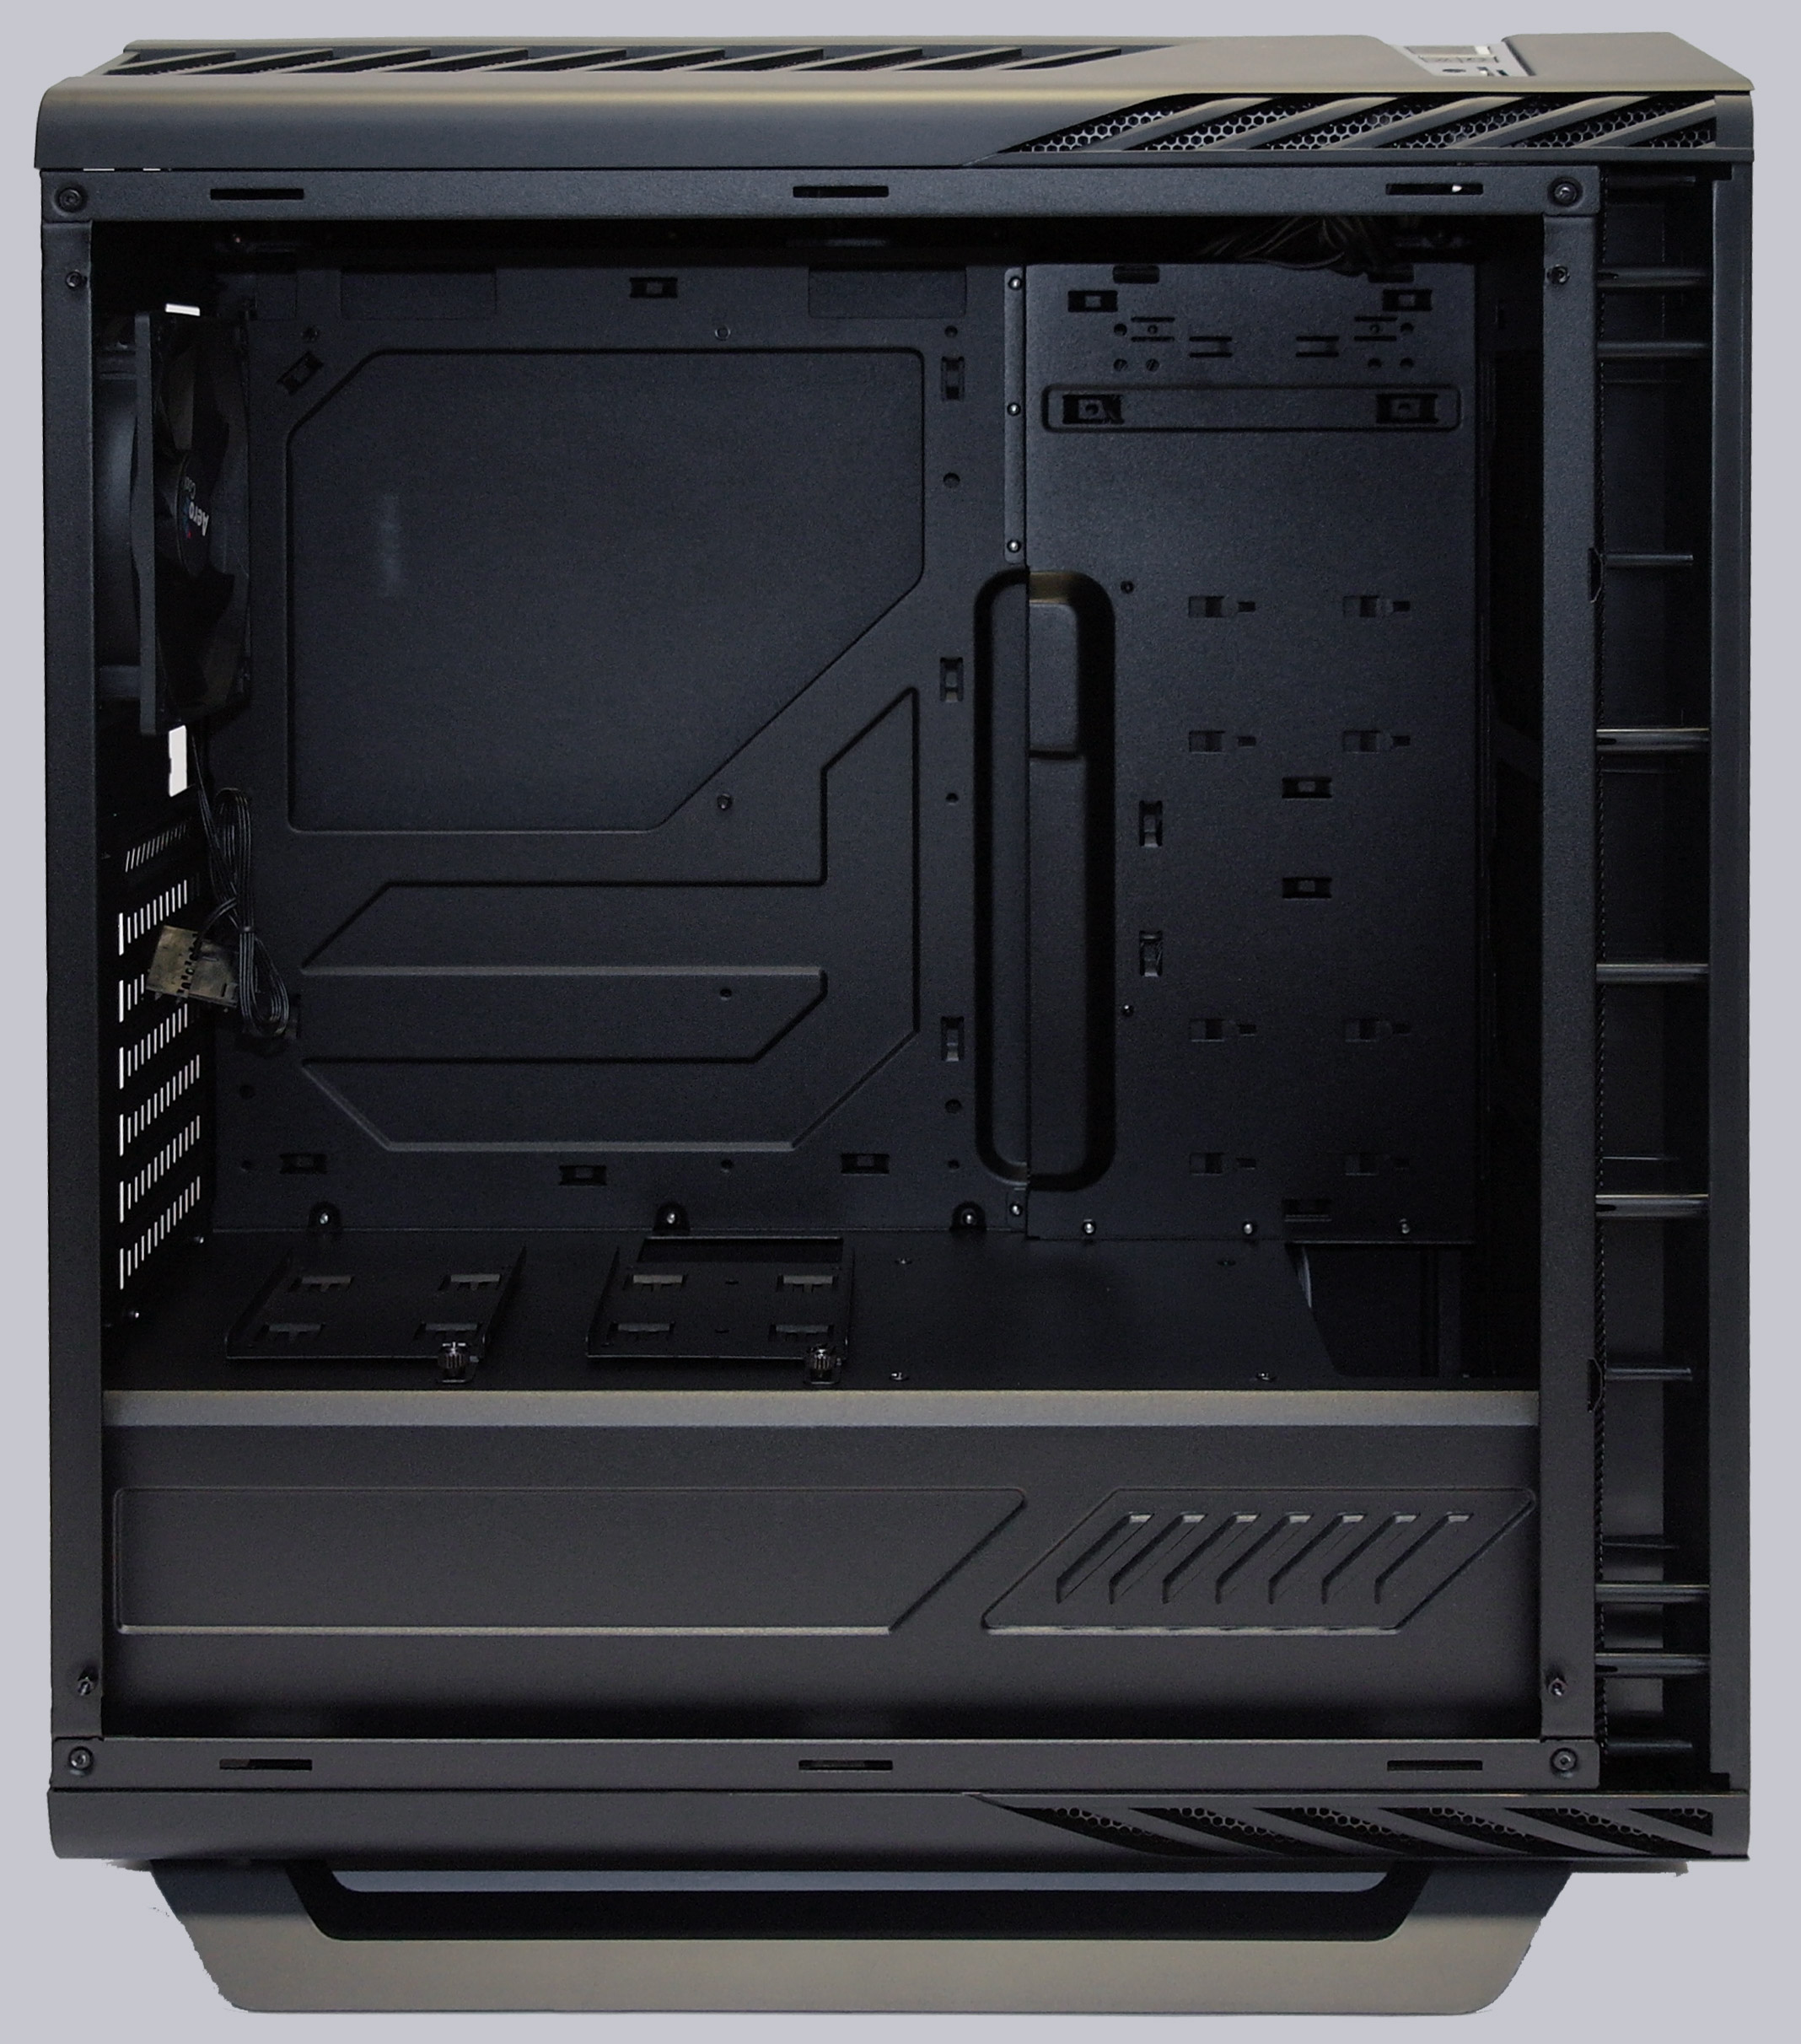
Here you can see the mesh front along with removable dust filter at the front and long assembly fitting slots for different fan types.
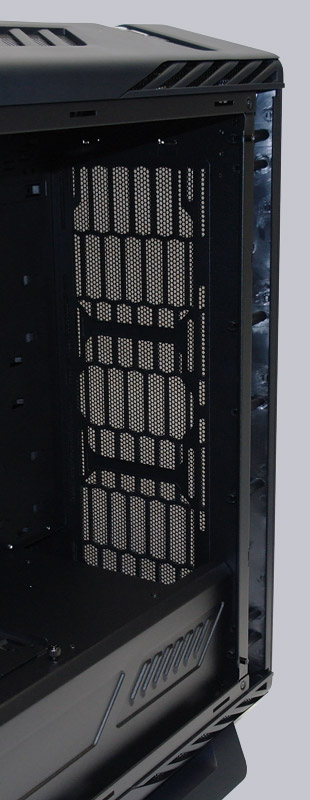
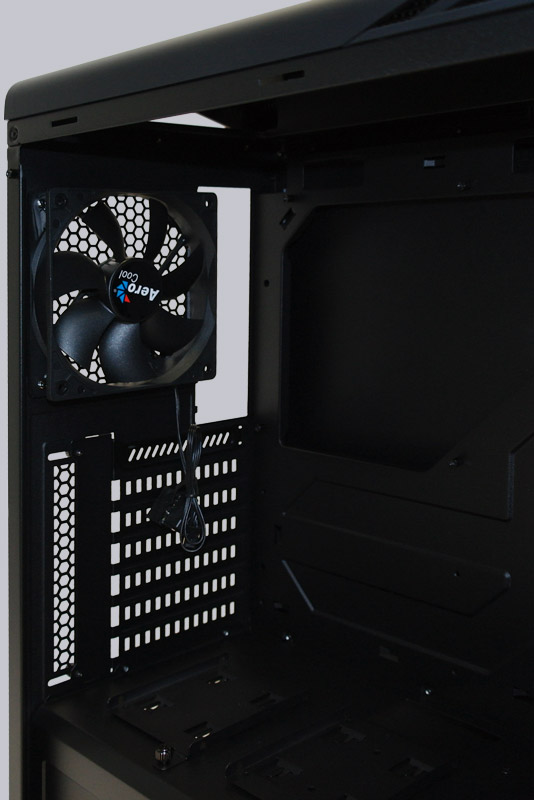
Here you can see the upper fan mounting possibility.
And here you can see the pre-mounted rear 120 mm fan and the clever fixed slot bracket.
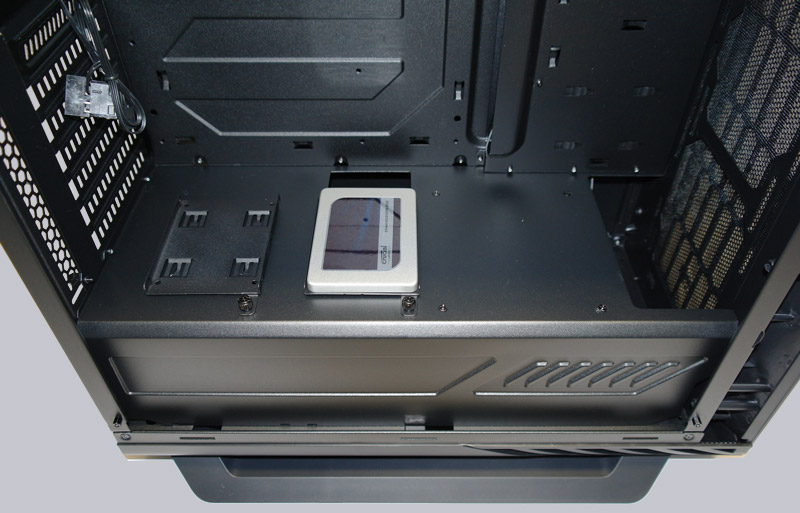
At the bottom are – similar to the recently reviewed Cooler Master MasterCase Pro 3 two 2.5″ frames.
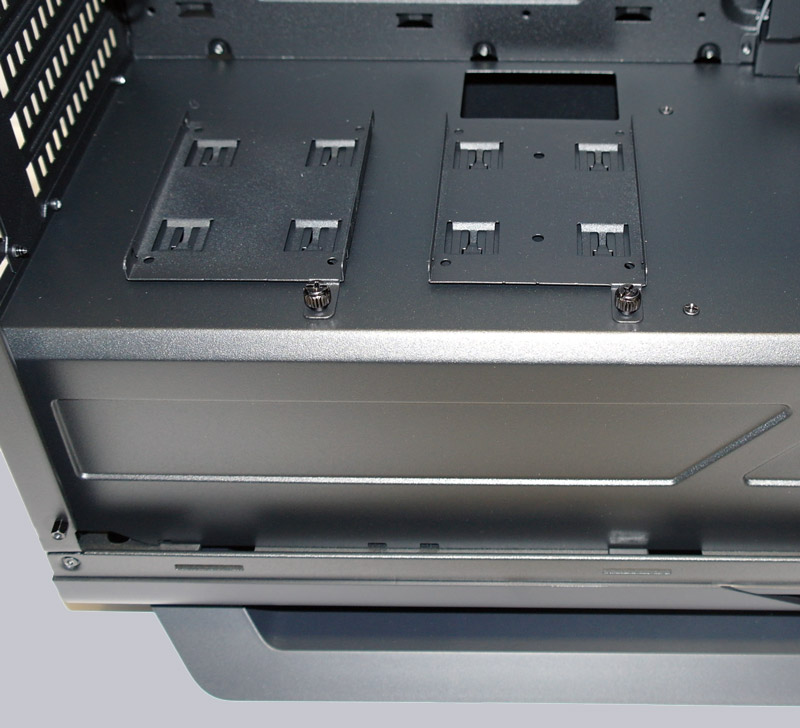
The two frames are fixed with thumb screws …
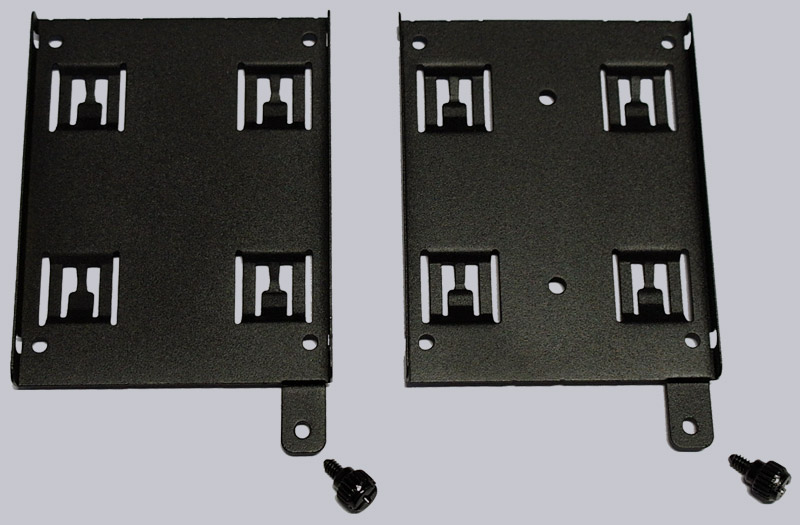
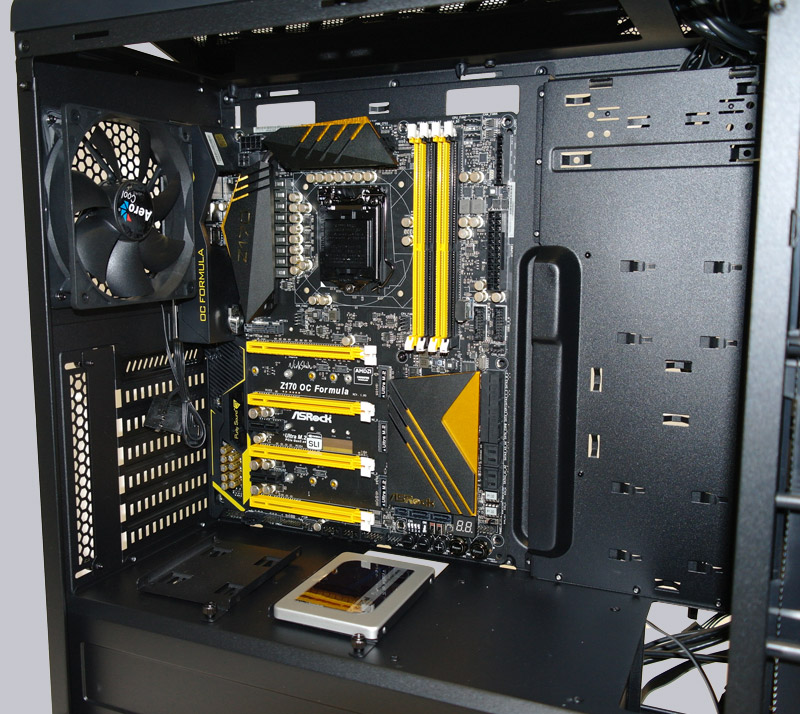
… and, for example, can equipped with SSDs – in the picture we see the recently reviewed Crucial MX300 750GB SSD.
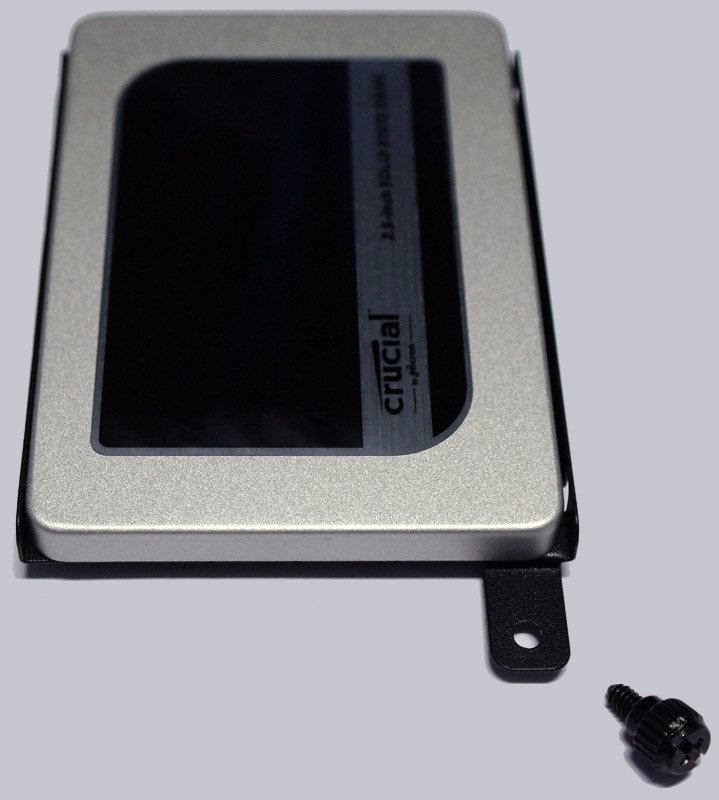
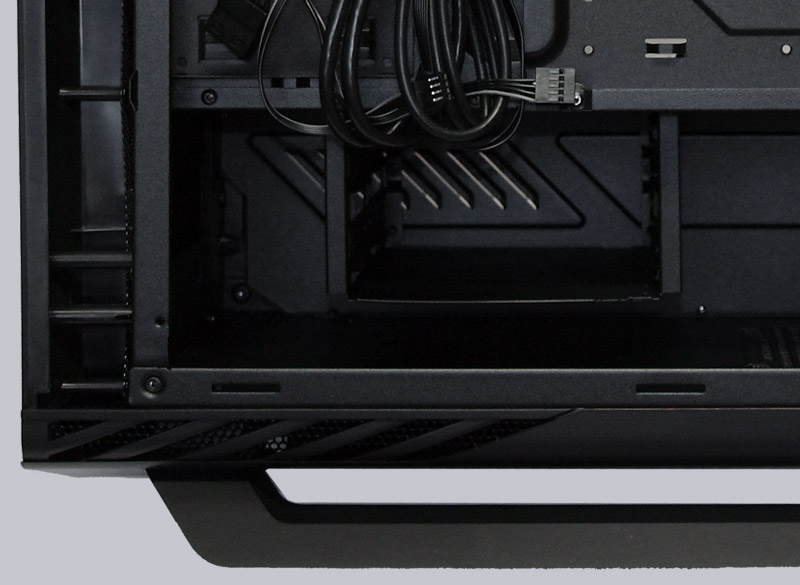
Here you can see the assembled SSD, where the cables are placed down through the hole to improve the appearance and better air circulation in the enclosure.
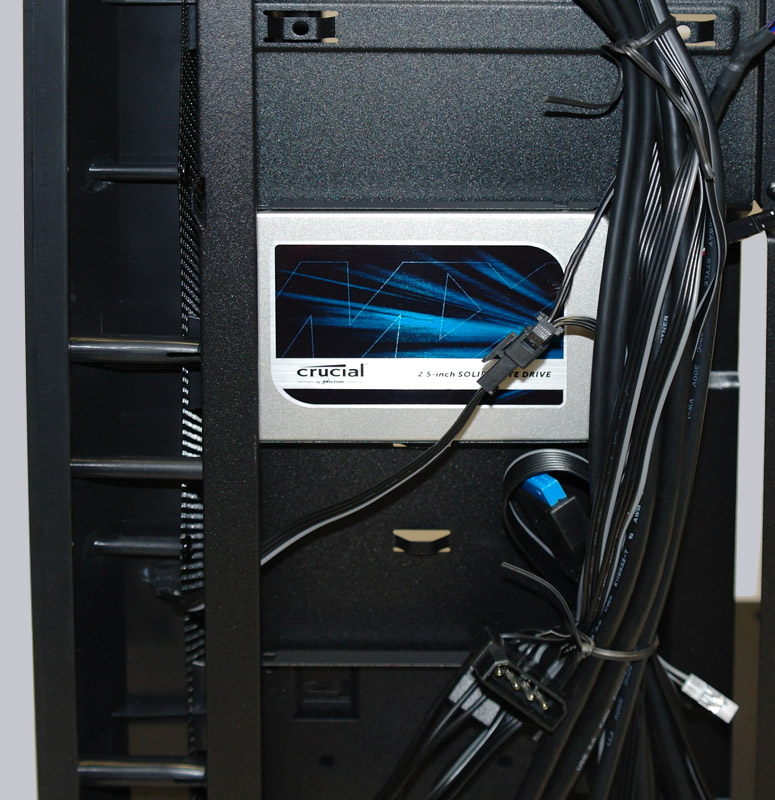
Now we come to the back, where the whole cables will be laid and merged. On this picture you can see the large cut-out behind the motherboard for hassle-free mounting of the cooler backplate. Bottom right in the picture, the PSU is mounted on the relatively primitive dust filter mat.

Bottom left two 3.5″ hard drives can be installed by screw-less drive rails.
There are also two more frames for 2.5″ SSDs, so in the AeroCool Project7 case can accommodate up to four SSDs.
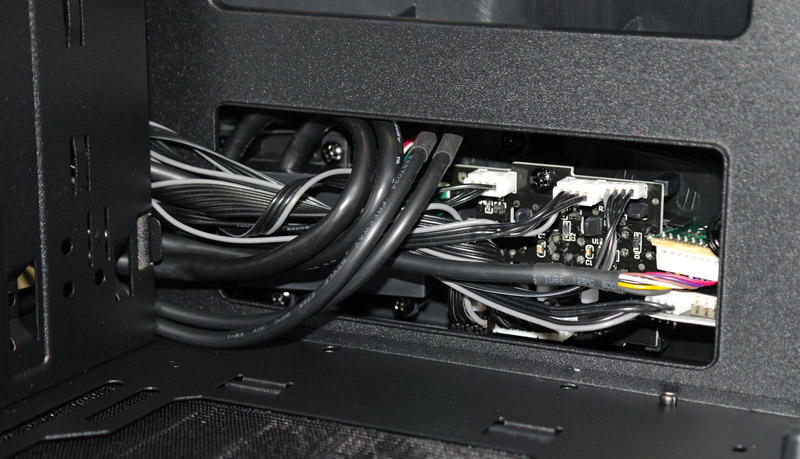
On the previous screen, we could already see the cables and all connection cables of the Midi Tower. Where the one or the other certainly directly recognized three special connections. In addition to the conventional plugs and well labeled USB 3.0, USB 2.0 and HD audio, we see two connectors to install standard RGB LED strip blocks.
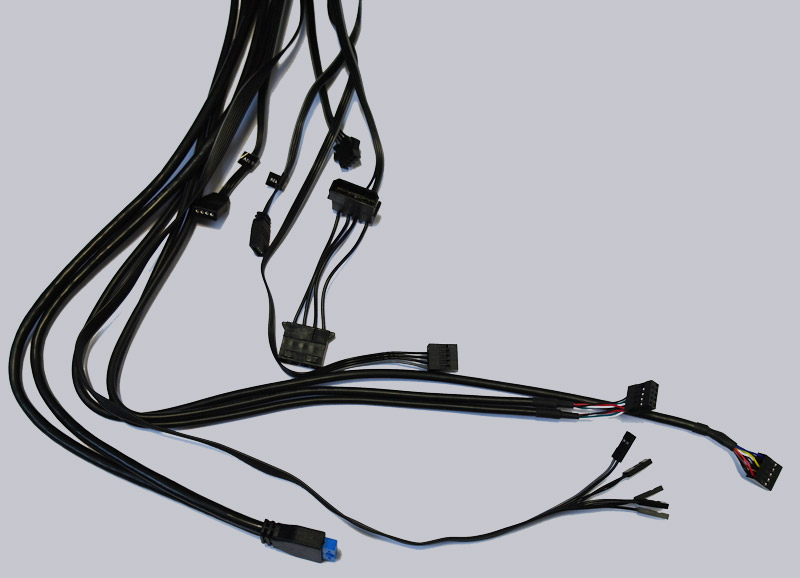
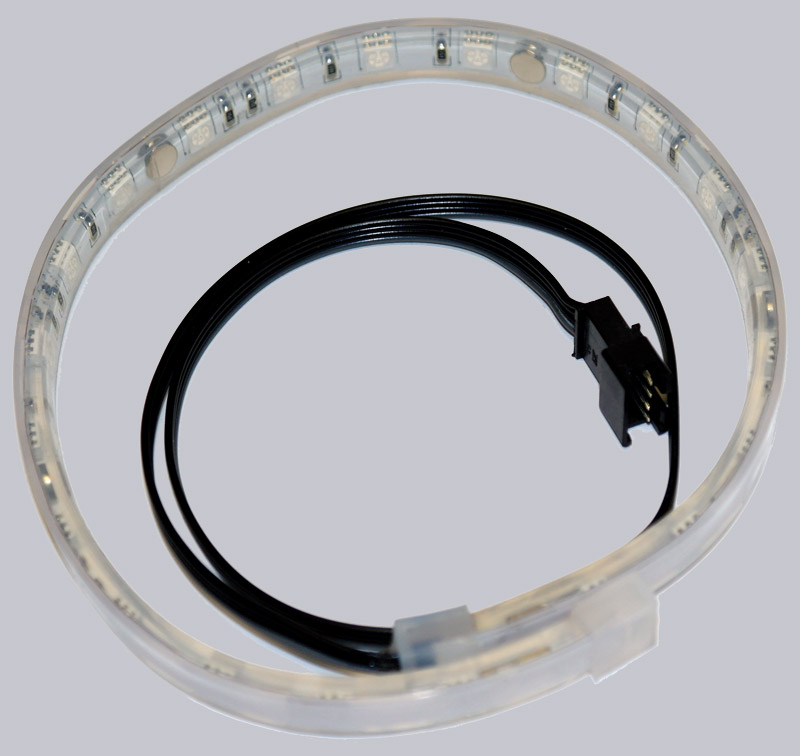
And the supplied RGB stripe which is equipped with magnets is connected to the third special plug.
With so many 4-pin RGB LED connectors, it’s not surprising that it’s looking like this behind the scenes on the front panel.
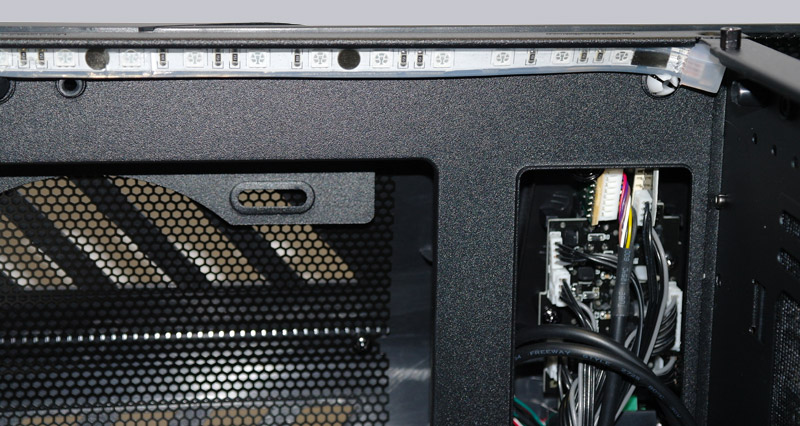
The supplied RGB stripe could be either apply in chassis top, where directly on the side unfortunately only limited space is available. Or you could install the stripe along the top fans.
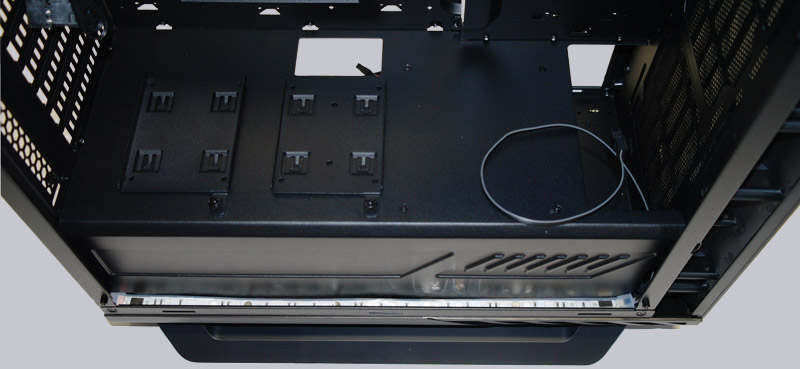
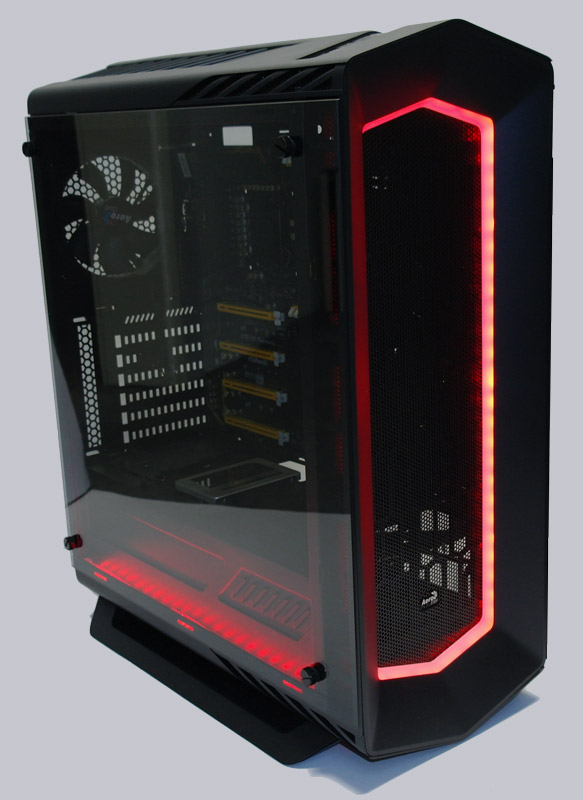
Or placing the LED Strip just below into the gap before the side panel. Not directly to lit the components, but you see a very nice effect with the Tempered Glass panel.
Now let us install the motherboard – in our case ASRock Z170 OC Formula Intel LGA1151 Motherboard and other components to see better the effects.
Here you can again see a picture of the finished PCs, but a yellow lighting also not bad fits for the ASRock OC Formula motherboard, but you can select it at any time over the button on the front panel.
AeroCool Project7 P7-C1 Result and general impression …