
Installation …
The Arctic Freezer 7 X is compatible with the current Intel sockets up to LGA 1200 and the AMD AM4 socket. Many previous AMD sockets are supported as well as many previous Intel sockets. If you really want to mount this small cooler on an Intel LGA 2011 or LGA 2066 CPU or an AMD TR4 CPU, you will have no luck, because these sockets are not supported – neither mechanically nor thermally.
Let’s now come to the cooler installation on AMD systems and on Intel systems.
AMD …
The AMD installation couldn’t be easier: Apply thermal paste or use the pre-applied Arctic MX2 WLP, remove the protective cap of the cooler, put the cooler on, slide the holding bracket over the two noses of the AMD Retention Module and screw it tight, that’s it!
Intel …
For the Intel installation we need of course a retention module, because at Intel there are no noses – sounds funny, hopefully it’s the same 😀
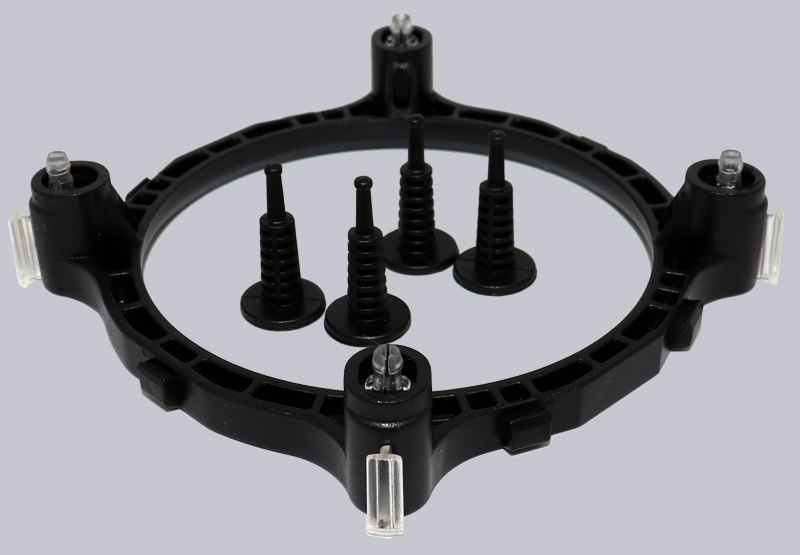
For this, Arctic puts a small frame with push-pins, which turns the Intel socket into an AMD retention module.
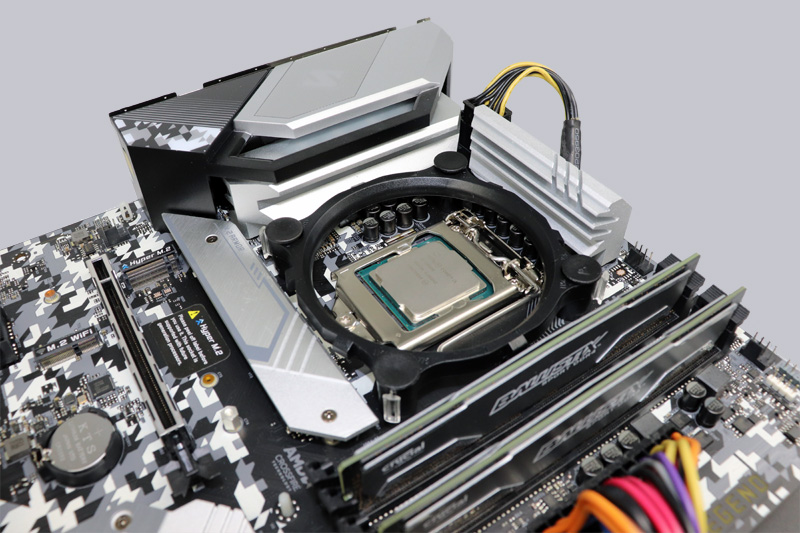
We have mounted the new Arctic Freezer 7 X on several motherboards, including this current ASRock Z490 Steel Legend Intel LGA 1200 motherboard.
So for an Intel socket you first put the frame on …
… push the frame slightly onto the motherboard and insert the four provided push-pins into the holes in the corners.
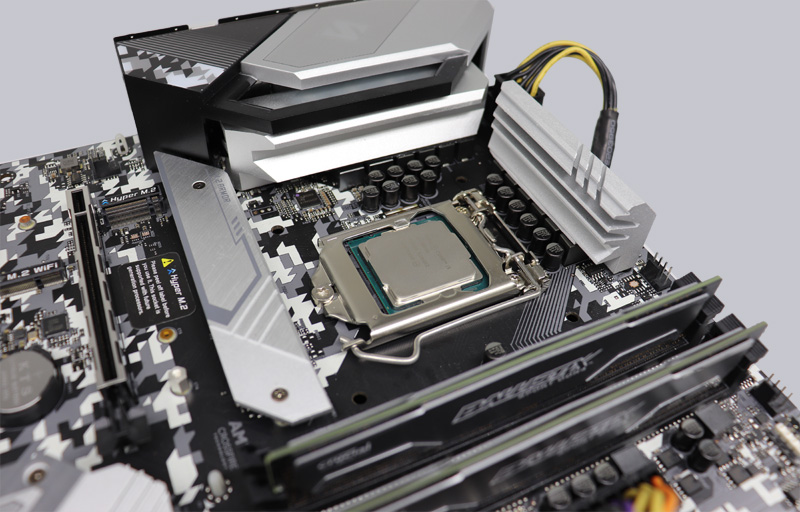
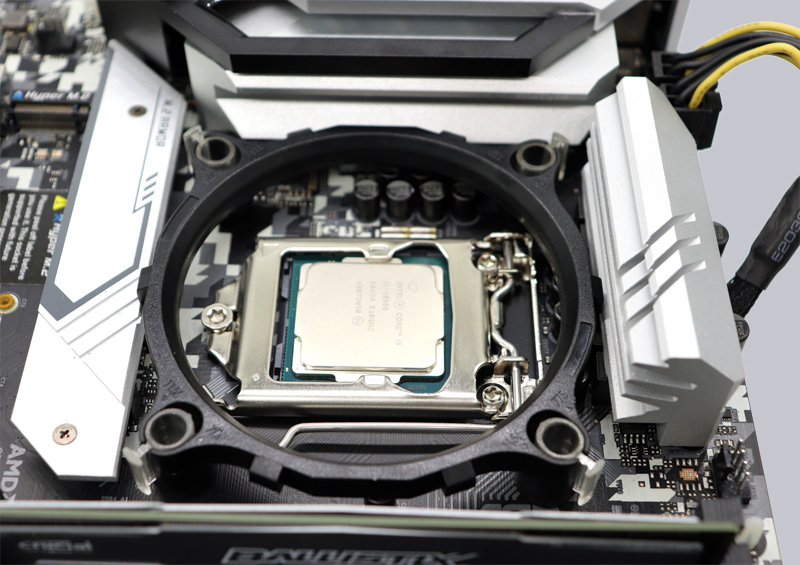
But at the latest now it becomes clear – no matter how you turn the frame and the lugs for the retaining clips – on the LGA1200 ASRock Steel Legend motherboards/a> there is not enough space! Therefore one should also necessarily take a look at the more or less up-to-date Mainboard compatibility lists of the respective cooler manufacturers before the purchase!
With the ASRock Z490 Steel Legend, we were lucky to be able to simply flip the side VRM cooler around so that the cooling fins face outwards and there is much more space inside!
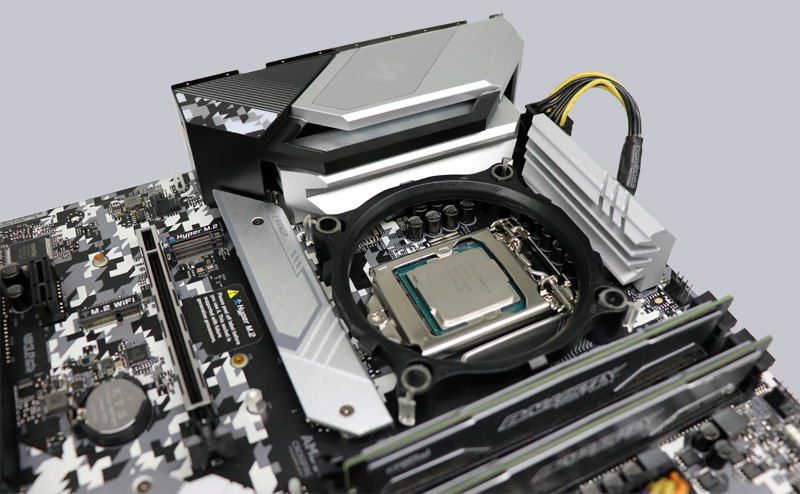
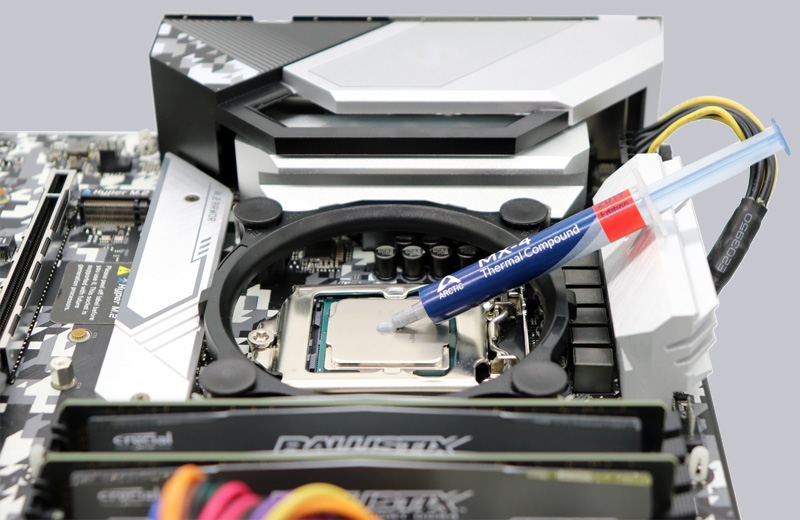
Now apply a little heat-conducting paste or use the pre-applied thernal paste, remove the protective cap of the cooler and the cooler can be mounted like on an AMD base. With the Arctic MX-4, we use an above-average heat-conducting paste with 8.5 W/(mK), which ensures optimal contact between the cooler and the CPU. There are several ways how to apply thermal paste best – we decide on an appropriate amount on the middle of the CPU without prior spreading. By pressing it on, we reach all spots of the small heatspreader of the Intel LGA1200 CPU. Depending on the type and size of the CPU you should vary a bit.
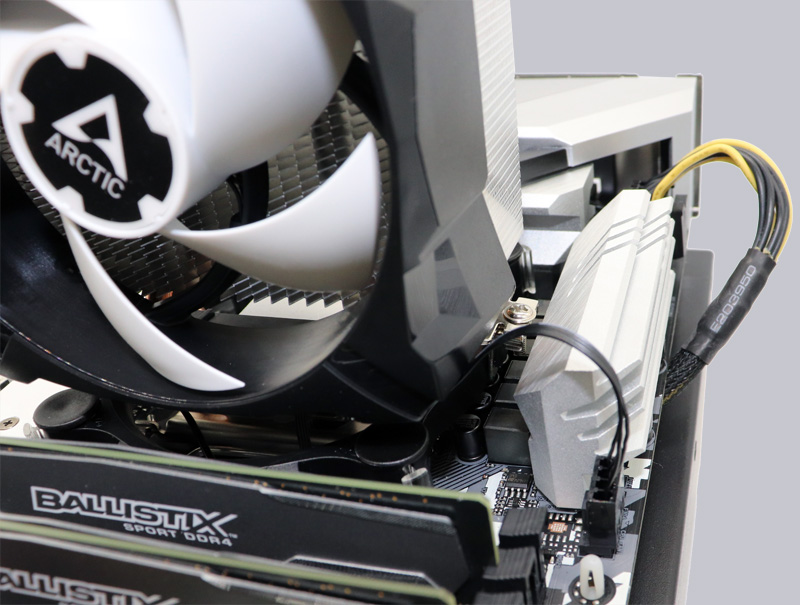
Here you can see how we bought the necessary space at the Intel socket – unfortunately also with a small disadvantage, because the coils of the phases are normally cooled by the aluminum heat sink.
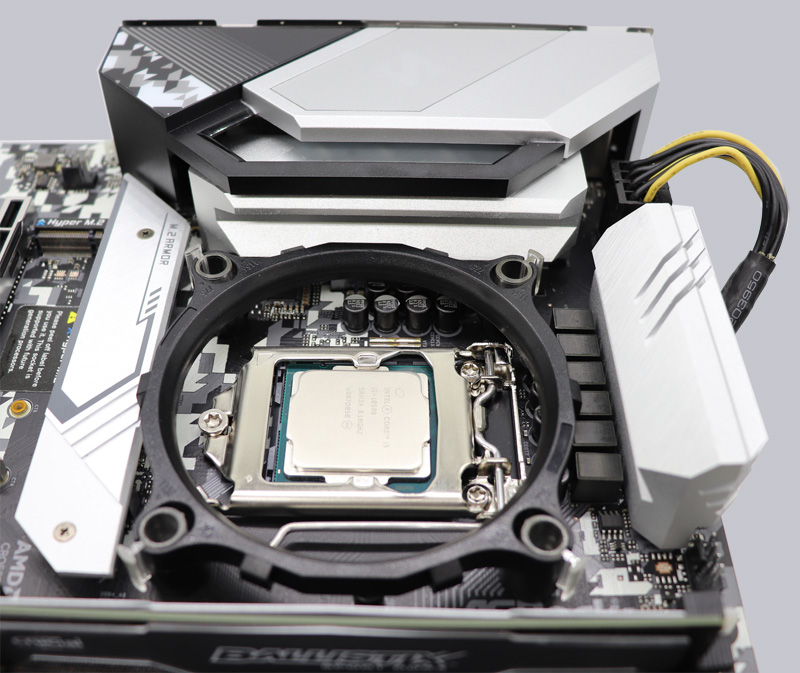
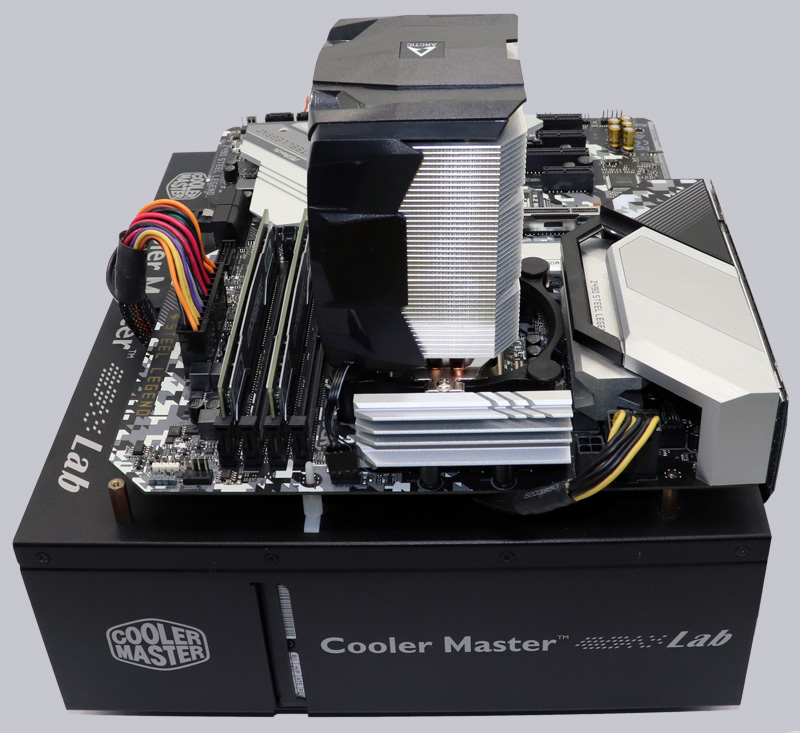
And this is what the nearly finished test system looks like.
Tip: Whether the cooler with the fan points better to the front or the back is not only a question of appearance. It depends on the used PC case and its fan or airflow. If the airflow is led into the front of the case and out of the case at the back, the fan of the CPU cooler should also be at the front in order to lead the warm air to the back. If there is only one fan at the back of the case, the cooler’s fan should be at the back to direct the cold air into the case. Depending on the used mainboard and RAM configuration, one has to vary a bit and could even mount the cooler in almost all directions, theoretically even diagonally, thanks to the flexible design of the included Intel Retention Module. At least if you have enough space in the zone around the socket.
All in all, the installation is easy and very fast even without instructions, at least if there is enough space near the base.
Arctic Freezer 7 X test setup and results …