
Installation …
The Cooler Master Hyper 212 Evo V2 is compatible with current sockets such as the Intel LGA 1200 and Intel LGA 2066 and the AMD AM4 socket. Many previous AMD and Intel sockets are also supported.
Now let’s move on to cooler installation on AMD systems and on Intel systems.
Intel Installation …
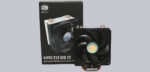
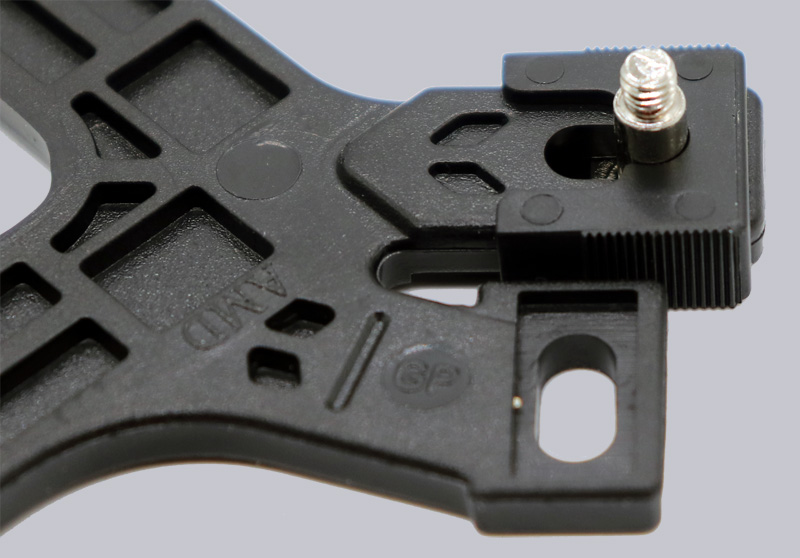
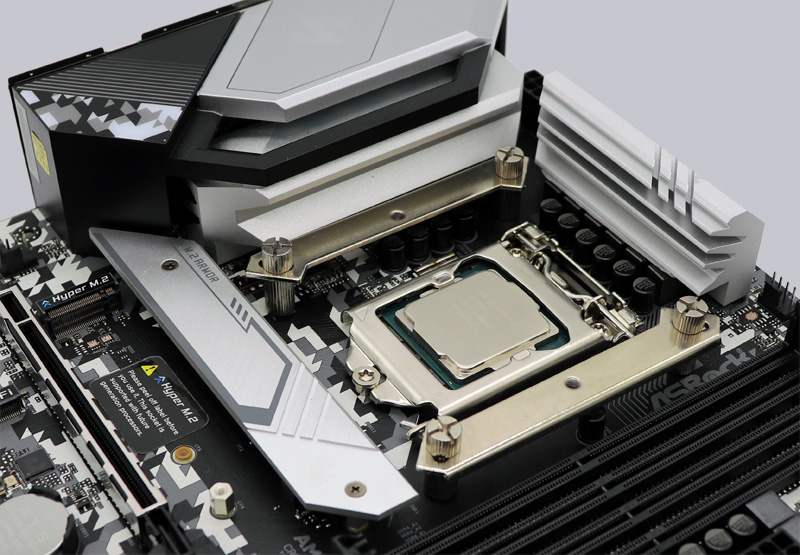
We mounted the new Cooler Master Hyper 212 Evo V2 on several motherboards for testing, including this recent ASRock Z490 Steel Legend Intel LGA 1200 motherboard. For the Intel LGA 1200 installation, we need the included retention module, but we have to modify it a bit beforehand. Because first you put the grub screw through the Intel hole.
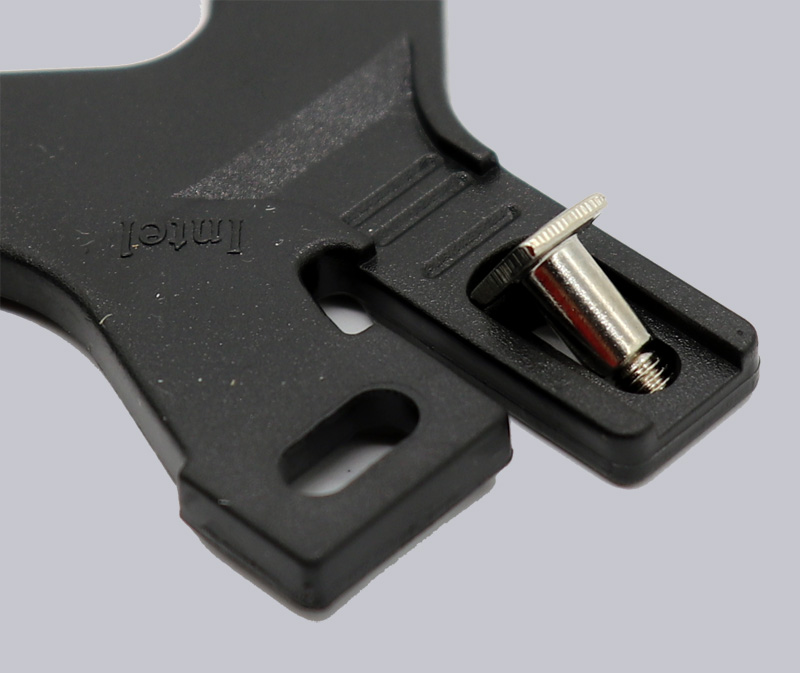
Then you slide the cap intended for Intel sockets over it.
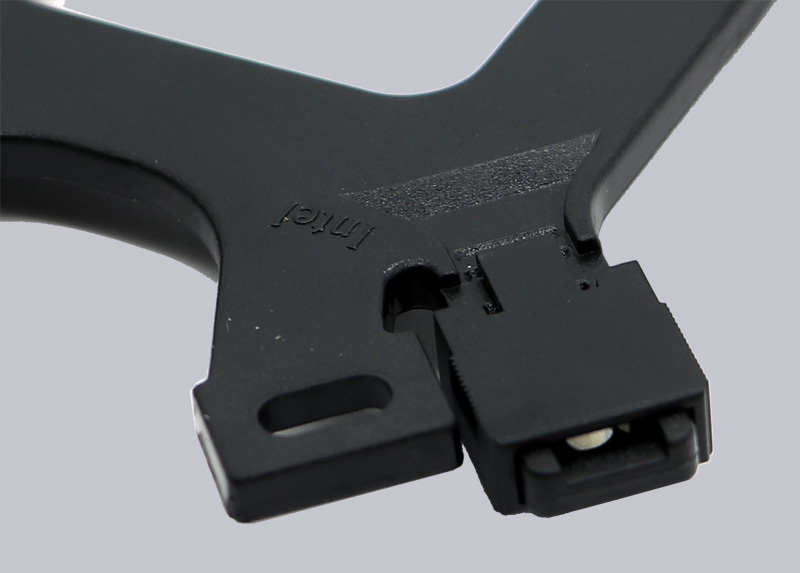
However, before you can select the correct position of the grub screw with the cap …
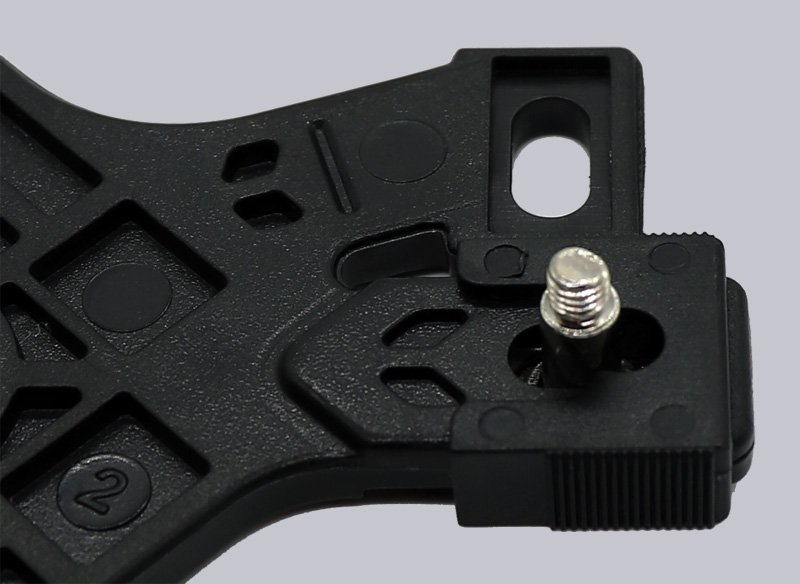
… the pin has to snap into the cap with a noticeable click. Only then can you slide the position outward or inward, depending on the Intel socket.
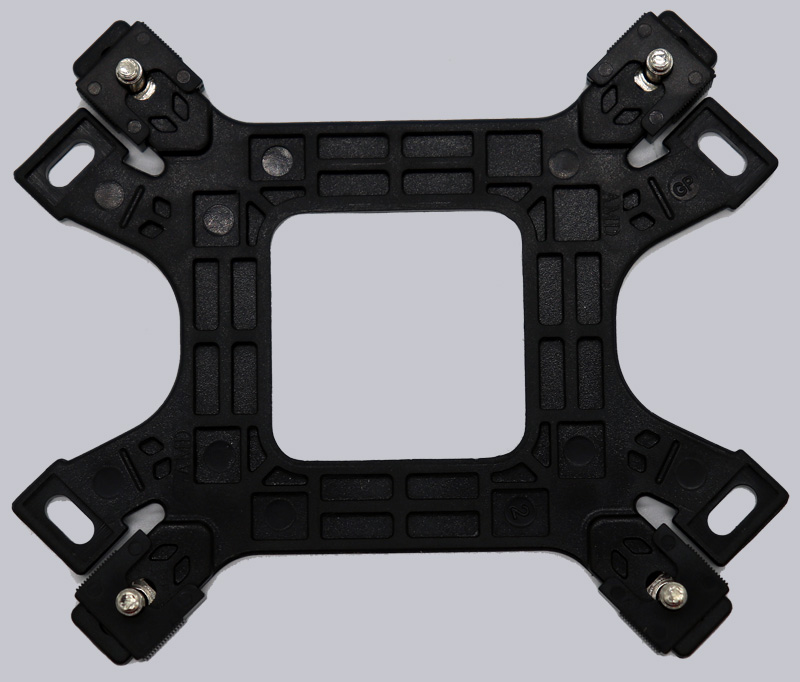
Repeat this for all 4 corners and the Intel Retention Module is ready.
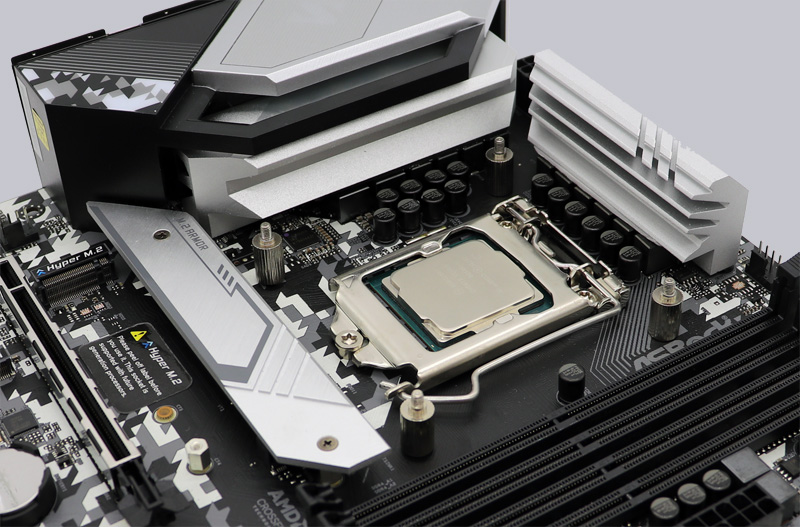
Now hold the retention module under the mainboard so that the threads protrude through the 4 holes.
Then the whole thing is fixed with the spacer screws. Thanks to Thumbscrew design, they can be easily screwed tight without additional tools.
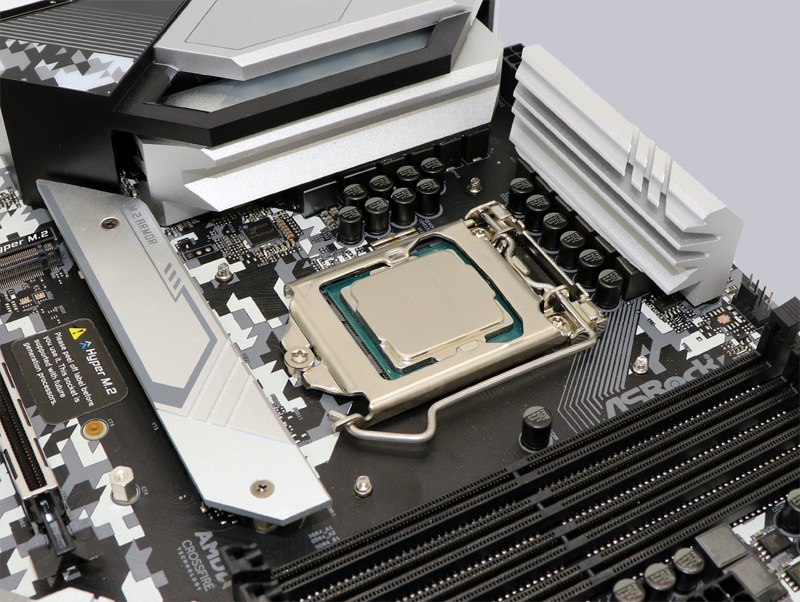
Now mount the two retaining clips.
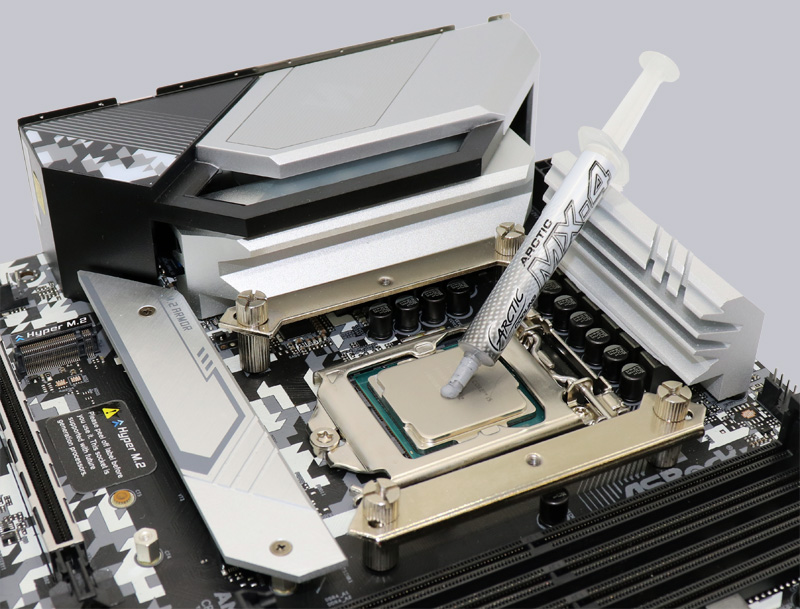
Then remove the protective foil from the cooler base and apply a little thermal paste to the CPU or the cooler base. We use Arctic MX4 thermal paste with 8.5 W/(mK) to compare the cooling results, which ensures optimal contact between the cooler and CPU. Of course, you can also use the included Cooler Master Mastergel Pro thermal paste. There are several ways to best apply thermal paste – we opt for an appropriate amount from our slightly larger stockpile on the center of the CPU without prior spreading and thus reach all spots of the small Intel LGA1200 CPU heatspreader by pressing it on. Depending on the type and size of the CPU, you should vary a bit here.
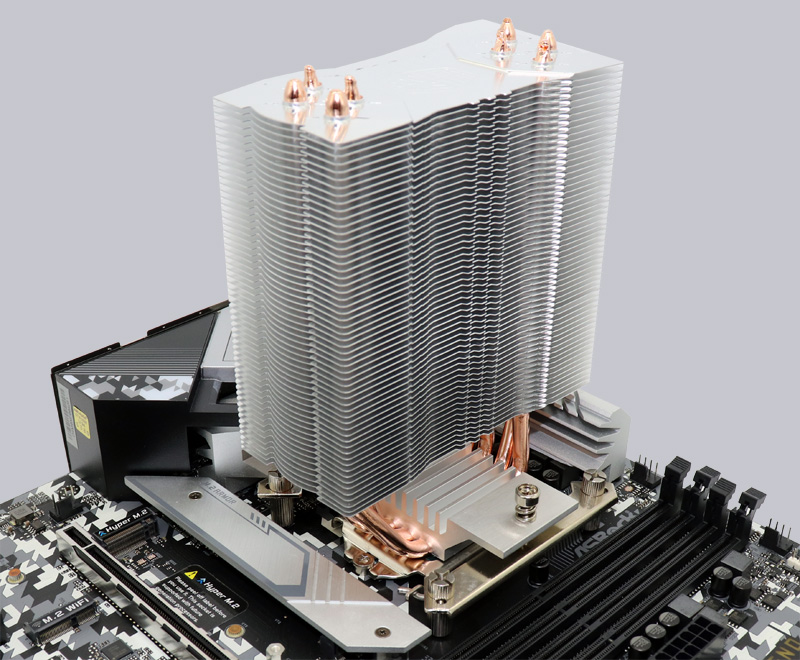
And the cooler can already be mounted by means of the two screws. The springs ensure an optimal contact pressure. Unfortunately, you have to remove the fan from the heatsink for a short time to screw it on, since these two screws were not designed as thumbscrews. So you have to use a Phillips screwdriver to tighten them.
And this is what the finished test system looks like.
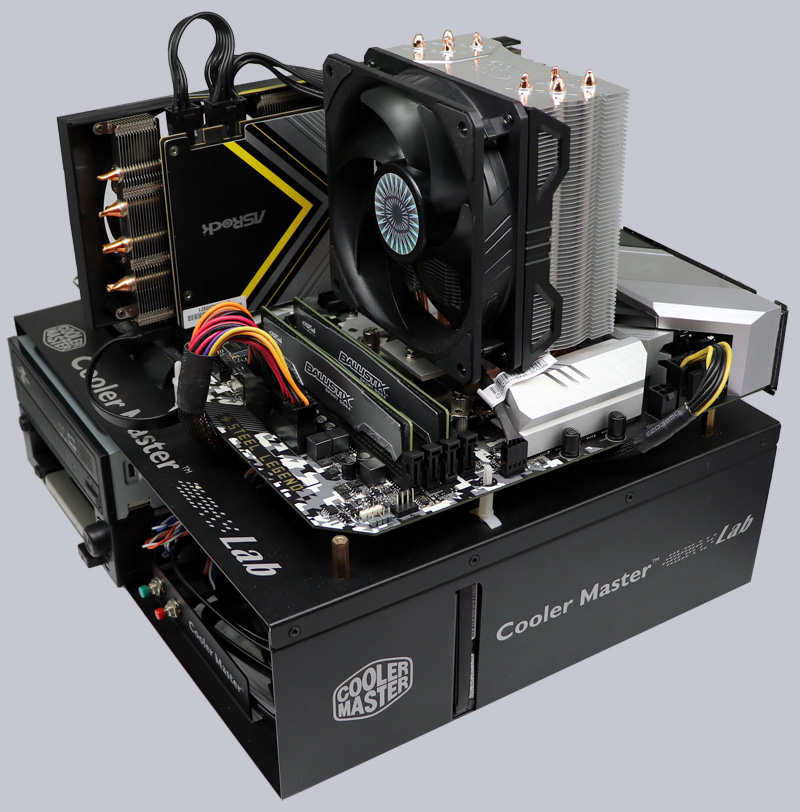
Tip: Whether the cooler with the fan points better to the front or back is by no means only an optical question. It depends on the PC case used and its fan or airflow. If the airflow is directed into the case at the front and out of the case at the back, the fan of the CPU cooler should also be mounted at the front to discharge the warm air to the back. On the other hand, if there is only one fan in the back of the case that directs the cold air from there into the case, the cooler’s fan should be in the back and direct the warm air to the front. Depending on the motherboard used and RAM equipment, you can vary a bit here and could even mount the fan a bit higher in the process thanks to the flexible design of the fan mount.
AMD installation …
The AMD installation is done just as quickly as the previously explained Intel installation. Whereby one turns the supplied retention module for this and uses the other four holes, then unscrew the two brackets from the original AMD retention module, mount the AMD metal brackets with the screws included for the AMD installation, apply the thermal paste and screw on as with the Intel installation with a Phillips screwdriver.
Overall, the installation is quick and easy even without instructions, but a look at the included instructions is advisable as always and before buying the cooler, you should also take a look at our interactive Fit for Fan guide to be on the safe side.
Cooler Master Hyper 212 Evo V2 Test setup and results …