
Layout, design and features …
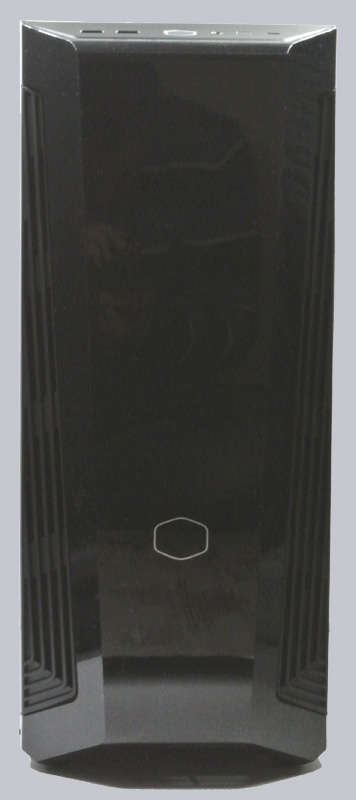
The front of the MasterBox 540 looks very simple and inconspicuous, only a small Cooler Master logo stands out a bit. Overall, the front has a very high-quality finish. The choice of material could be a bit problematic. Cooler Master uses transparent Plexiglas, which is very scratch-sensitive if you are not careful. It also tends to attract dust.
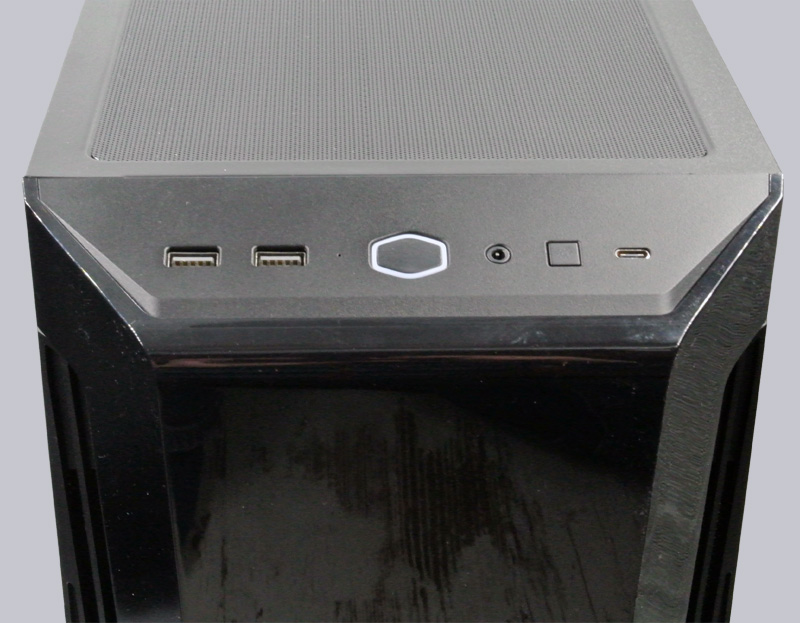
There are no extravagances in the front connections, two USB 3.2 A connections and one USB 3.2 Type-C adorn the port row. These are supplemented by a 3.5 mm headset port, a power button and a reset (or ARGB) button.
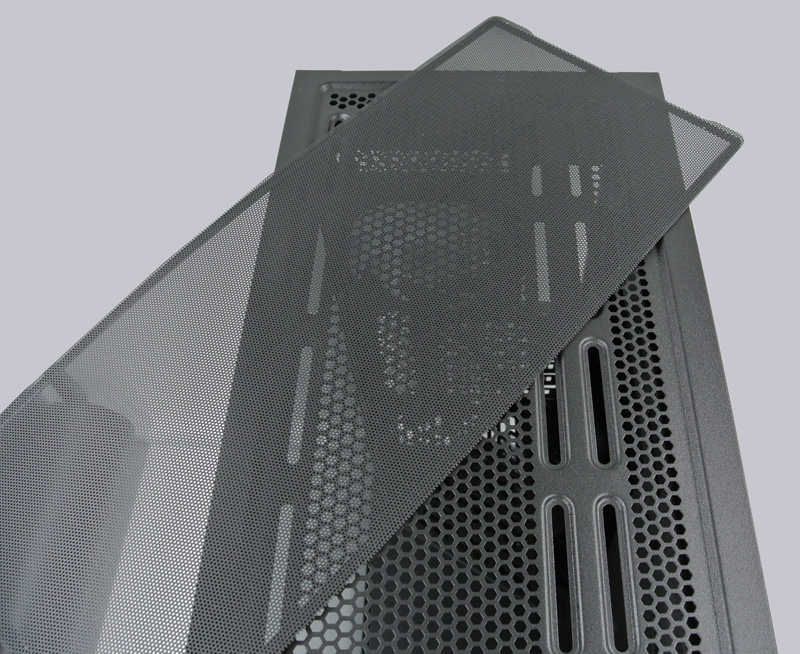
The magnetic dust filter on the top is also very practical and visually appealing. It can be removed and cleaned very easily. In addition, you can mount radiators or fans without much effort.
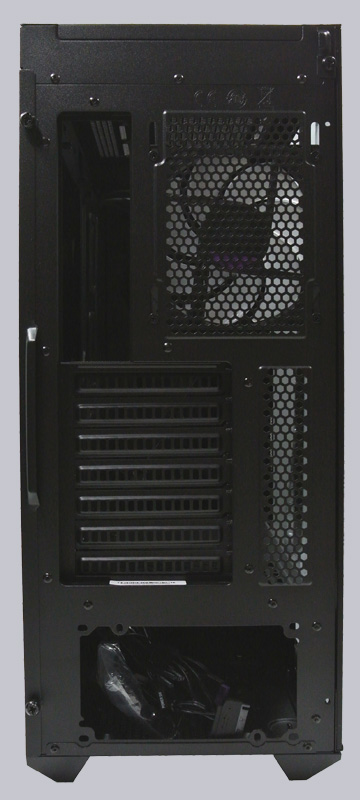
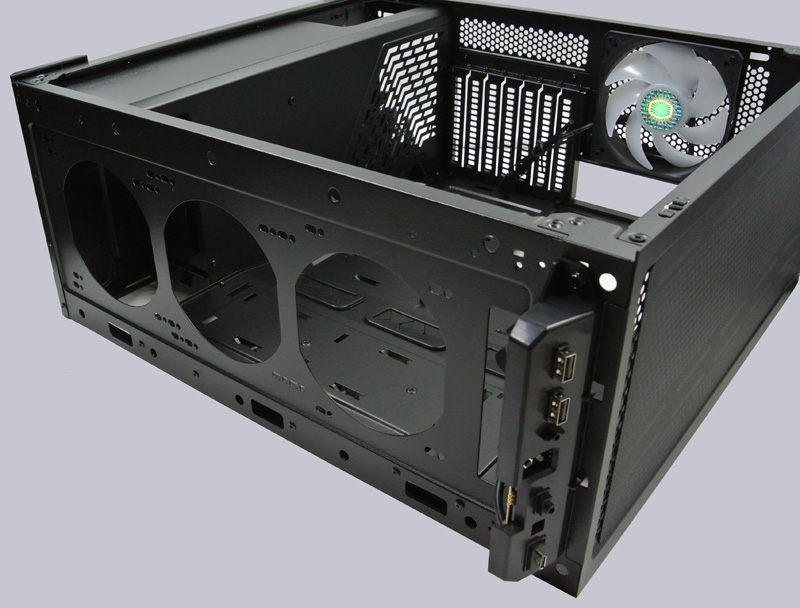
From the back, the MasterBox 540 also looks very classic. The slot for the ATX power supply is located at the bottom as usual nowadays and further up we can take a first look at the pre-installed 120mm fan.
After removing the side panel, we can take a look behind the scenes. Here, 3 rubberized cable grommets, a removable hard drive cage, as well as …
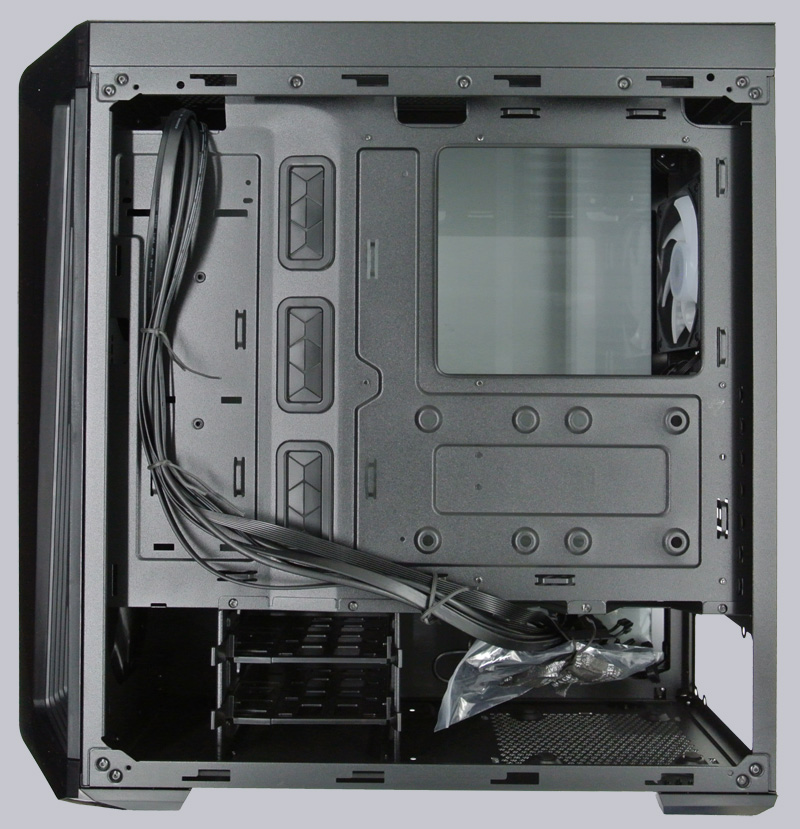
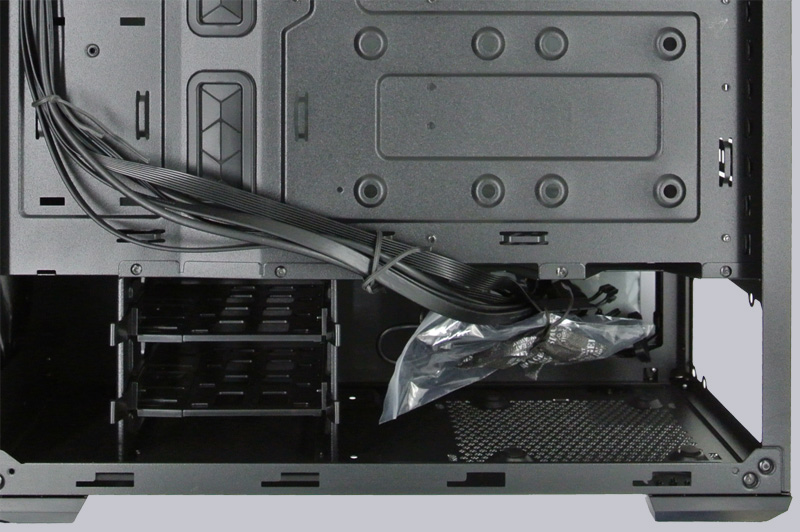
… somewhat hidden a bag with the mounting material. It contains all the necessary screws and a set of cable ties. Above that are two 2.5″ slots for mounting HDD/SSDs.
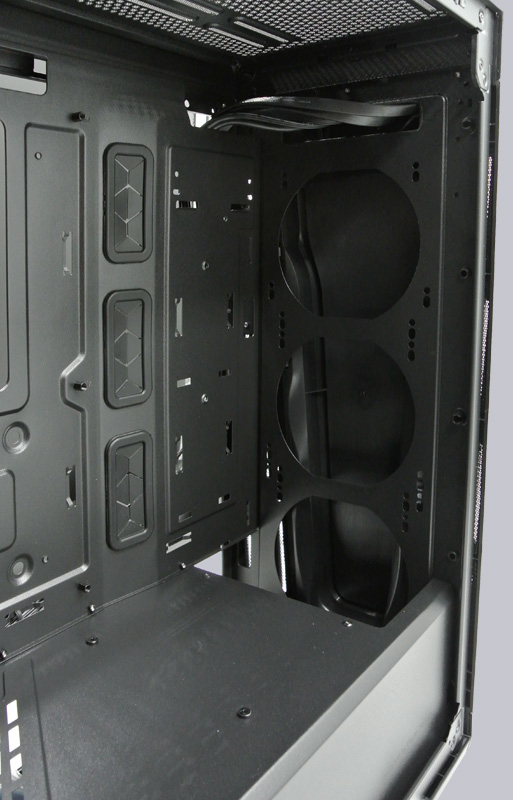
We now remove the glass pane on the other side and turn the case around. The first thing you’ll notice is the large cutout in the center of the image. This is very handy when installing most aftermarket processor coolers that require a backplate for mounting. This eliminates the hassle of removing the motherboard.
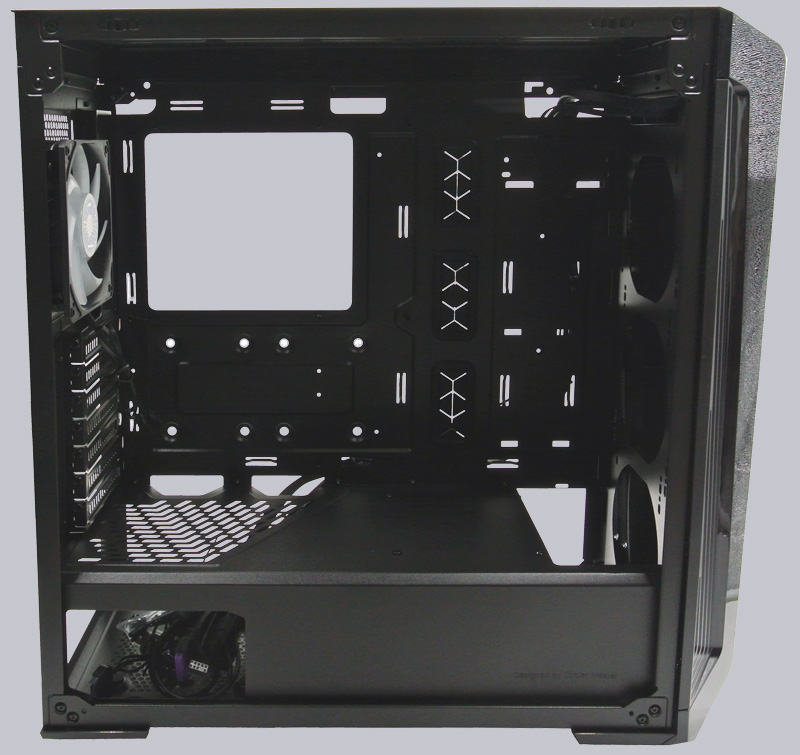
From another perspective, we can see the mounting option for three 120mm fans or two 140mm fans. Alternatively, a radiator with a length of up to 360mm can be mounted here.
To place a radiator in the front, you first have to remove the front panel, which is very easy by the way. A strong jerk on the underside is sufficient here. The radiator can then be easily screwed in from the outside.
Speaking of the front panel, it is also illuminated like the pre-installed fan and the actual gem of the case, but more about that later. Cooler Master has had a very good idea here, instead of an annoying cable, a contact surface was chosen as the connection.

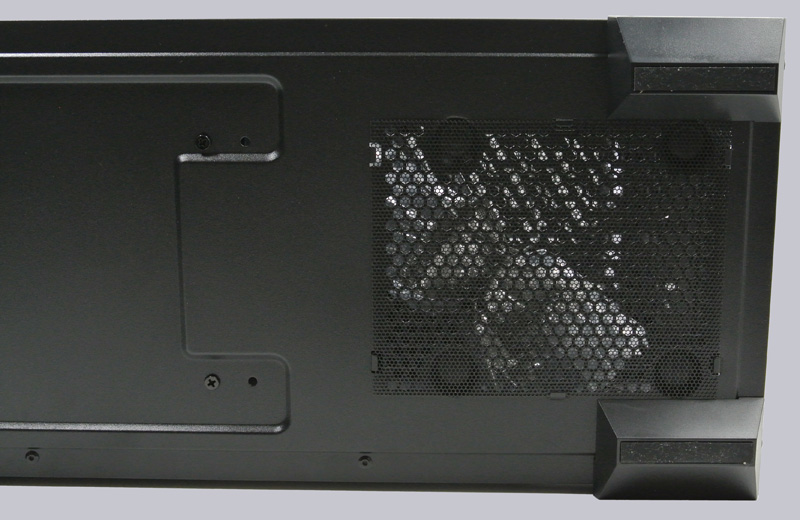
Finally, we take a look at the bottom of the MasterBox 540. Here you can see another dust filter, and there is also a small point deduction. Unfortunately, this one does not have a stabilizing frame. This would have been practical, since inserting the dust filter can be a bit fiddly.
Let’s now move on to the installation of the hardware in Practical testing.
Cooler Master MasterBox 540 Practical testing …