
Layout, design and features …
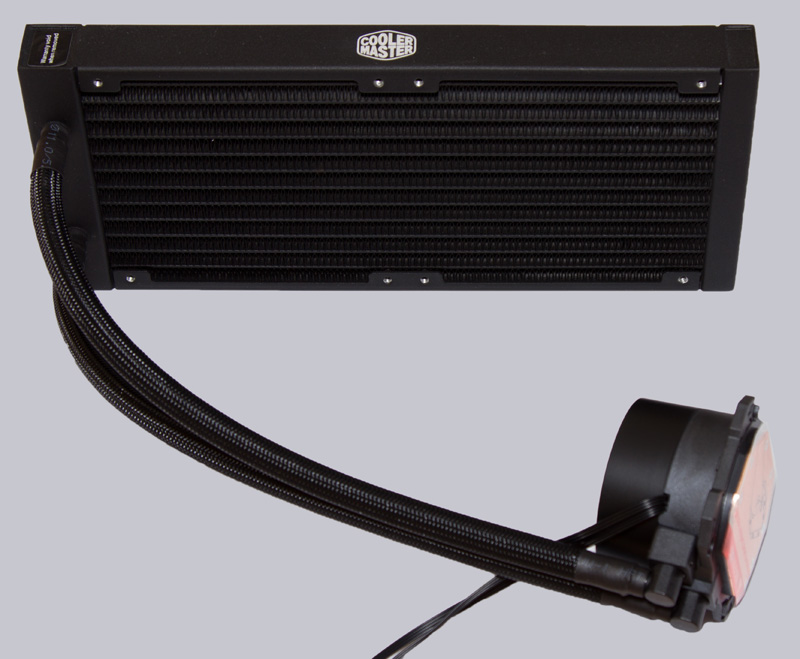
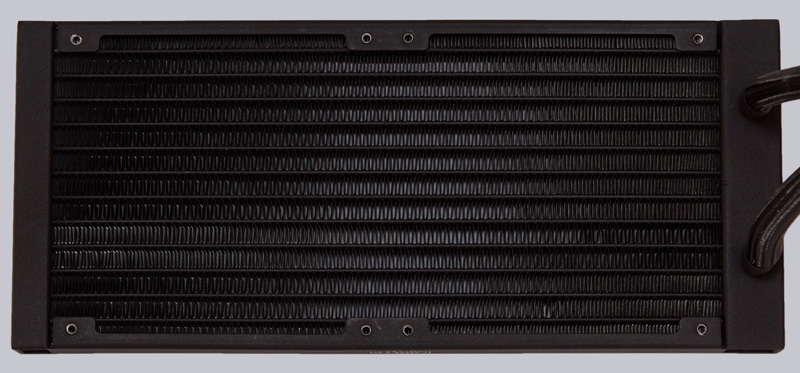
The aluminium radiator of the revised ML240L V2 water cooling system now has a very rough surface. The dimensions are identical to those of the Cooler Master ML240P Mirage Water Cooling, which we tested some time ago. Compared to the previous model, the thickness of the radiator is now better utilized. As a result, the cooling channels and cooling fins have become longer in depth. This results in a larger, effective cooling surface with the same outer dimensions!
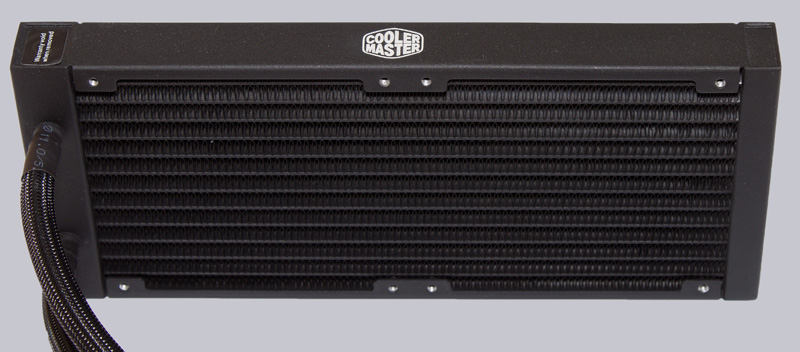
The number of cooling channels is also similar to the ML240P Mirage and the arrangement of the cooling fins also looks identical. We cannot complain about the quality of the design. The distances are even and there were no dents to be found.
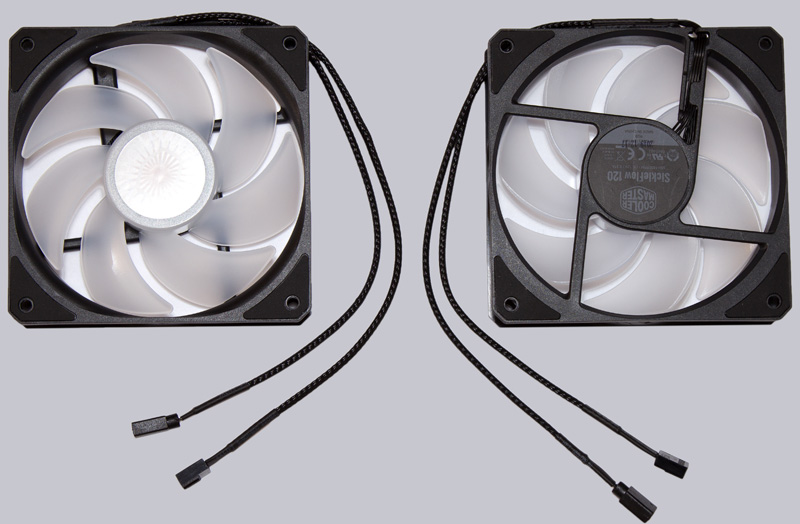
Cooler Master is using a completely new design for the fans. The name SickleFlow refers to the fan blade design. The seven fan blades are sickle-shaped and made of a milky transparent plastic. Their surface is smooth and has no other special features. No fancy knobs or stall edges were used. Since the LEDs for illumination are arranged centrally, no space is wasted for thick, illuminated outer rings. This means that the flow cross-section is not unnecessarily reduced, as is the case with some other makes. To dampen vibrations, rubber elements are embedded in the fan frame on both sides at all four corners. Each fan has a 4-pin PWM fan connector and a 4-pin RGB 12V connector.
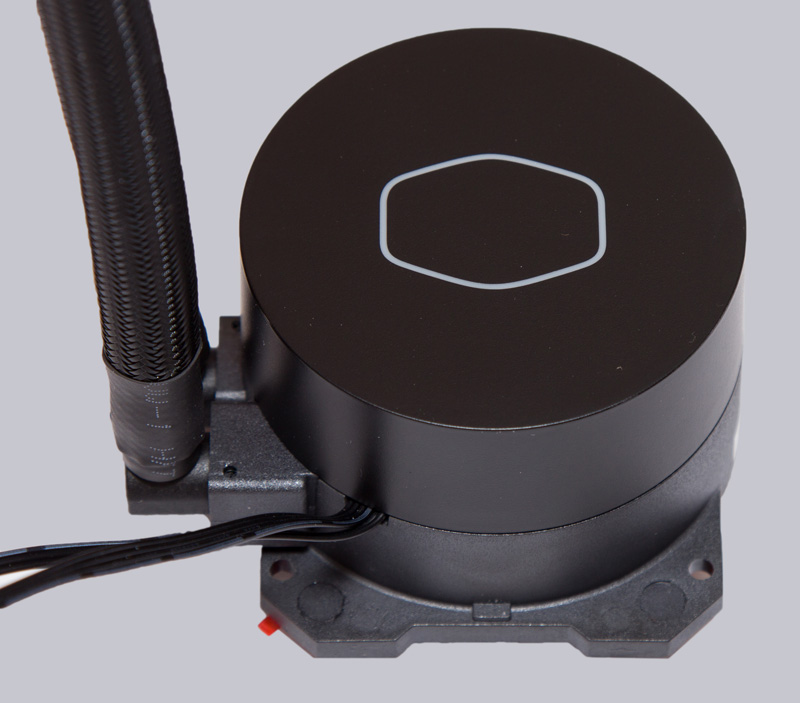
The combined cooler-pump unit is cylindrical and also completely black. On the top side, the illuminated Cooler Master logo shines in the middle, which now no longer contains any lettering. The Cooler Master seems to have a stronger seal on the rotating fittings. They are now difficult to move back and forth. Now in its 3rd generation, Cooler Master claims to have improved efficiency and performance with a new impeller design. Also the noise level is said to have been reduced.
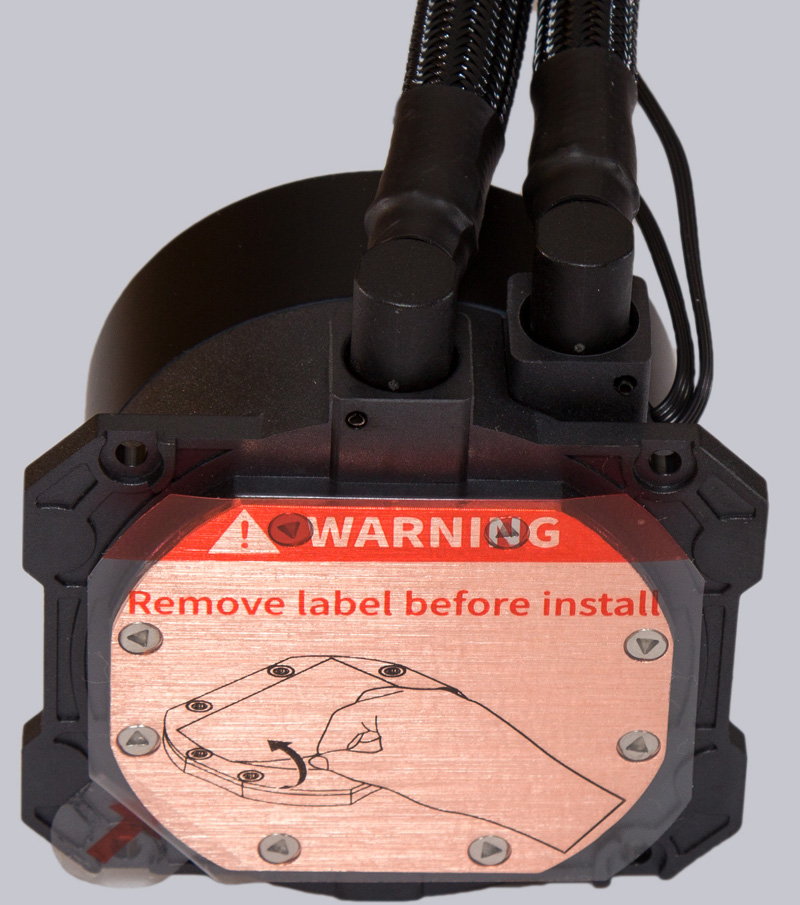
Viewed from below, we can see the protective film applied ex works on the copper radiator mounting surface. As always, this must be removed before mounting.
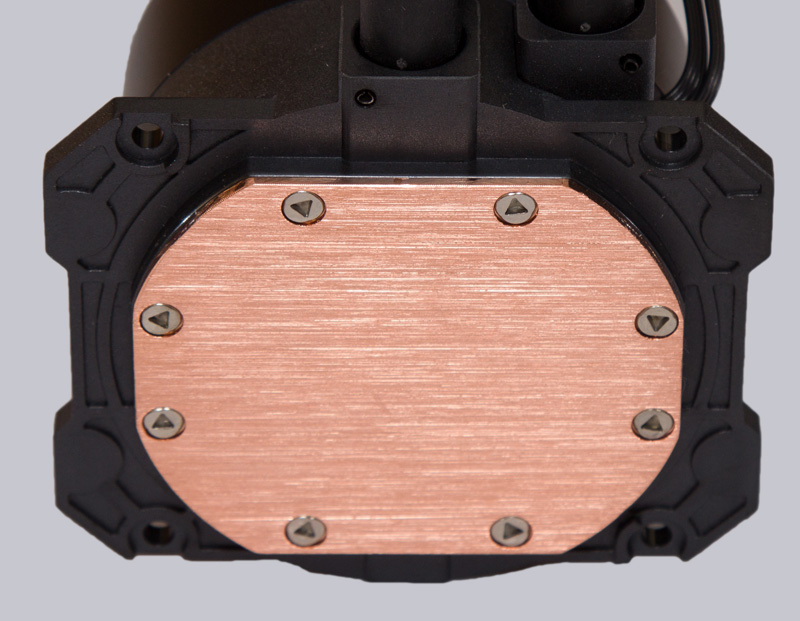
The surface of the cooling plate is roughly ground. This may not look as impressive as a mirror-polished surface, but is normally no less effective. More important is the flatness of the surface and this is flawless.
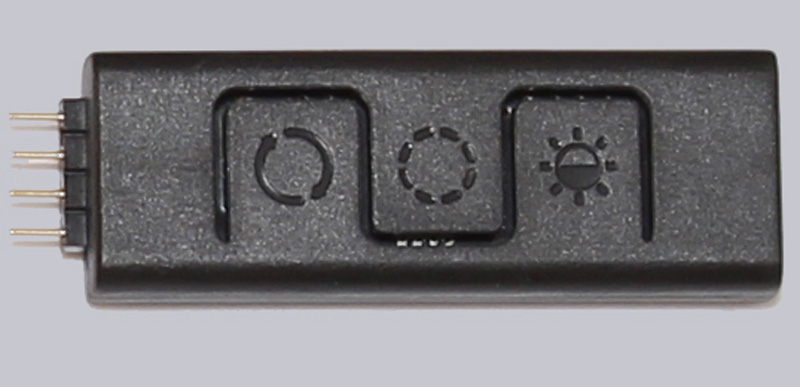
For the control of the RGB lighting a small controller module is available. It is supplied with power via an adapter cable with Molex connector. The single RGB connector controls the light effects of the two fans and the pump via a 3-way adapter cable. On its top side there are 3 buttons to select the light effect, the color and the intensity. Unfortunately there is no possibility to connect the controller with a switch on the PC case. However, if you have a mainboard with 12V RGB connector, you should connect the water cooling directly to the mainboard anyway and thus synchronize the RGB effects of the whole PC.
The next step is to install the water cooling in our test PC.
Cooler Master MasterLiquid ML240L V2 RGB Installation …