
Installation …
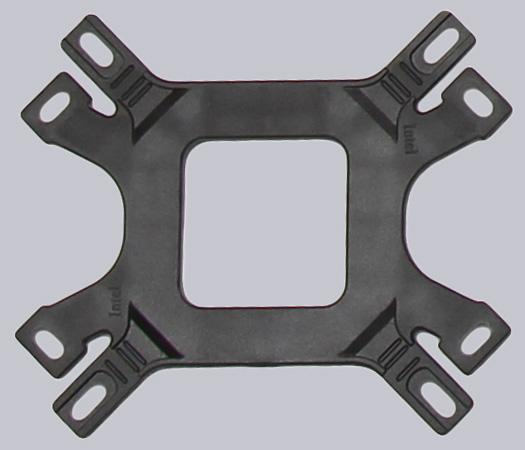
A plastic backplate is supplied for mounting the CPU cooler, which is suitable for both Intel and AMD sockets. We would have preferred a metal backplate, on the other hand plastic prevents possible short circuits and scratches on the board. The necessary equipment with the screw nuts and cover caps for the own PC system can be found in the well described manual. Even a simple sheet metal wrench for tightening the screws is included. The necessary spacer bolts, so that the cooler lies on the correct height to the CPU, are fortunately made of metal.
The backplate …
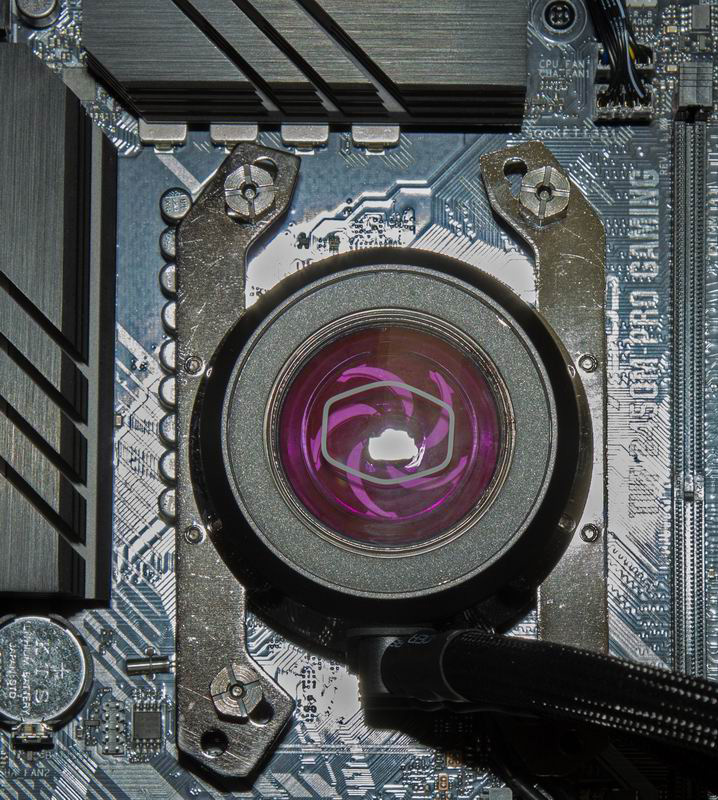
… and this is how the mounted cooler of the Cooler Master MasterLiquid ML240P Mirage looks like on an AM4 system.
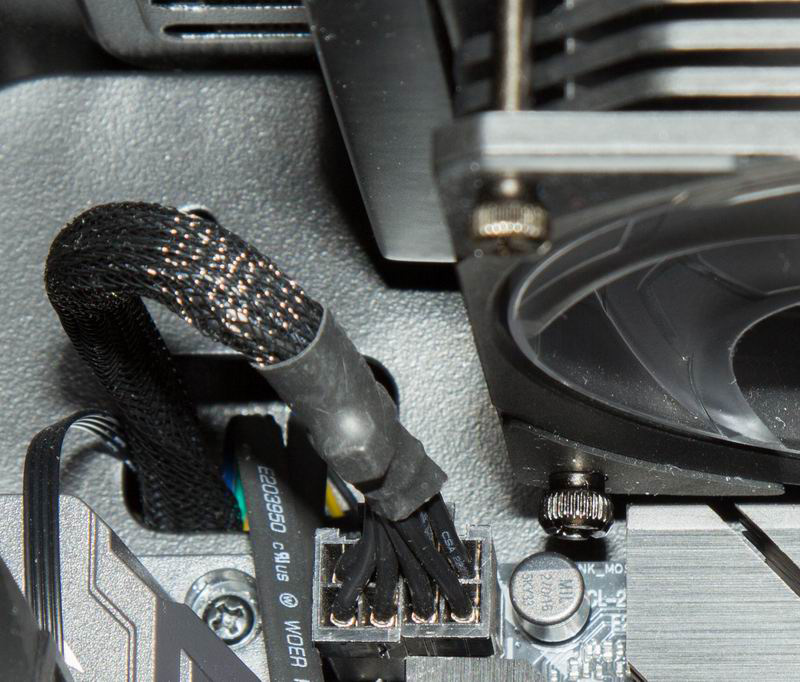
However, we noticed one point negatively during installation in this housing. The mounting screws of the fans have a very high screw head as thumbscrew, which is why we had to push the radiator with the left screw right next to the 8-pin CPU power plug, because the screw head collided with the plug lock. The screw on the VRM cooler would also have been scratched very thinly. Lower screw heads would solve this problem, but since there was room for a 360mm radiator in our test system, it was also possible to use the supplied screws. Alternatively, in case of space problems inside the case, the fans could be screwed to the radiator with short, commercially available screws on the inner fan mounting bracket.
Thanks to the respectable hose length of 450mm and the swivelling connections on the cooling block, there should generally be no problems with the installation of the radiator. In summary, the installation will not be a problem even for less experienced PC screwdrivers, as the enclosed instructions for mounting the radiator are well described and the online instructions for RGB cabling also cover all conceivable aspects. After installation, the pump made minimal noise during the first start-up due to air bubbles in the cooling system, which did not occur during later operation.
To control the RGB effects via the Cooler Master MasterPlus+ software, the RGB controller must be connected to the mainboard via a USB port. A USB header cable (mainboard header to USB type A socket) for connection to the mainboard and a USB connection cable (micro USB plug to USB type A plug) for the connection between RGB controller and header cable are included.
Cooler Master MasterLiquid ML240P Mirage Software …