

Installation …
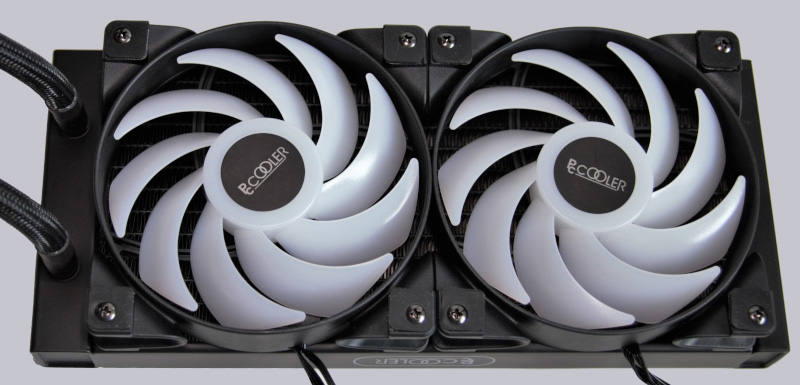
During assembly, we first start with the two fans and screw them to the radiator.
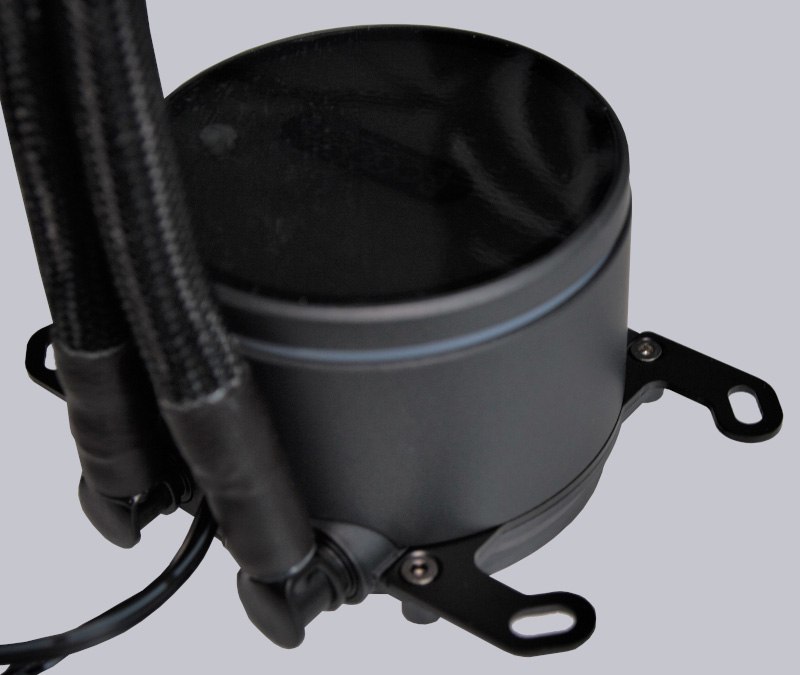
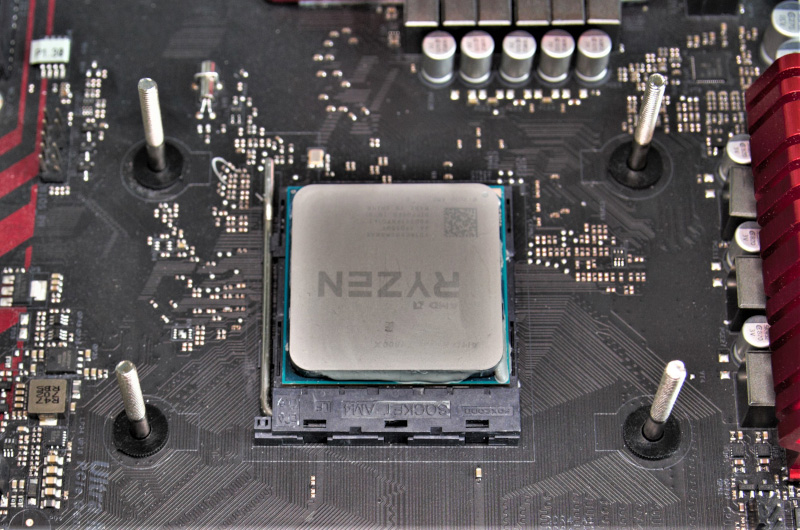
After that, we mount the mounting plates suitable for our AM4 socket on the cooler. The orientation cannot be changed, so the hoses will always be to the left or right of the cooler in a standard ATX case.
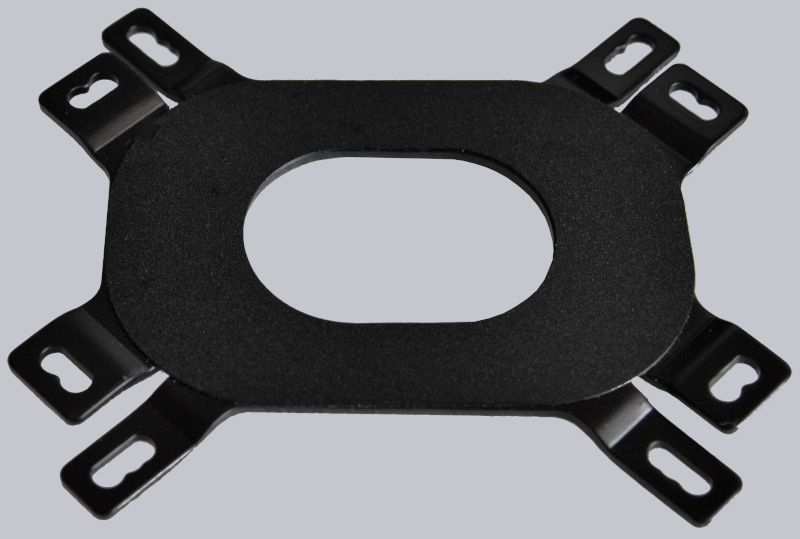
We stick a sticker made of thick plastic on the backplate so that no short circuit can occur. Unfortunately, PCCooler only includes one … should you later change from AMD to Intel or the other way around, you would have to carefully remove the insulation again and could try to use it again.
Now let’s take a look at what the next steps are.
Unfortunately, it looks like a lot of small parts …

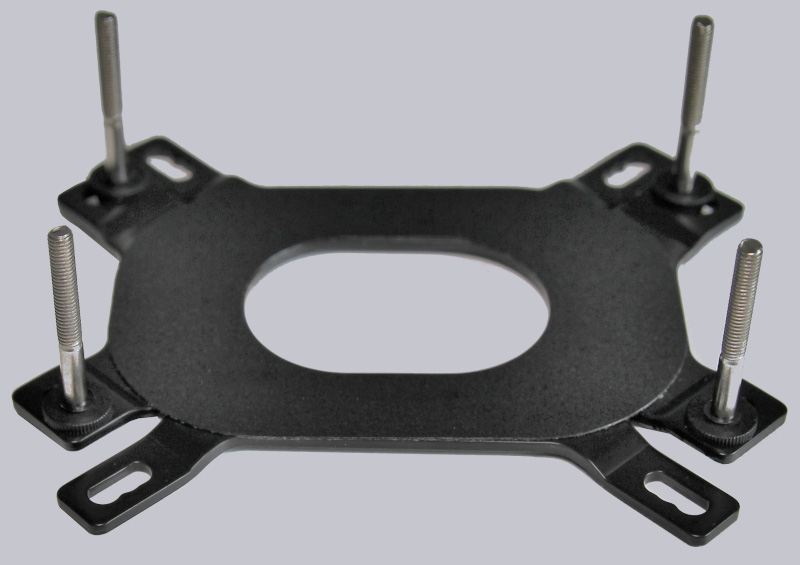
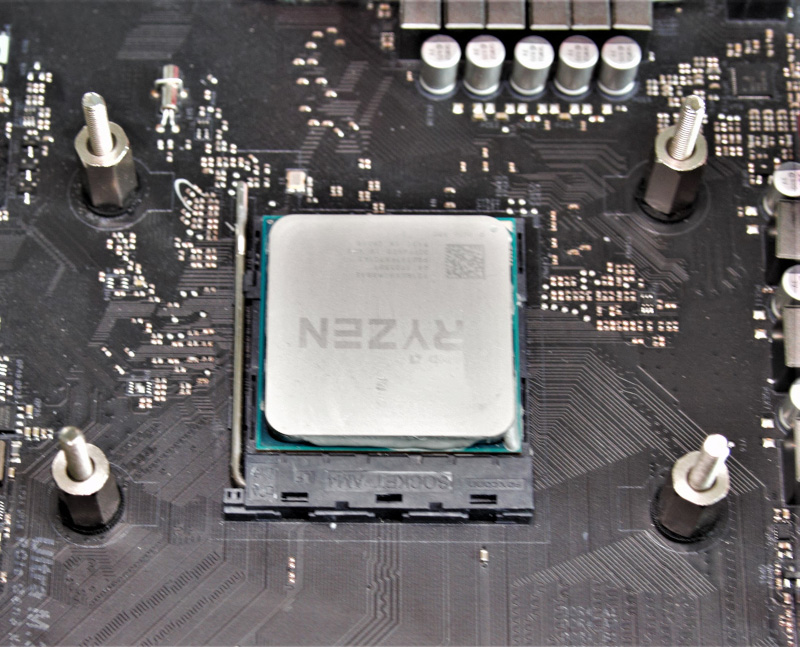
The long screws that will eventually connect the cooler to the backplate, we first attach with black washers. Fortunately, these keep the screws in position for someDimensionsn, so that even mounting in an existing system should be a bit fiddly, but possible.
We then attach the resulting structure to the mainboard with additional washers.
Now we screw on the spacers. The first time since the beginning of the assembly is now everything tight and does not slip 😉
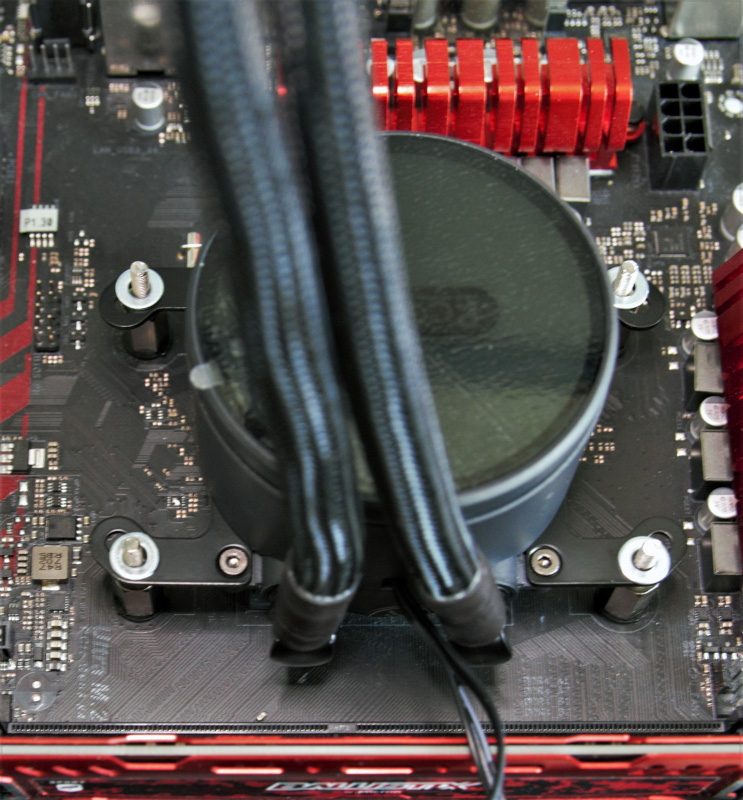
After that, the radiator comes into play … and more washers 😉 Pull off the foil and do not forget thermal paste!
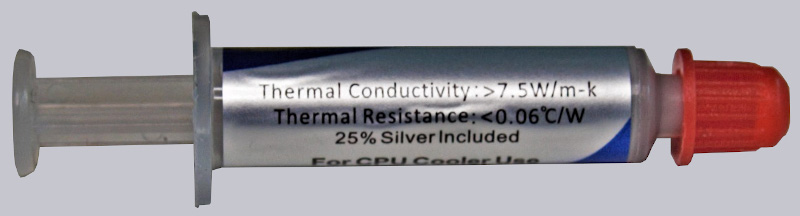
The included thermal paste has a conductance of >7.5W/m-k according to the nameplate.
Last but not least, we screw the cooler tightly onto our test stand with a nut/spring combination.
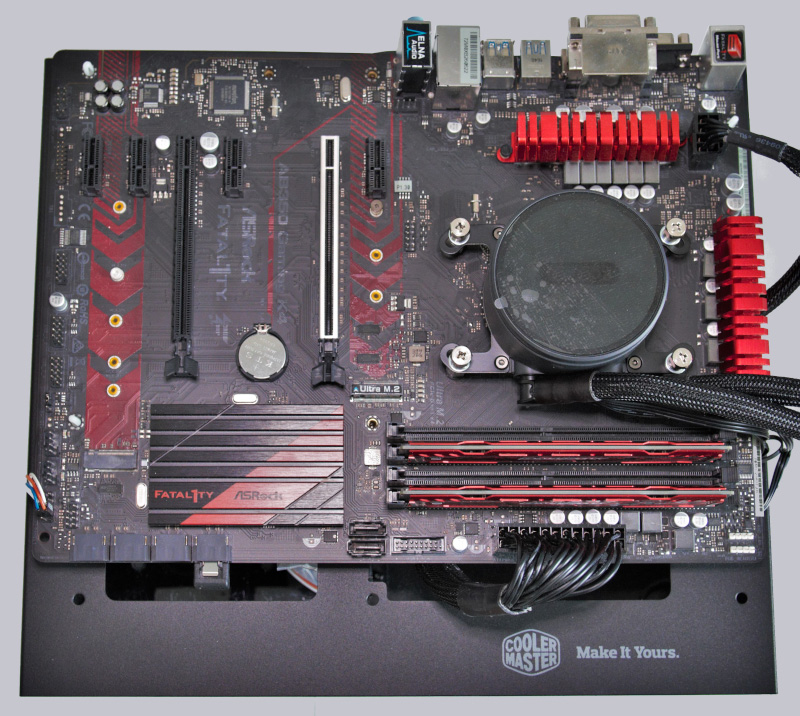
PCCooler GI-CX240 ARGB Test setup and results …