
installation …
There are only 80g missing on the Scythe Fuma to complete the whole kg. Therefore we can count ourselves lucky, that Scythe supplied robust mounting hardware. Most of the screws come as thumb-screws, this was they can be installed by hand hand fastened with a screwdriver. The contact points to the motherboard are being protected by plastic parts.
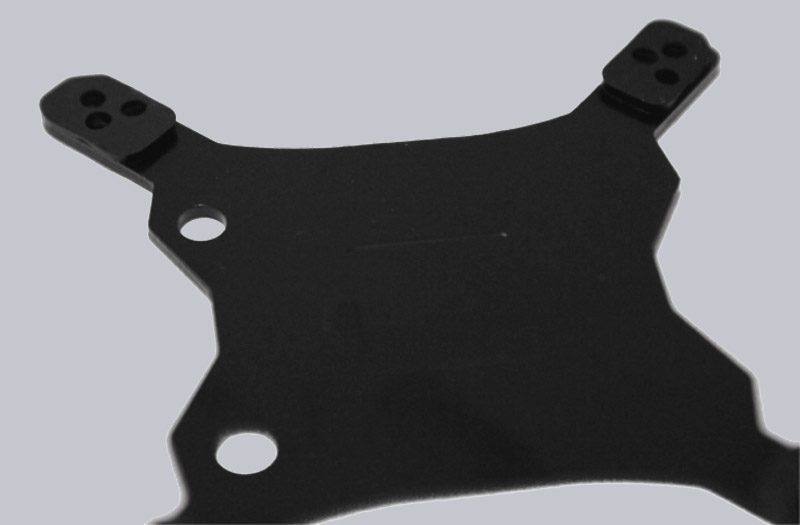
To install the backplate the motherboard need to be removed from the case, if there is no access opening.
Owner of an AMD CPU need to remove the original mounting frame first, the remaining assembly is identical and thanks to the good instructions rather easy to do.
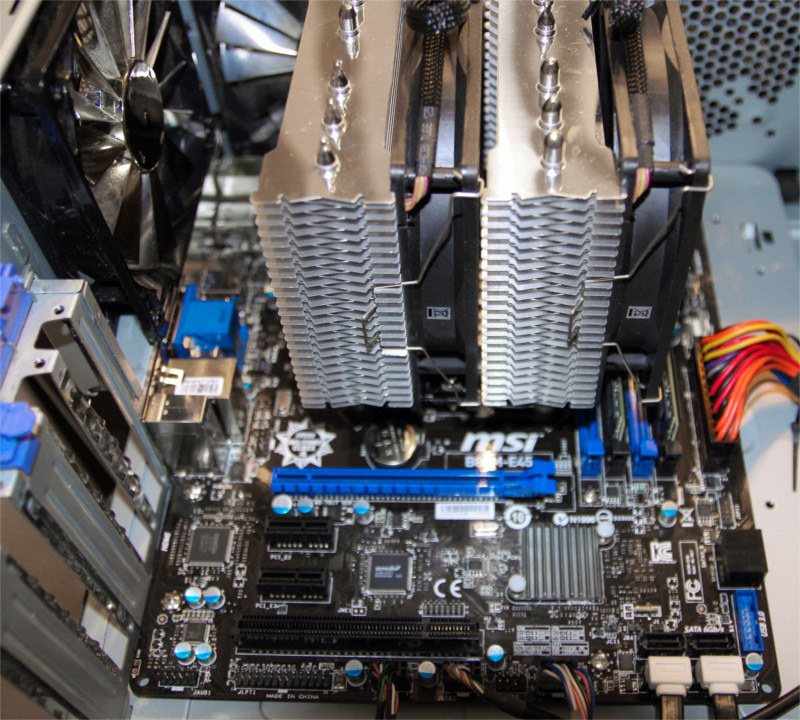
This is what the fully mounted Scythe Fuma looks like.
Here again inside the case.
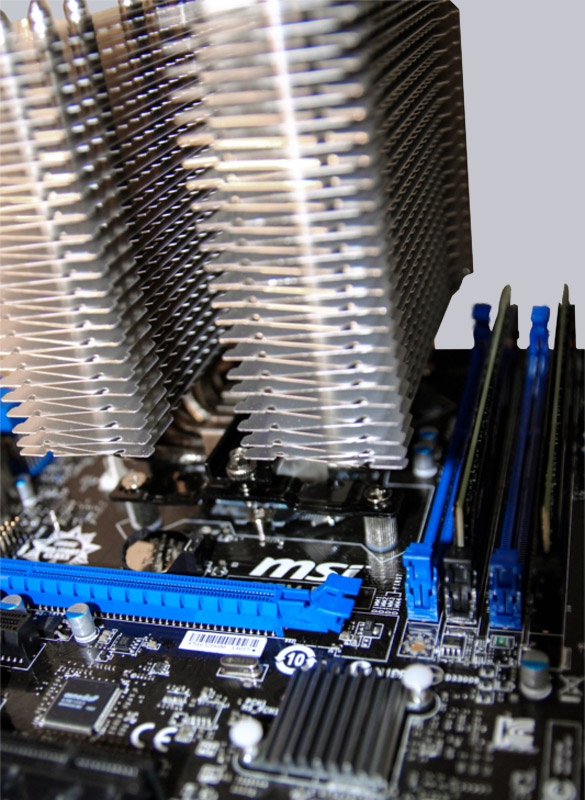
Because Scythe ‘only’ relies on a 12cm fan there are still 2cm space between cooler and case wall.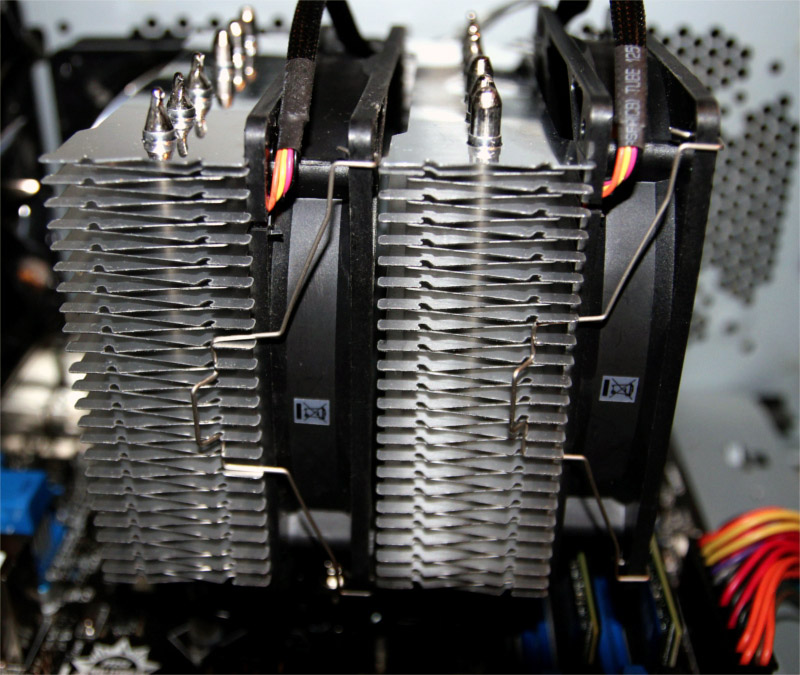
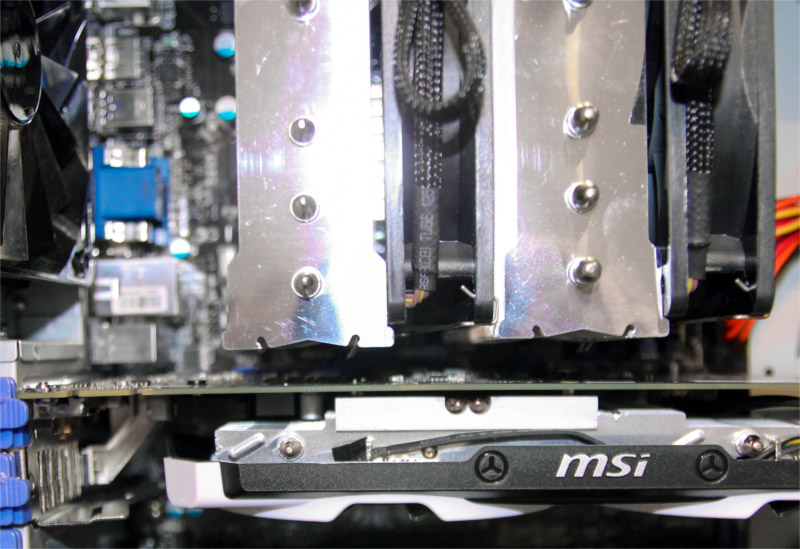
Due to its size the user is restricted in his choice of RAM. With mounted fans the cooler towers over three RAM-slots. Owner of Ram-modules with high heatspreaders have the possibilities to install the fan more towards the top of the heatsink or to install the heatsink in a 90 degree rotated position which can lead to a non-optimal airflow inside the case.

There are also only few millimeters towards the graphics card. Which makes it complicated to remove the middle fan without also removing the graphics card.
Scythe Fuma setup and test results …