
Intel Cooler Installation …
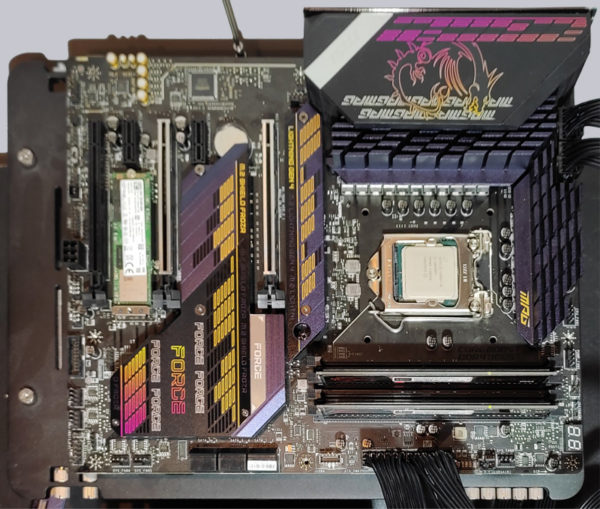
The same front and backplate are always used for installation on the different Intel socket types.
The mounting plate for the back of the board is made of plastic and is adjusted to the socket type with adjustable plastic clips.
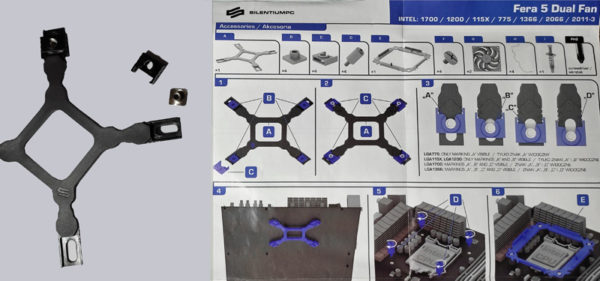
These clips have to be mounted on the plate itself. A little dexterity is required here and only a very close look at the instructions reveals how the screw mounts and clips have to be put together.
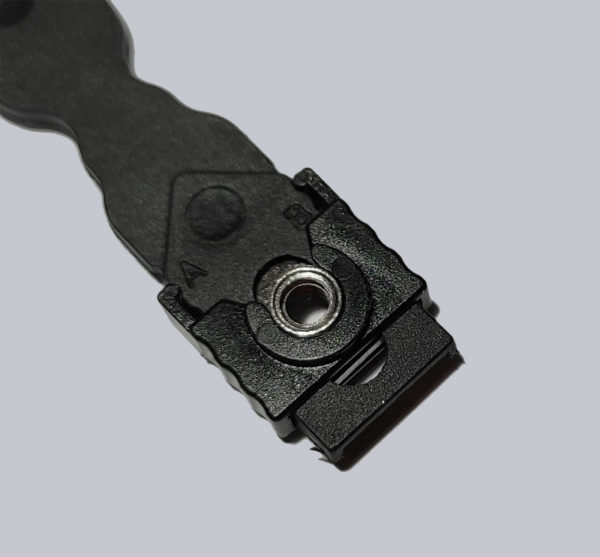
If this is done successfully, …
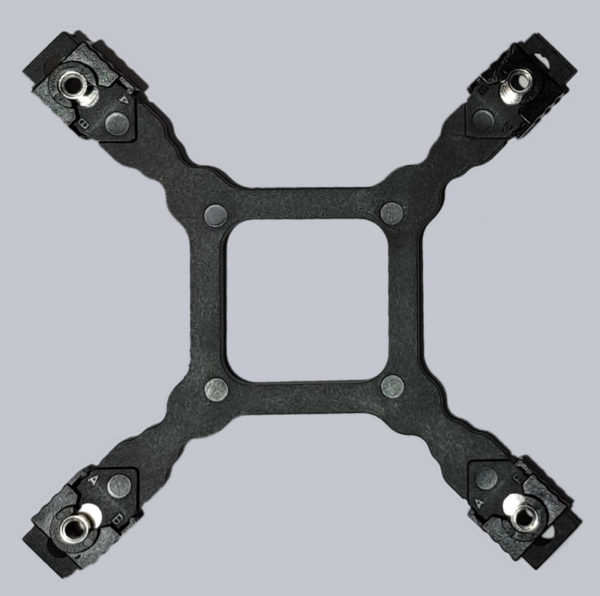
… the adjustment to the suitable socket type is done quickly and the subsequent installation steps of the front mounting plate and the cooler are very simple. First, the finished backplate is held onto the back.
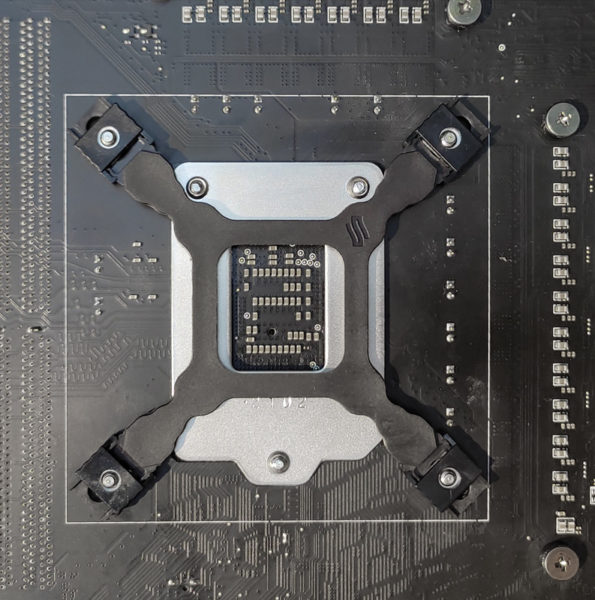
Now the spacer screws are screwed on and the front panel is screwed on.
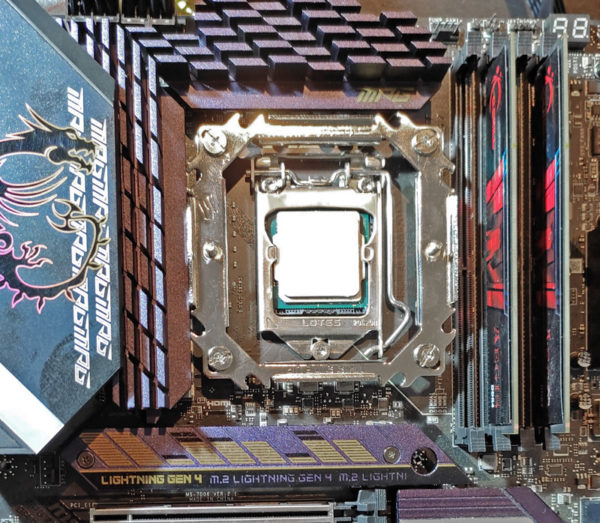
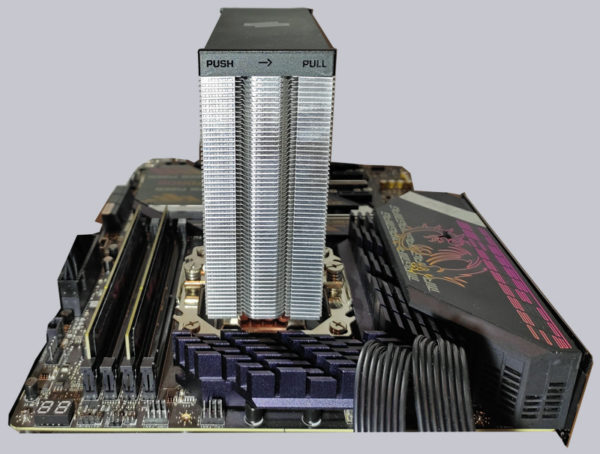
Now you can mount the heatsink, and you can see the airflow direction on the side of the upper cooler cover.
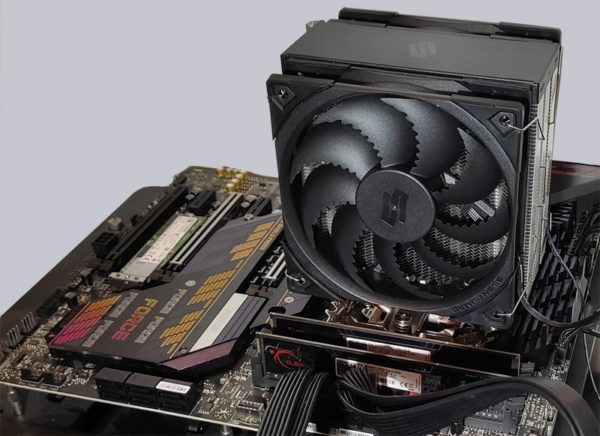
After that, the two fans are mounted on the heat sink with the clamps.
AMD cooler installation …
For the supported AMD socket types, the installation is even easier. The mounting plate pre-installed on the boards is still used, only the plastic brackets on the front are replaced by the front mounting plate.
SilentiumPC Fera 5 Dual Fan Test setup and results …

