
Construction, design and features – inside …
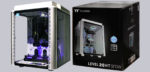
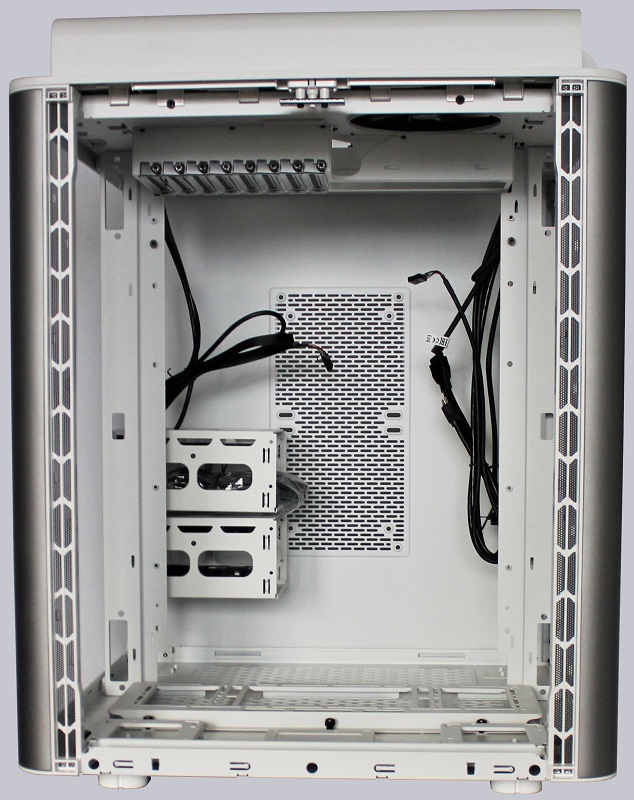
Now let’s look at the interior. To call this generous would probably be an understatement! At level 20 HT this is divided into approx. 2/3 front area and 1/3 rear area.
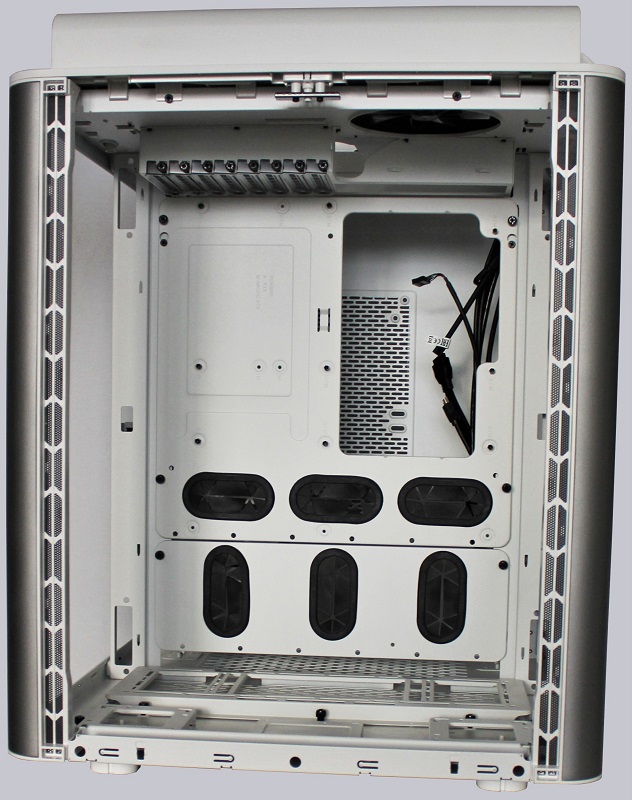
On the floor there are assembly places for two pumps / expansion tanks and an SSD in the middle, if you e.g. would like to present a particularly chic with RGB lighting. Behind it is the holder for three 120mm fans or a radiator up to 360mm. All brackets can be quickly and easily removed using knurled screws.
The mainboard is installed rotated by 90°. The IO Shield points upwards.
The mounting plate for the motherboard and the cover underneath can also be quickly removed using knurled screws. So you can screw the motherboard relaxed outside the case.
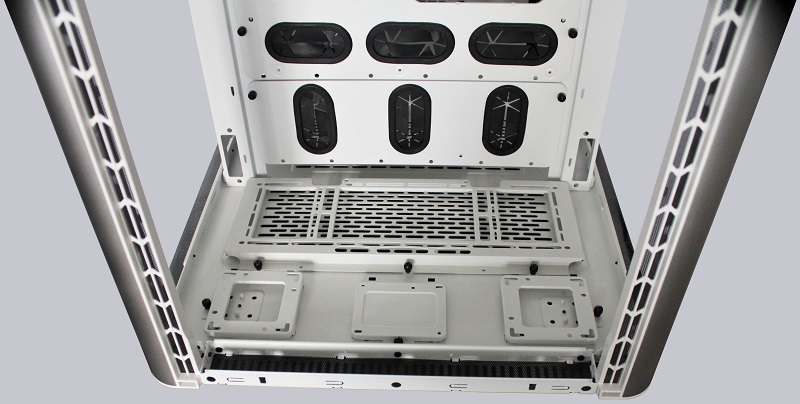
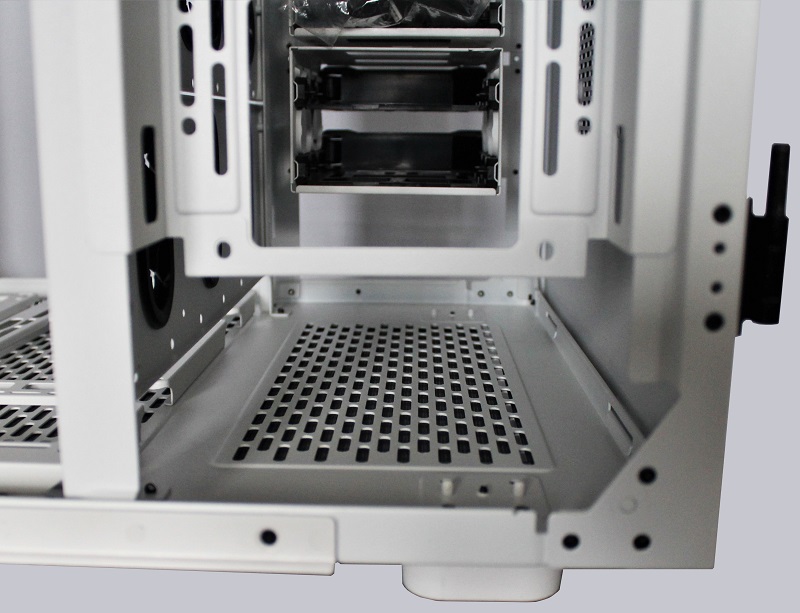
In the rear third, four 2.5 “/ 3.5” bays for HDDs are preassembled, divided into 2×2. They can also be easily removed if necessary. The power supply is installed above it (also looking upwards), but we will see this even better later if we take a closer look at the lid.
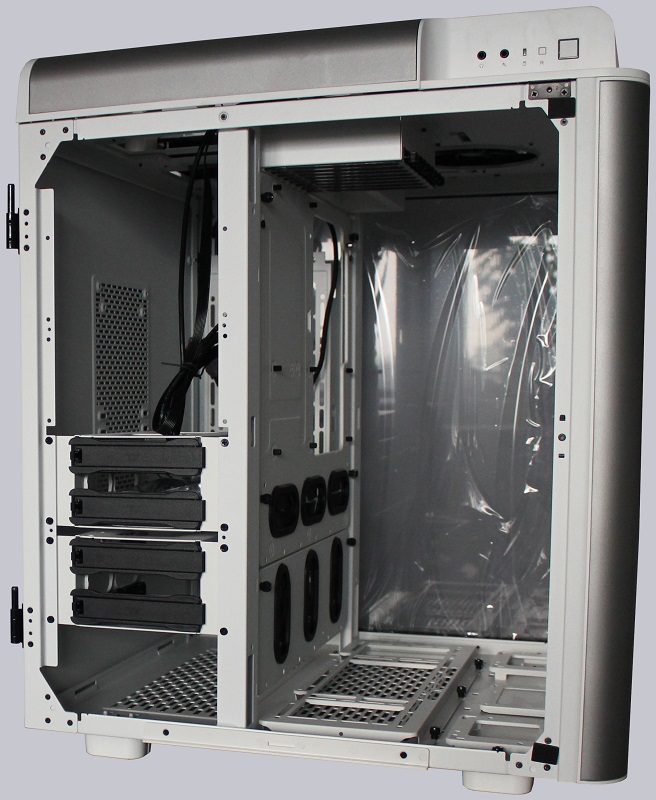
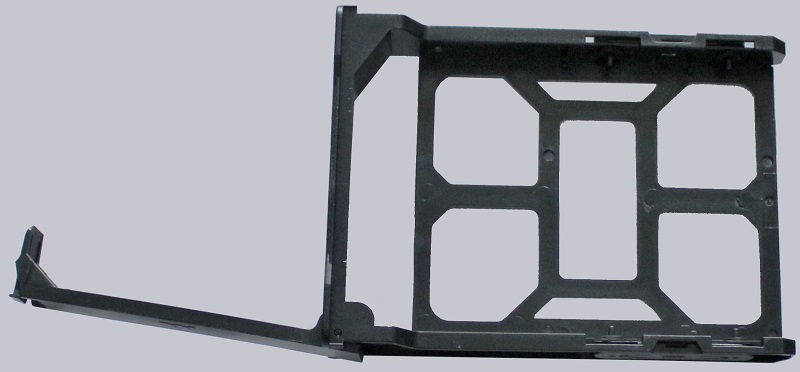
The frames for the HDDs are kept very simple, completely made of plastic and without decoupling.
On the right rear is the holder for the second 360 radiator or up to three 120mm fans. With a little good will, however, it looks as if you could also accommodate a 420mm radiator here: ocinside: This bracket can also be quickly removed using knurled screws. In addition, the rear left side can also be completely replaced with the rear right side if necessary, e.g. power supply and HDDs on the right and the radiator on the left.
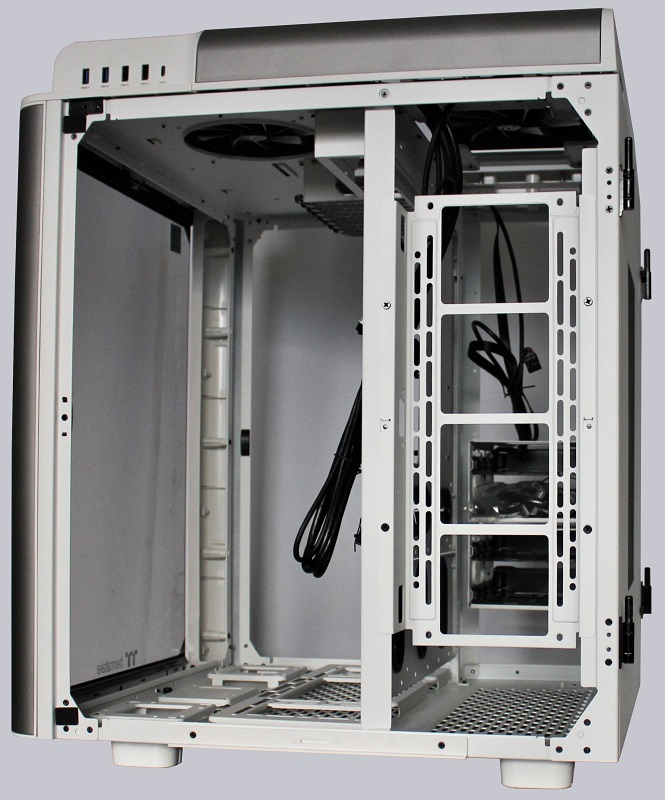
There are extensive ventilation openings on the floor.
Thermaltake Level 20 HT practical testing …