

Raspberry Pi Installation …
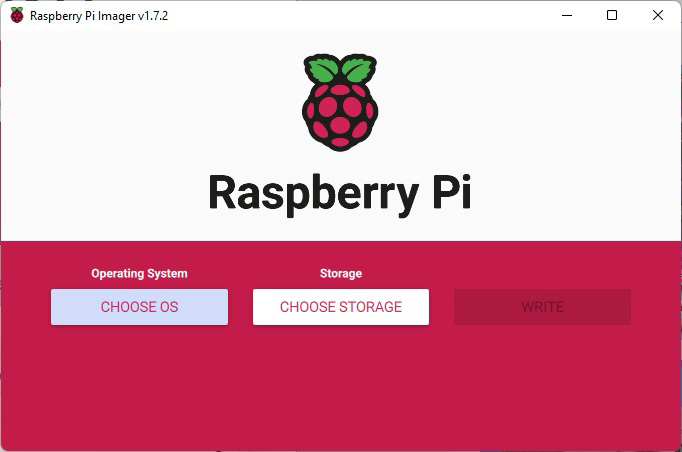
We start the installation by preparing the SD card. To do this, insert the SD card into the card reader on the PC/Mac and start the Raspberry Imager.
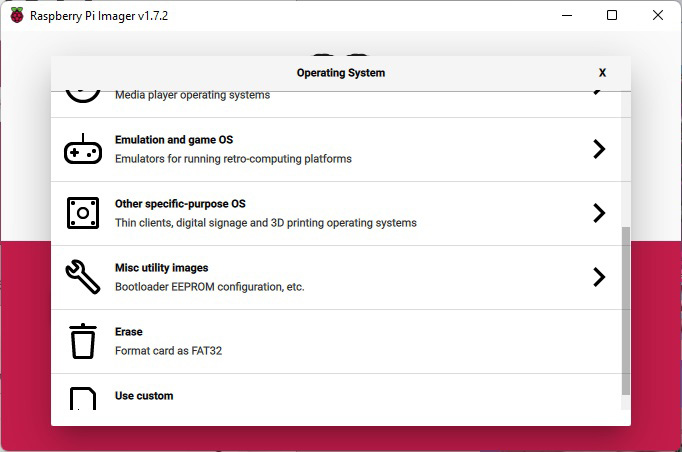
Click on “SELECT OS” and select “other specific-purpose OS”.
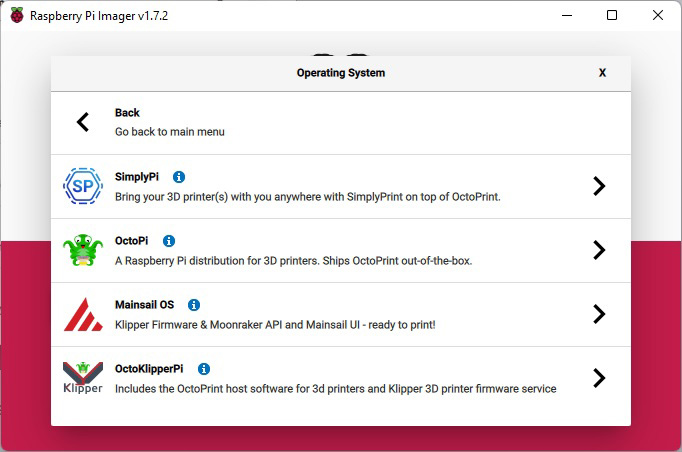
After that, select 3D printing and then click on “Mainsail OS” and select the entry available in it.
Then click on the gear wheel symbol at the bottom right and at least activate SSH. In addition, the access data for the private W-LAN can be entered here and, if desired, a different password for the user “pi” can be assigned. In this workshop we assume that the user PI uses the default password “raspberry”. You can also assign your own hostname, which can be used to connect to the Raspberry via the browser if you do not know the IP address.
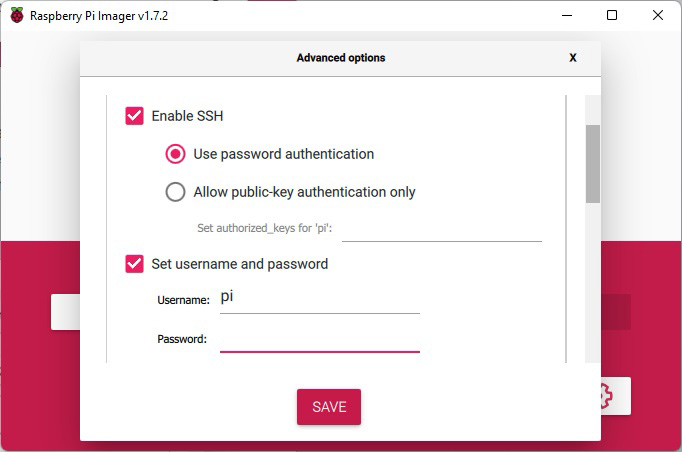
The entries are confirmed with Save. Finally, select the SD card on the PC and click on “Write” and wait until the SD card is ready. If the write process was completed successfully, you can close the Raspberry Imager.
Next, we can eject the SD card and plug it into the powerless Raspberry. Now you can already supply the Raspberry with power and if necessary plug in the network cable if you don’t use W-LAN.
Connecting Raspberry Pi with Putty …
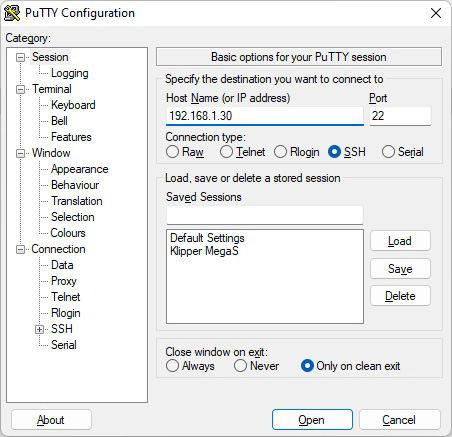
We give the Raspberry 1-2 minutes to boot and then connect to the Raspberry using Putty. The IP address or the previously assigned hostname can be entered in the address line. SSH” must be selected and the port must be 22. Click on “open” to connect to the Raspberry.
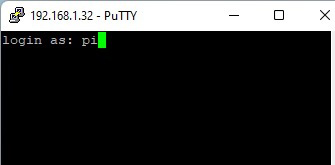
First you enter the login name “pi” …
… and then the Raspberry Pi default password “raspberry”. Attention the input of the password is not indicated by asterisks or dots or similar. Just enter the password and press enter. Attention: the input of the password is not shown graphically – so don’t be surprised if there are no asterisks, dots or similar when you type the password.
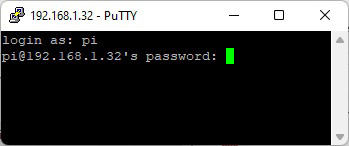
So you are logged in to the Raspberry as user pi and can enter commands.
Create Klipper Firmware …
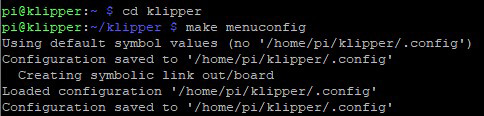
First we enter the command “cd klipper” to change to the Klipper folder. After that we have to execute the command “make menuconfig”.
There we activate “Enable extra low -level configuration options”. The following entries must be selected:
Atmega AVR
Atmega2560
16MHz
UART0
Baudrate 250000
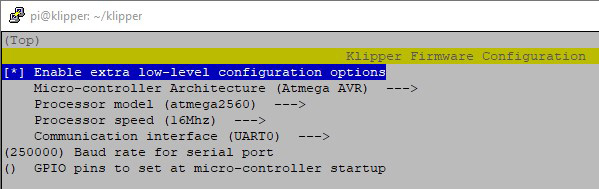
Finally, the entries are confirmed with the “Q” key and you are automatically returned to the window with the command line. There we enter the command “make” next, whereby the Raspberry starts to create/compile the firmware for the 3D printer.
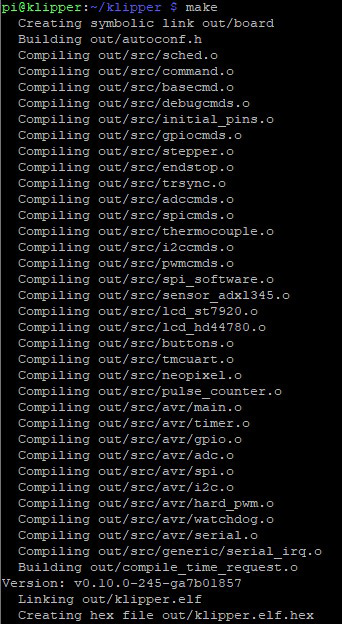
At the end the name of the printer firmware is displayed. It is “klipper.elf.hex”.
Raspberry Pi file transfer with WinSCP …
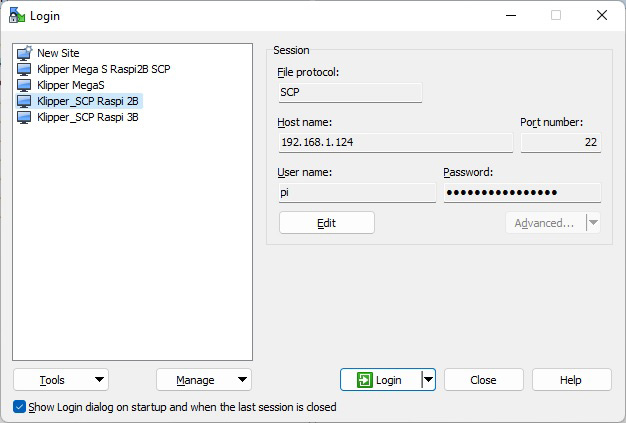
Next, start the program WinSCP and establish a SCP connection. In WinSCP, enter the user name “pi” and the password “raspberry” in the connection settings window. Select “SCP” as protocol this time. The port is again “22” and the address is again the IP address or the hostname. With the click on “Login” the SCP connection with the Raspberry is established.
On the right side you have the folder structure of the Raspberry and on the left the data from your own PC/Mac. On the right side you change to the folder /home/pi/klipper/out/ and on the left side a folder where you want to copy the printer firmware to. Then drag the file klipper.elf.hex from the right to the left side to copy the file to the PC.
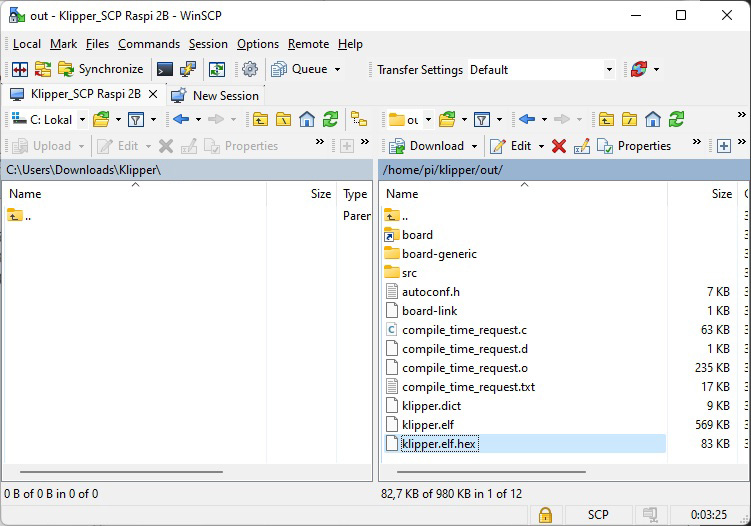
In addition, a configuration file for the Mega S must be copied. The file is located on the Raspberry (so on the right) in the folder /home/pi/klipper/config/ and it is called “printer-anycubic-i3-mega-2017.cfg”.
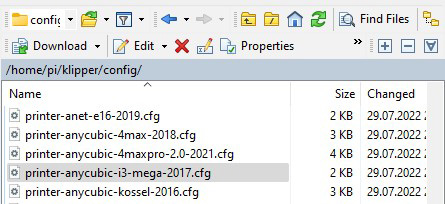
Copy this file to the PC and rename it to printer.cfg. Then copy the printer.cfg file to the /home/pi/klipper_config/ folder.
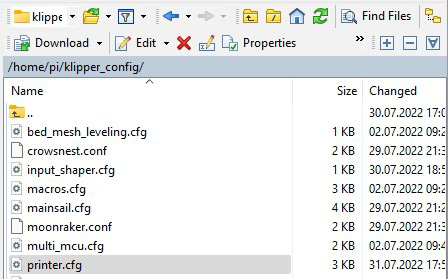
Now the most important files are available.
Installing the klipper firmware on the 3D printer …
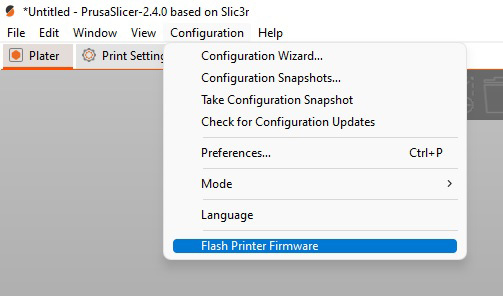
Then connect the PC/Mac with the USB cable to the printer and flash the firmware “klipper.elf.hex” to the Mega S with the slicer program. In the Prusa Slicer, for example, select the command “Flash printer firmware” in the Configuration menu.
Connect Raspberry Pi with Anycubic i3 Mega S …
After the flashing is complete, we restart the printer and connect the printer to the Raspberry with the USB cable.
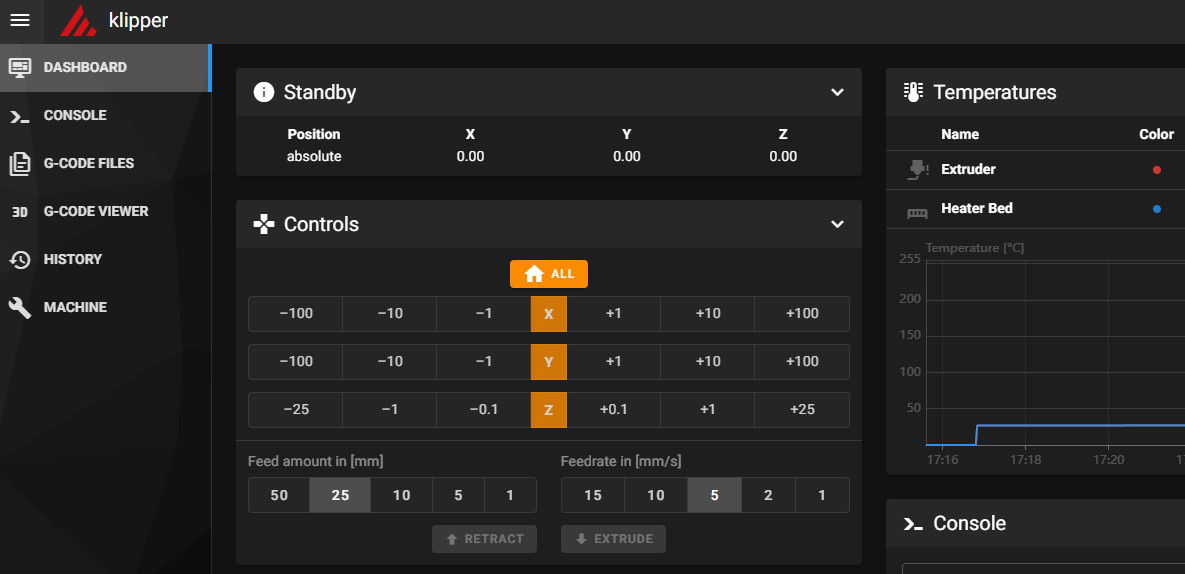
When the printer and the Raspberry are up and running again, we connect to the browser on the Raspberry for the first time, where we get to see the Mainsail interface for the first time. You should not be frightened by the orange error messages. It is quite normal that they appear and they are quickly removed. This is what the Mainsail interface looks like at the 1st start.
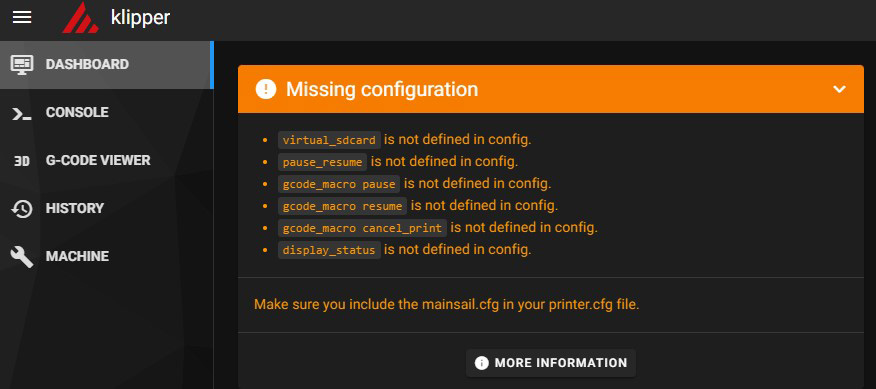
The error messages can be solved by copying the contents of mainsail.cfg completely into printer.cfg in the browser. To do this, select the entry Machine on the left, whereupon the configuration files of the printer are displayed. With a new installation there are less than in the following screenshot.
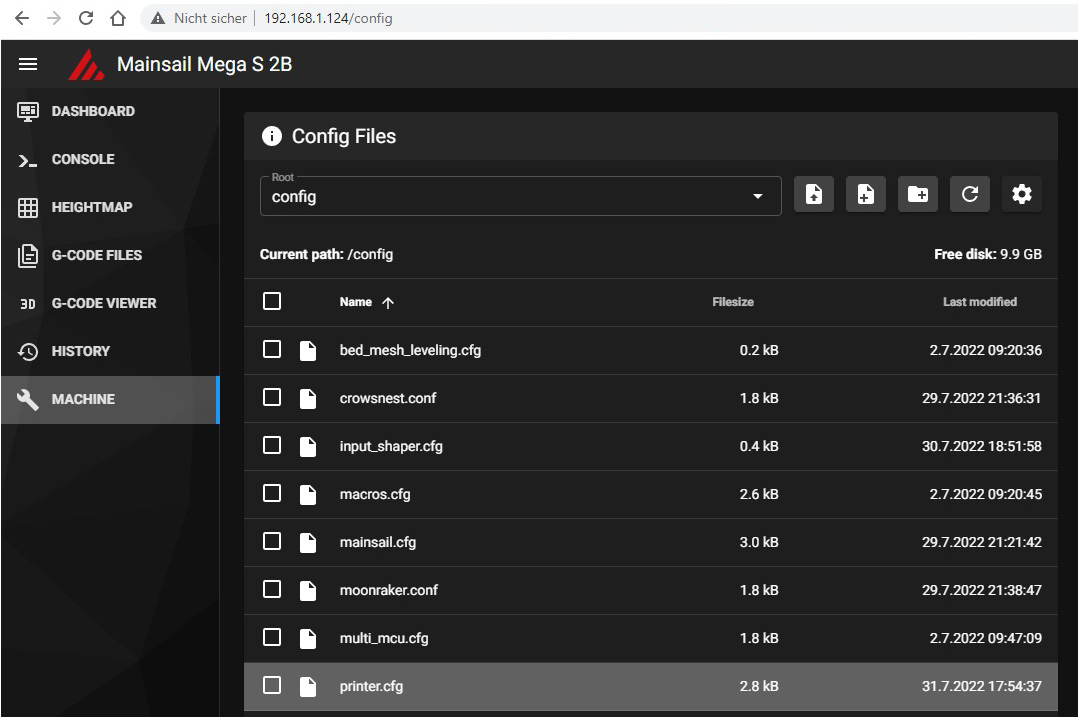
With a click on the Mainsail.cfg you open this file. Then mark and copy the complete content (not only what you see in the following picture).
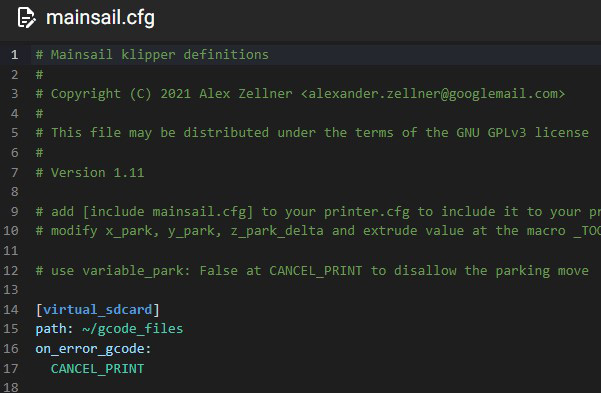
Close the file with the “X” in the upper right corner and then open the file “printer.cfg” and paste the copied data there. To apply the changes, this time click on “save and restart”. This will update Klipper and restart it.
After that the whole thing looks better.
Now let’s move on to the rest of the setup …