
Installation and test setup …
You can’t do too much wrong when installing the processor. For our test, we put the AMD Ryzen 7950X CPU in the AM5 LGA1718 socket of the ASRock X670E Taichi Carrara motherboard, which is now identical in handling to an Intel CPU socket for many years.
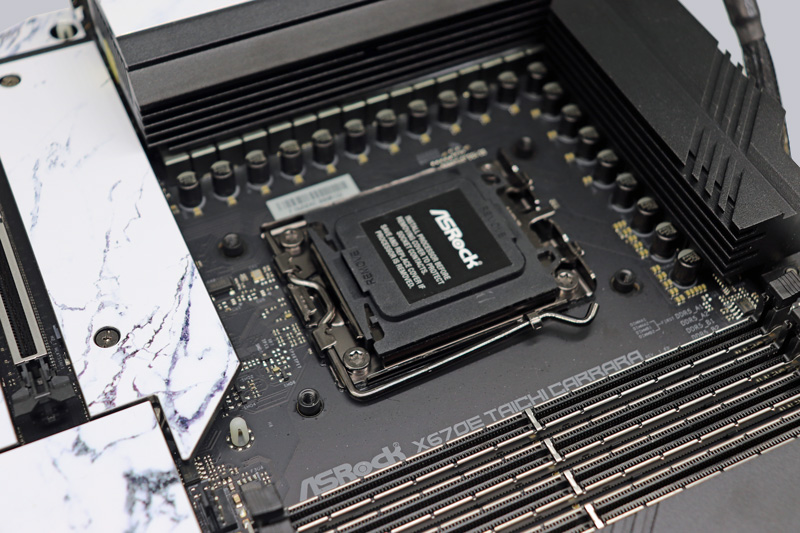
This eliminates the risk of bending pins on the CPU. On the other hand, the filigree springs in the LGA socket have to be well protected. Therefore, the plastic cover should always be inserted as long as there is no CPU in the socket.
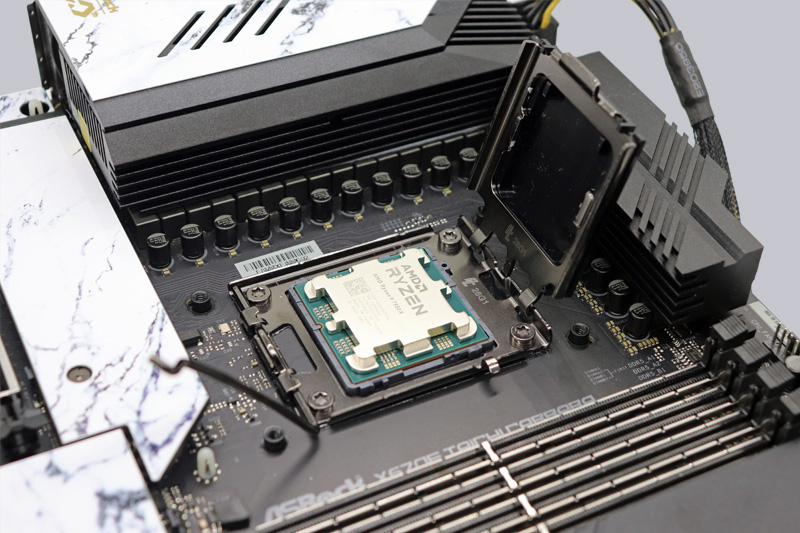
The CPU has notches on two sides and one corner is marked with a golden triangle. If you pay attention to these details, you cannot insert the CPU into the socket incorrectly.
We show how to properly install and remove an LGA CPU in the socket in this AMD or Intel CPU installation guide and in the following video on our OCinside YouTube Channel.
Note: Please allow our cookies first to see this external content!
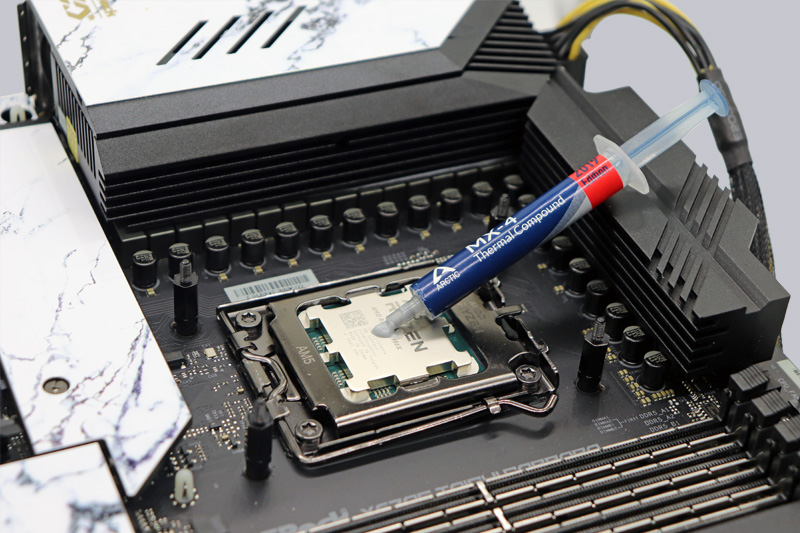
Once the CPU is properly seated, you next clamp it in place with the bracket mechanism, and the base’s protective cover pops off on its own.
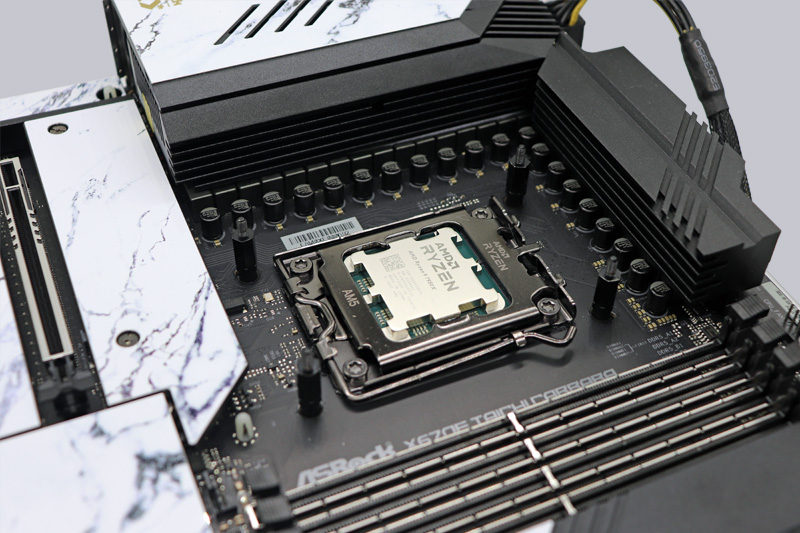
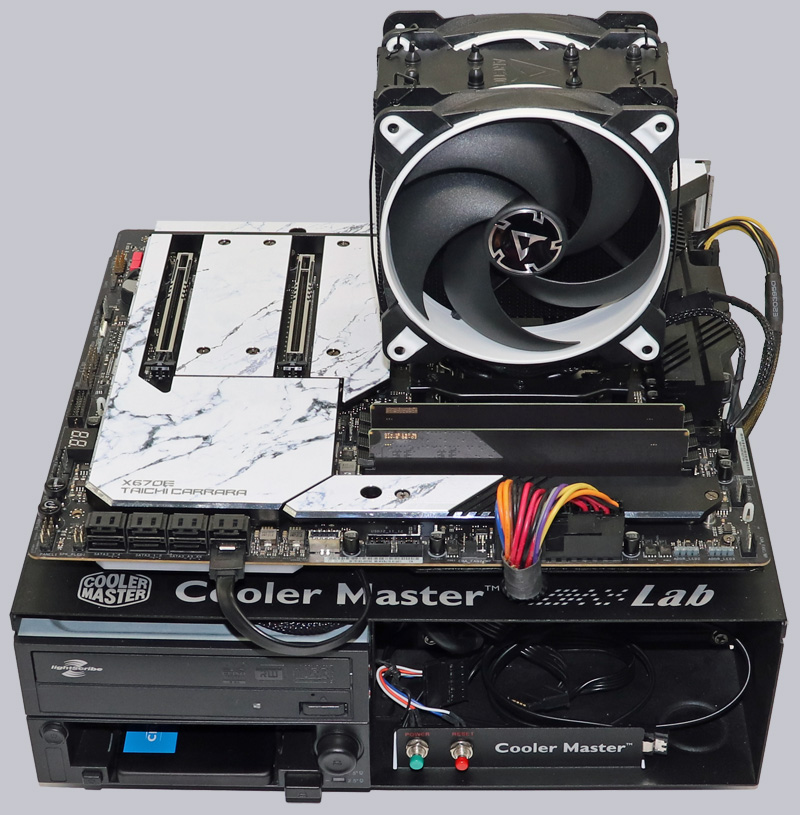
Now apply a suitable thermal paste and mount the desired cooler. For the tests of the new AMD AM5 processors, we use Arctic MX-4 thermal paste and an Arctic Freezer 34 eSports Duo air cooler as well as an Arctic Liquid Freezer II 420 for further OC tests.
Here you can see the finished test system with mounted air cooler.
We used the following components for the Review of the AMD Ryzen 9 7950X CPU.
| CPU | AMD Ryzen 9 7950X |
| Mainboard | ASRock X670E Taichi Carrara |
| Cooling 1 | Arctic Freezer 34 eSports Duo |
| Cooling 2 | Arctic Liquid Freezer II 420 |
| RAM | 2x 8GB Crucial DDR5-4800 single ranked |
| Operating system | Microsoft Windows 10 and Windows 11 |
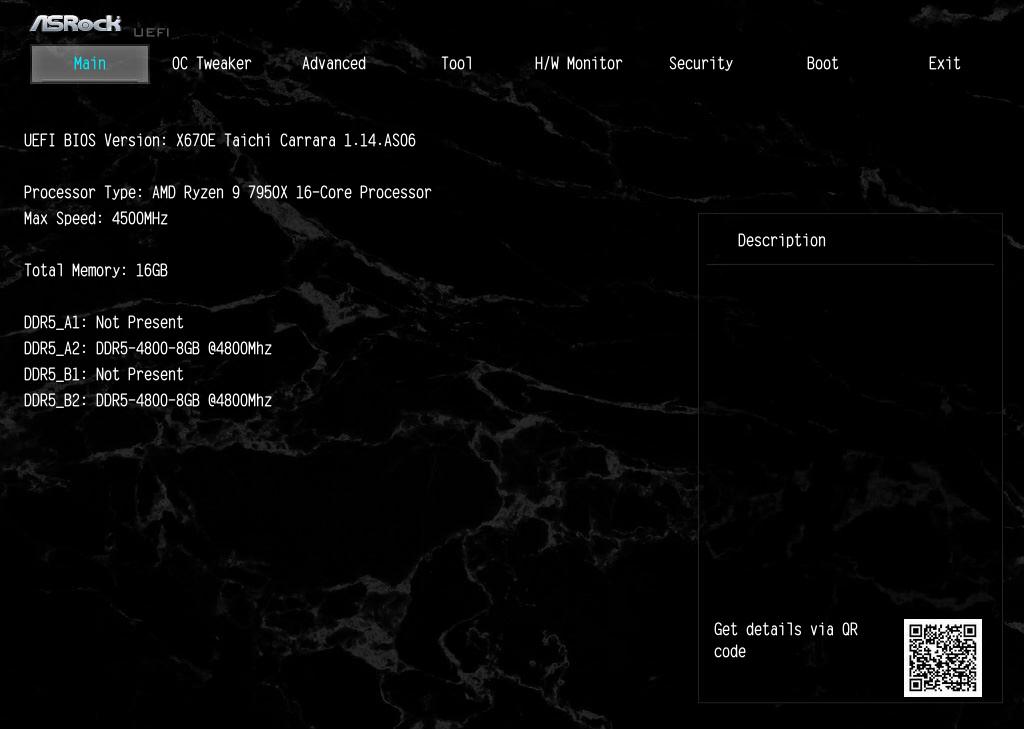
Let’s turn on the AMD Ryzen 9 system and take a look at the UEFI first.
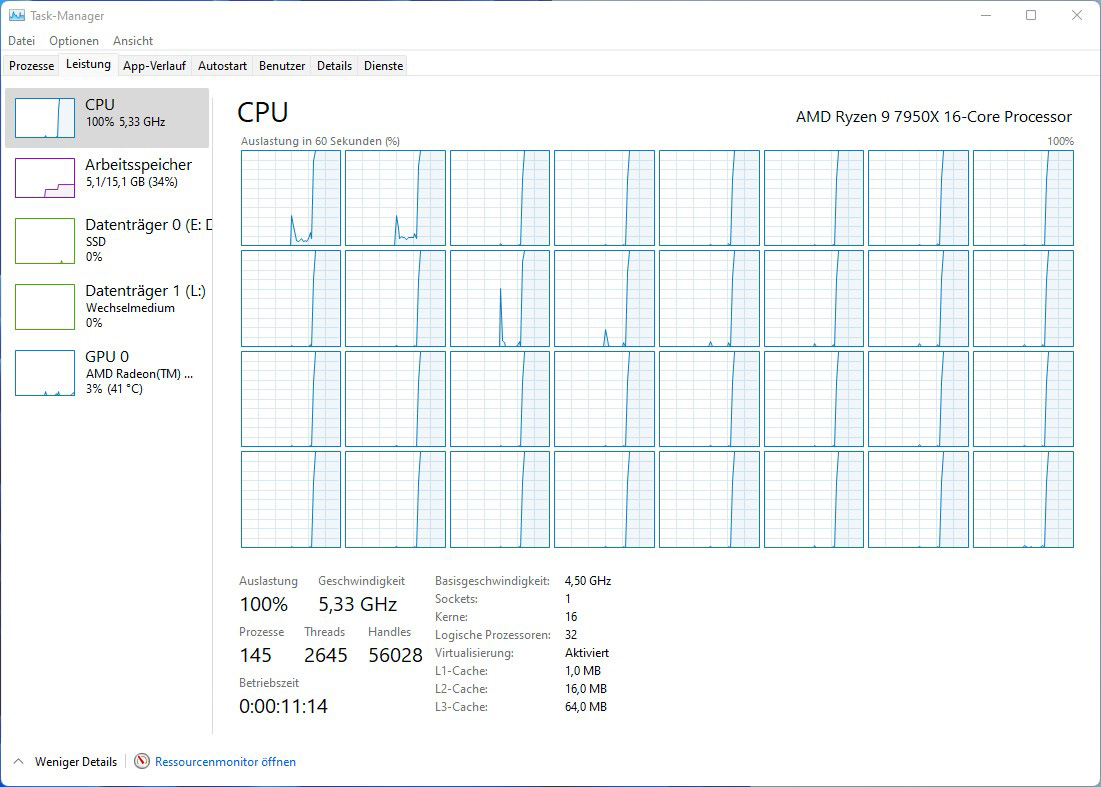
We can already see all 16 cores or 32 threads of the AMD Ryzen 9 7950X CPU working in Windows – here in the Windows 11 Task Manager during Prime95 full load.
AMD Ryzen 9 7950X benchmark results …