
Preparation …
The Liquid Freezer III water cooler can be installed in just a few simple steps. Before you get started, however, you have to decide how you want to control the performance of the cooler. Either control the pump and fan together via a connection on the mainboard, or control the pump and fan separately. We opt for full control and choose the connection cable with separate plugs for the pump and fan.
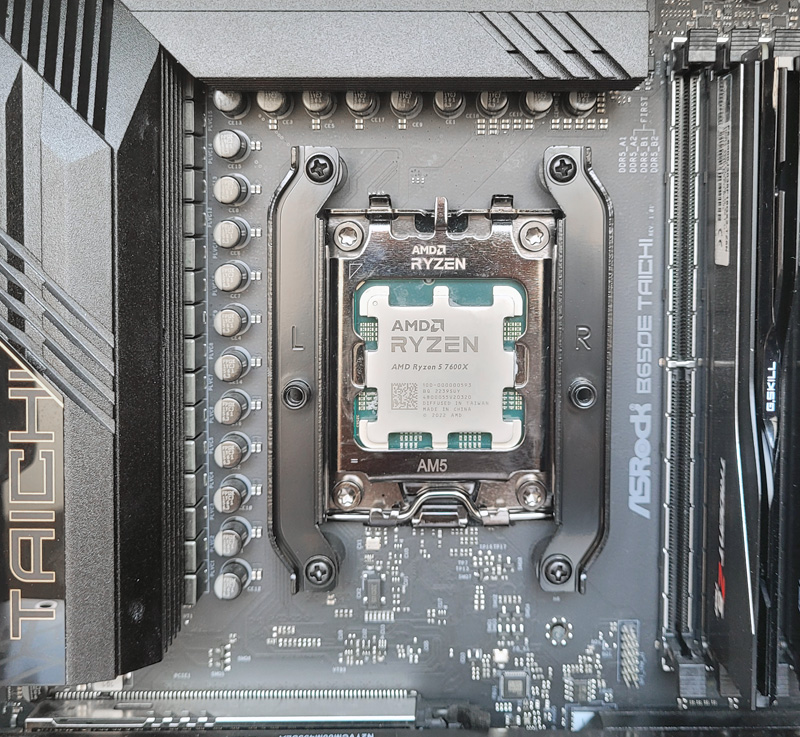
AMD Installation …
After the obligatory removal of the original AMD cooler bracket, two metal strips are mounted on spacer bolts, which are of course included in the scope of delivery. The four screws are screwed directly into the threads of the original backplate. This can be done without the backplate falling off the rear of the mainboard if the correct sequence is followed. The two threaded nuts for fastening the cooler are positioned off-center in relation to the CPU, which is why it is important to ensure that the brackets marked “L” and “R” are positioned correctly. The eccentric alignment of the cooler to the CPU brings the center of the cold plate closer to the hotspot of the CPU, which improves the cooling of the processor.
After removing the protective film from the coldplate and applying the thermal paste to the processor, the Liquid Freezer III cooling block is attached to the pre-assembled brackets with two screws. Unfortunately, we found that the screws were a little too short to allow them to bite into the threaded nuts before the cooler rests on the processor. We therefore had to press very hard on the screws with the screwdriver to bend the 1 mm thick steel leaf spring enough for the screws to reach the threaded bushes. In the end, this succeeded without slipping and damaging the mainboard. Slightly longer screws would make things a lot easier here. However, Arctic is already working on improving the ease of installation of the cooling block, as we were informed on request.
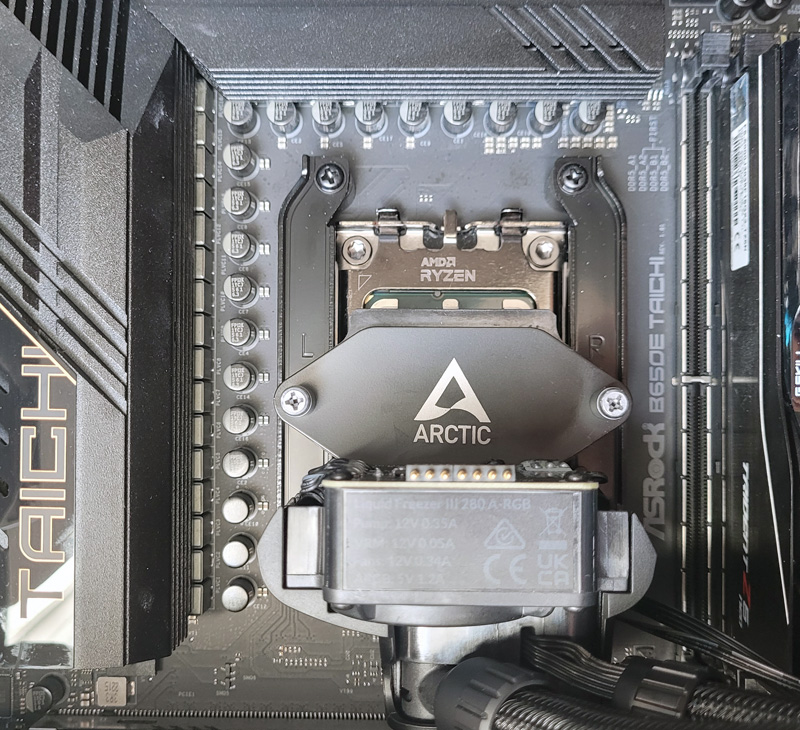
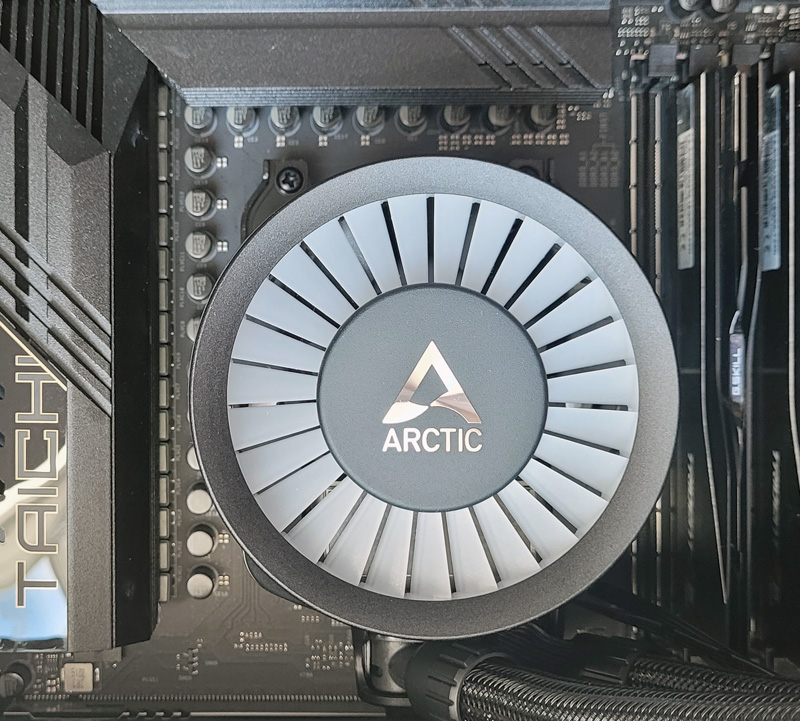
The stylish VRM fan is then placed on the cooling block, which is extremely easy to attach thanks to two magnets and only needs to be placed on the radiator.
Depending on your own preference or case size, the radiator can be mounted at the front, top or side of the mainboard in the case, although the 38mm-thick radiator does not fit easily into every case and can restrict the space for the graphics card. If required, you can find out which installation positions are best avoided in the Liquid Freezer III installation instructions online. A visit to our friendly OCinside.de forum never hurts either. The experienced users will be happy to help with any questions.
Finally, connect the cables to the motherboard and you are ready to go.
Arctic Liquid Freezer III Test setup and results …