
Installation …
The installation is a little more extensive, because Cooler Master provides its own backplate instead of using the standard AM4 backplate. Therefore, we first attach threaded bolts with the help of plastic clips to the matching positions of the backplate …
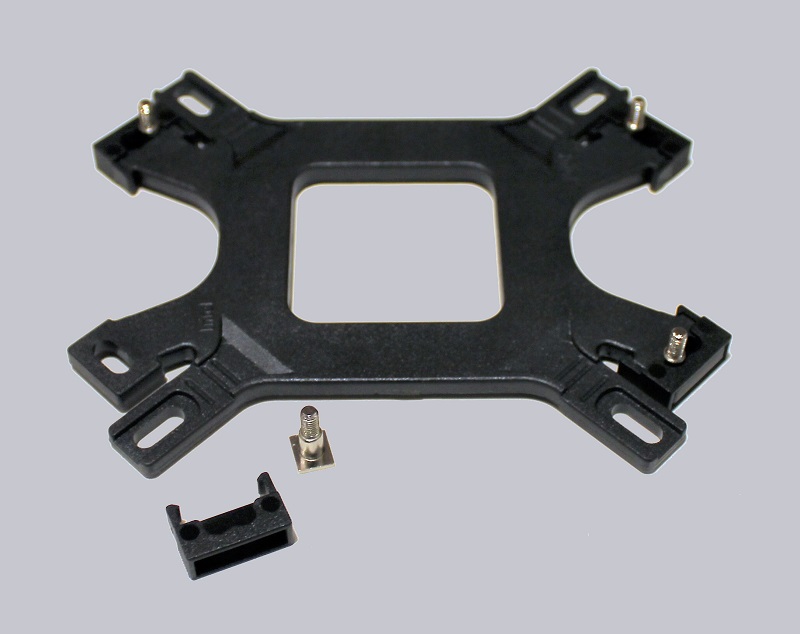
… and then screw them to the motherboard.
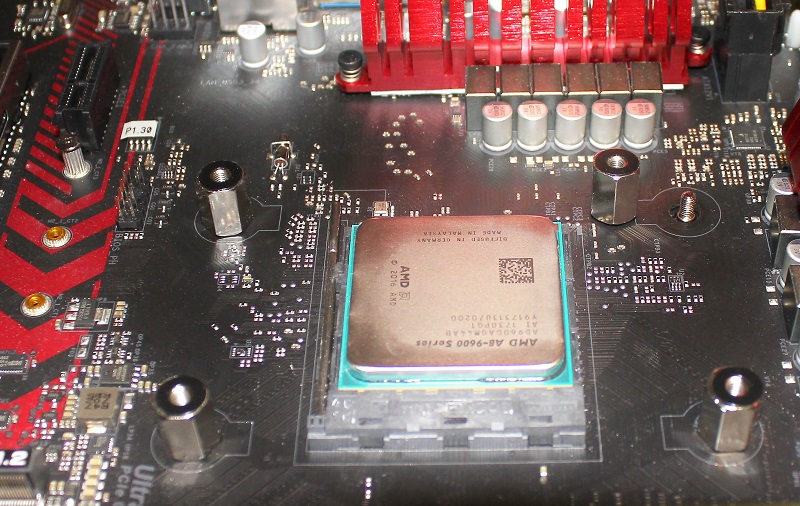
Next we apply thermal grease and put the cooler without fan on the CPU. The X-shaped bracket is adjustable and must first be threaded through the cooler. Here we needed several attempts until the correct setting was found.
Finally, screw it tight and replace the fan.
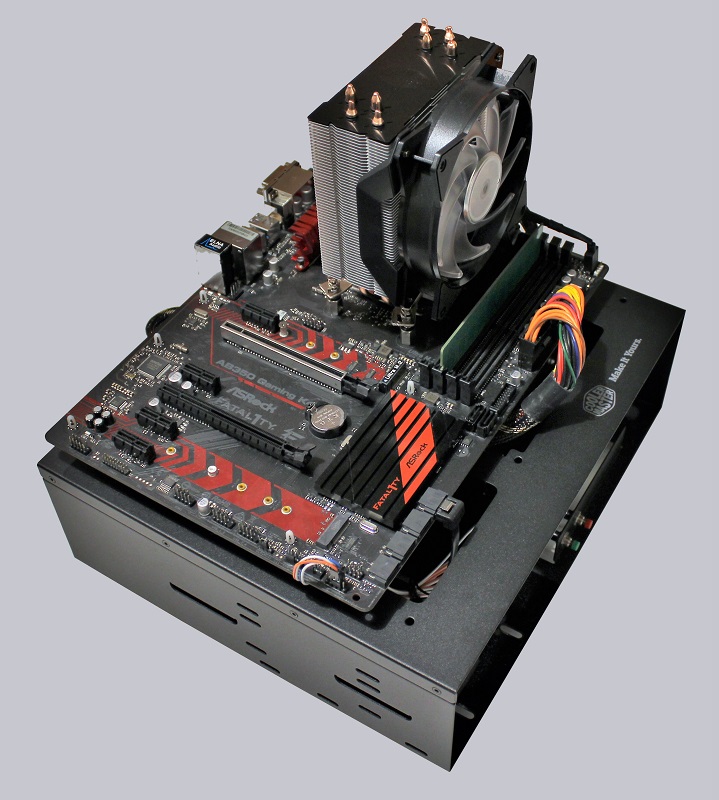
The bracket is fine from our side of view. For the very extensive compatibility with the various sockets, we accept small orientation difficulties gladly.
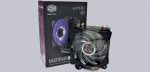
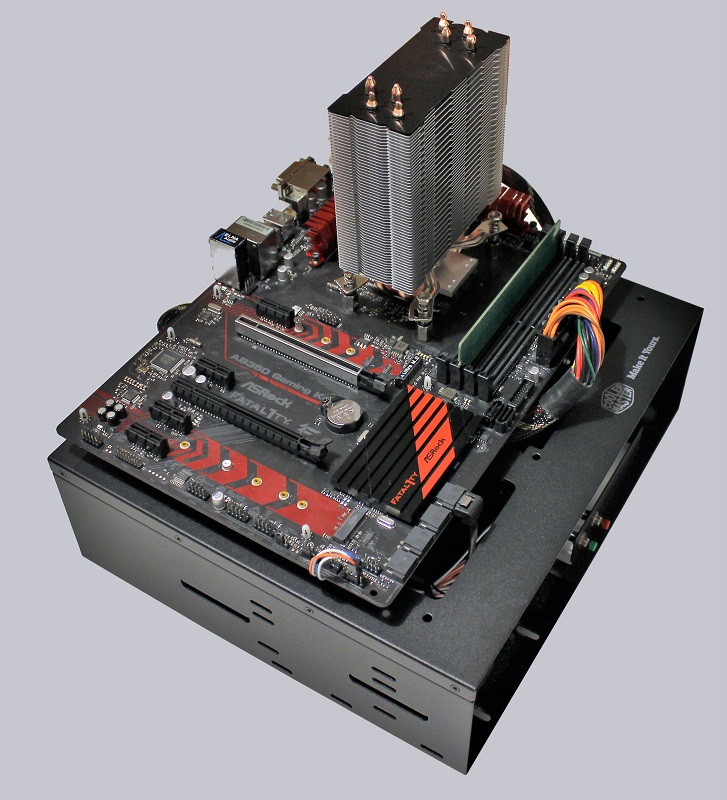
Cooler Master MasterAir MA410P test setup and results …