
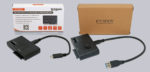
Installation …
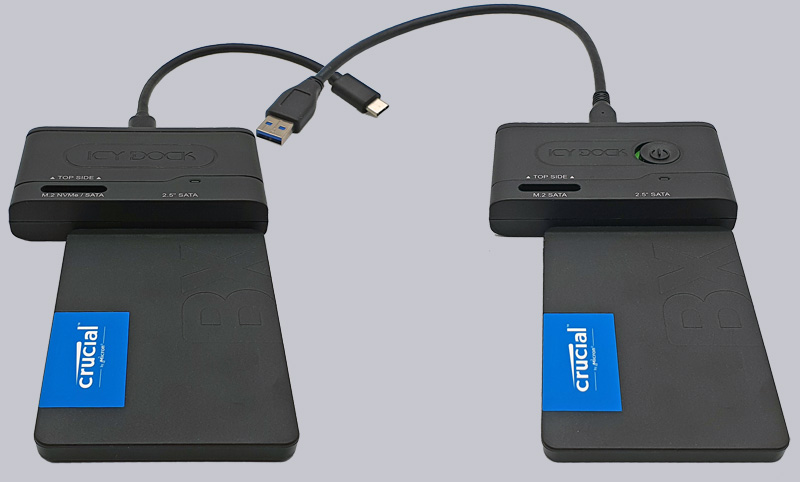
The installation is extremely simple! When using a 2.5″ SSD or HDD, the SATA SSD is simply plugged in at the front and is immediately ready for use. The included USB-C cable is then plugged into the back and the USB Type-A or USB Type-C plug can be connected to the PC or Mac.
If you want to use an M.2 SSD, you remove the 2.5″ SSD and simply insert the M.2 SSD into the upper notch. You can immediately see the direction of the notch by looking into the recess and the label “Top Side”, which points towards the USB-C port. Here we see an inserted Crucial P3 Plus 2TB M.2 NVMe SSD, which we also chose for this review.
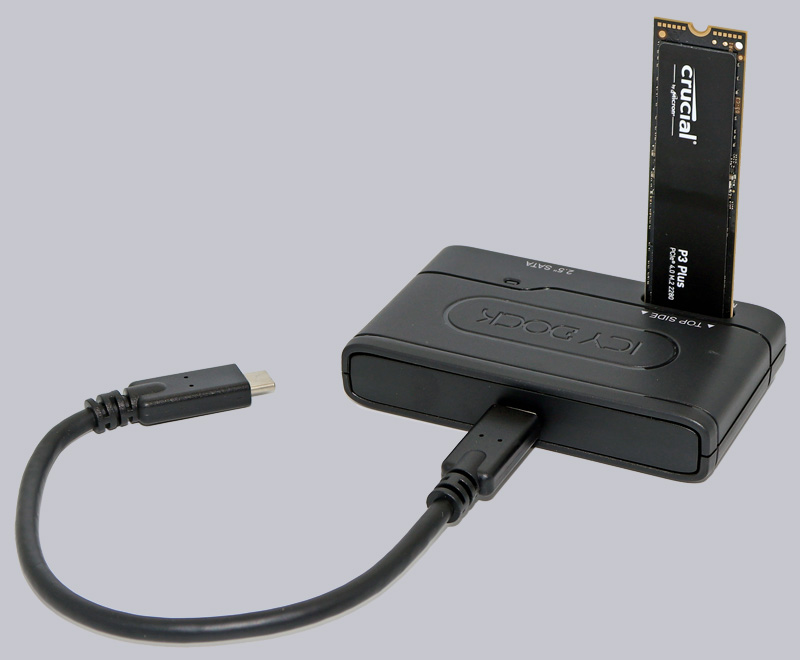
It is important to note that you cannot run the NVMe SSD in the Icy Dock MB031U-1SMB, but only with the Icy Dock MB104U-1SMB, as the MB031U-1SMB only works with SATA SSDs and simply does not support NVMe SSDs.
You can even use the EZ-Adapter on your smartphone or tablet. However, if the SSD was formatted with NTFS, you cannot write to it with Android, for example, but only have read access, at least without special NTFS drivers under Android. The formatting should therefore be selected depending on the application.
By the way, two SSDs cannot be used at the same time on one EZ-Adapter. If you connect both at the same time, the SATA drive is automatically selected.
The Windows 10 or another operating system such as Apple Mac OS or Apple iOS or Google Android is recognized as a JMicron Generic Device.
Overall, the installation is very easy, no special drivers are required, since they are immediately recognized as JMicron Generic Device or Realtek RTL9210B under Windows 11, Windows 10 or another operating system such as Apple Mac OS or Apple iOS or Google Android, and plugging in and unplugging the SSDs is also very easy.
Now we want to see if the SSD docking stations can also convince in practical testing.
Icy Dock MB104U-1SMB and MB031U-1SMB EZ-Adapter Practical testing …