
Installation …
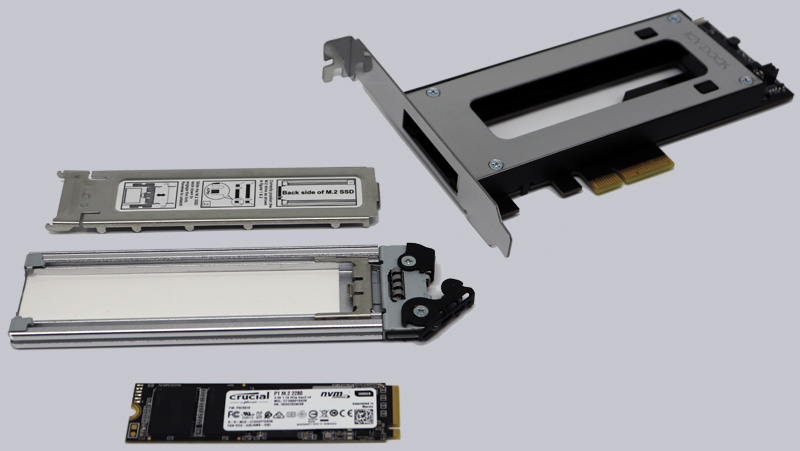
The installation is basically very simple. Here we see the Crucial P1 1TB M.2 NVMe SSD we chose for this test. We have already pulled the small removable frame out of the PCIe card and by light pressure on the “Press” lettering on the cover you can loosen and remove it.
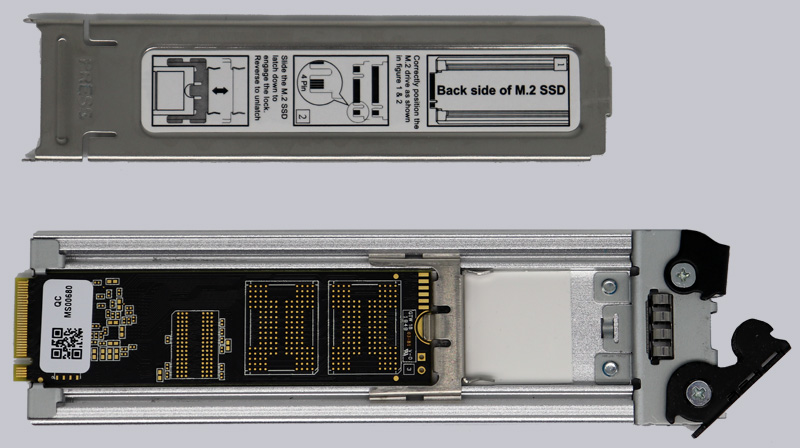
Now remove the protective foils of the thermal pads, insert the M.2 SSD into the removable frame and slide the small metal retaining clip onto the M.2 SSD so that it is held securely in the frame.
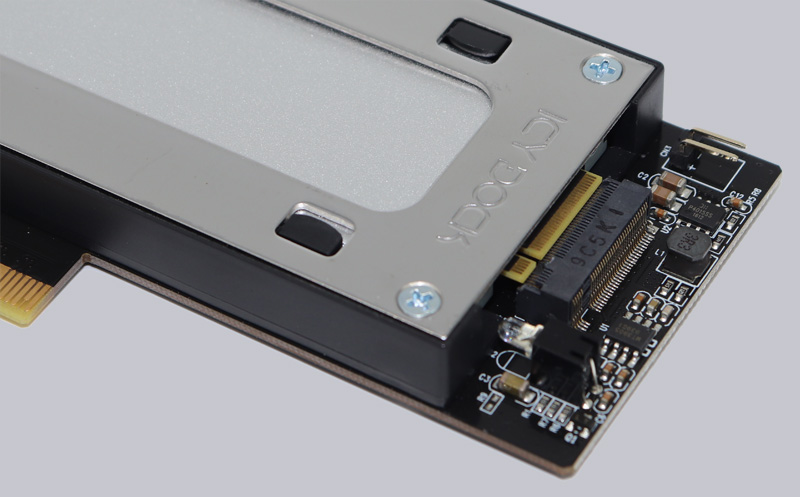
Now simply put the cover back on and carefully insert the removable frame into the PCIe plug-in card. Here you can see the golden contacts of the M.2 SSD, which must be pushed into the M.2 socket.
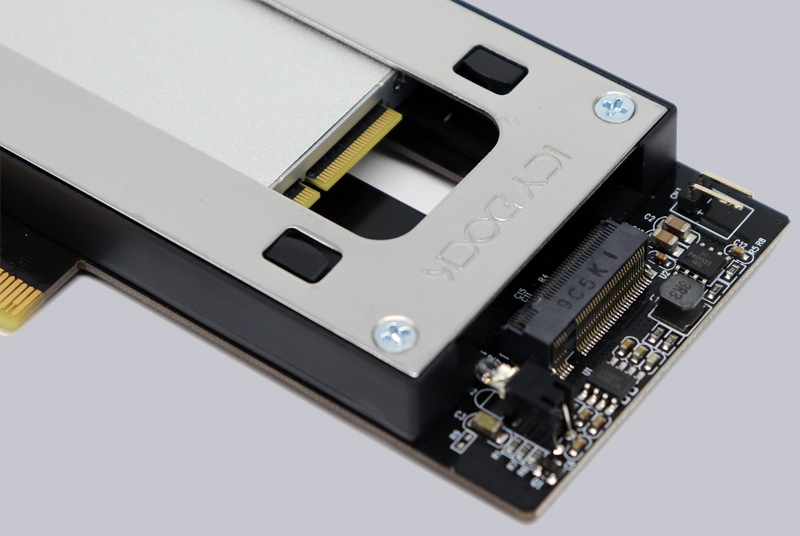
At the very end you will feel a slightly stronger resistance and may have to press lightly on the removable frame to ensure that the contacts are properly pushed into the socket.
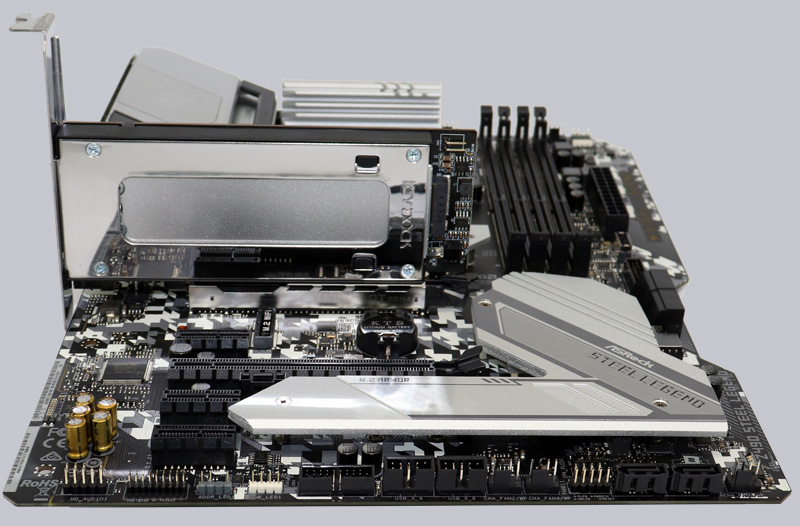
That’s it, now the Icy Dock MB840M2P-B PCIe card can be inserted into a free PCIe 3.0 x4 slot as usual. In the ASRock Steel Slot the glossy card looks especially nice.
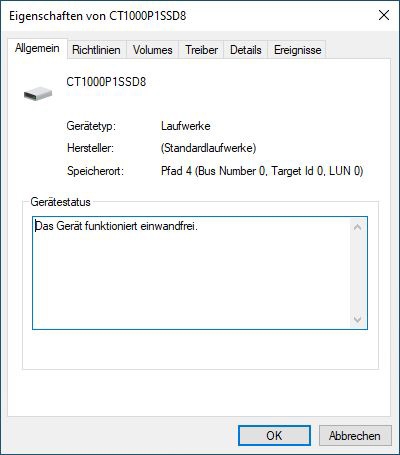
The SSD is recognized after installation in the PCIe card just like in a normal M.2 slot.
Now we want to see if the ToughArmor removable frame can also convince in practical testing.
Icy Dock ToughArmor MB840M2P-B Removable Frame Practical testing …