

BIOS and Overclocking …
Get fast to the right UEFI settings …
ASRock W480 Creator UEFI EZ and Advanced Mode
ASRock W480 Creator OC Tweaker
ASRock W480 Creator voltage settings
ASRock W480 Creator memory settings
ASRock W480 Creator advanced options
ASRock W480 Creator tools
ASRock W480 Creator H/W Monitor
ASRock W480 Creator Miscellaneous
UEFI EZ and Advanced Mode …
To get into the UEFI of the W480 Creator, you have to press F2 or Del when starting the computer, as usual with ASRock. After a short moment of waiting, we are already in the UEFI.
By default, the UEFI starts in ASRock’s EZ mode, which is a simplified graphical representation of the UEFI with mouse support. The extended mode, which is similar to the BIOS, can be reached by pressing F6. But first let’s have a look at the EZ mode.
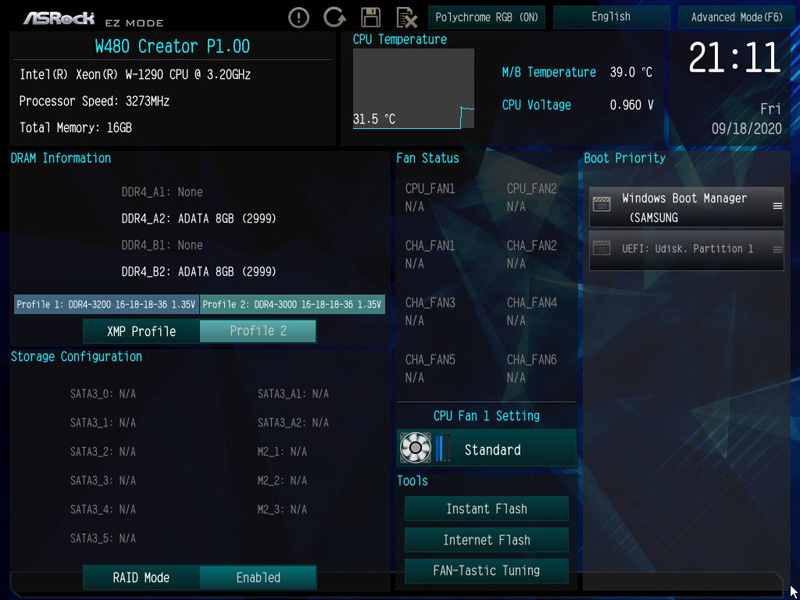
In principle, an overview page of the system awaits us. In the upper third, we find an overview of the installed processor, as well as the working memory including speed and temperature. Below that, the status of the fans and the installed storage media are listed. At the very bottom there is another menu item with the most important tools, like Instant/Internet Flash and the fan control FAN-Tastic Tuning. You can also set the boot order on the right side.
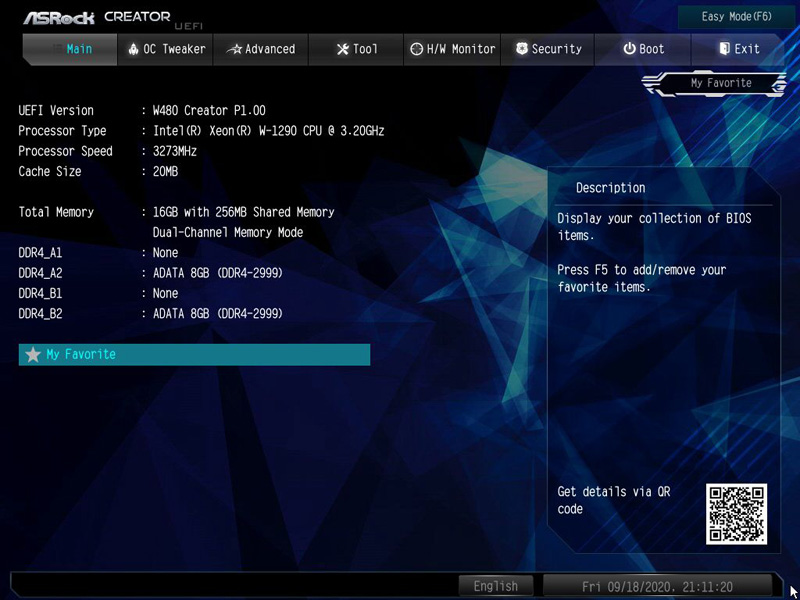
Next, let’s switch to the advanced mode with F6. In contrast to EZ Mode, we only find processor and RAM information summarized in a table, but a lot of new menu items appear in the new menu bar at the top.
OC Tweaker …
The second menu item we find is called OC Tweaker. Here we find everything important for overclocking. By the way, all overclocking results can be found in our Intel Xeon W-1290 OC test.
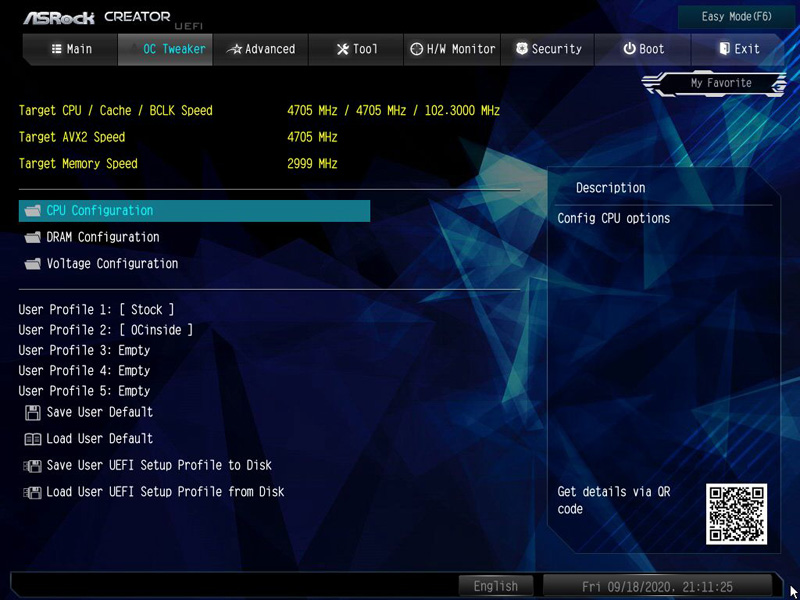
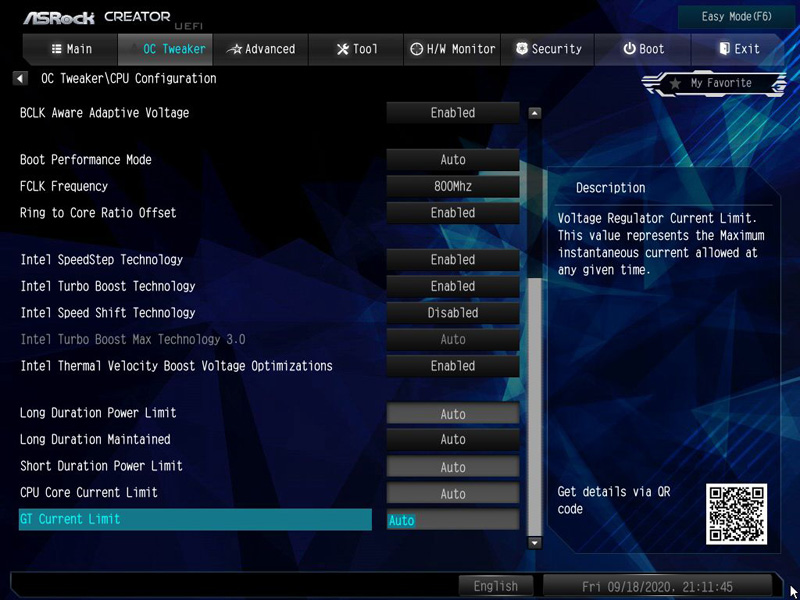
Let’s start with the first subitem CPU Configuration.
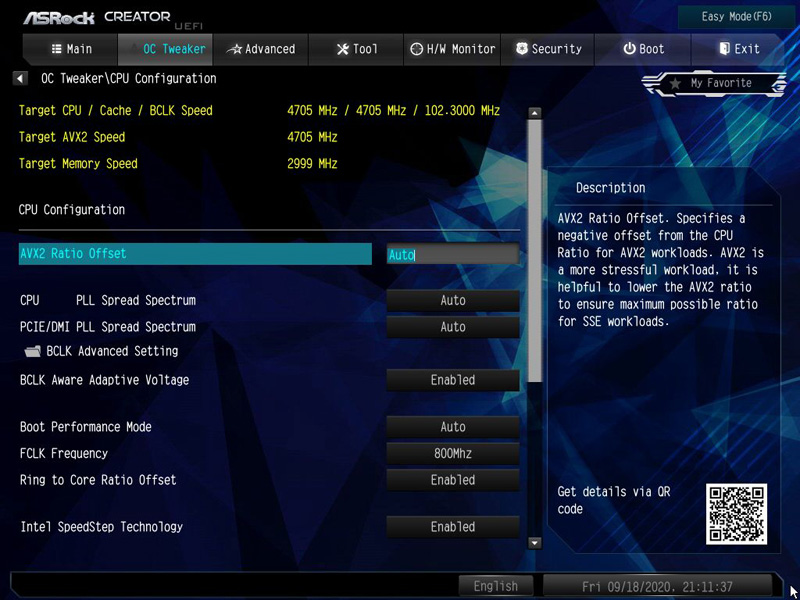
If an Intel K CPU with an open multiplier is installed, the multiplier can be set here. In addition, we find all important settings to operate the processor outside of its specifications. At least as far as the clock frequencies are concerned.
If you scroll down a bit, the remaining options appear, for example, to manually adjust the CPU’s power limits.
If the clock can’t be raised stably anymore, we have to take a look at the
voltage settings …
of course, we can find them under Voltage Configuration.
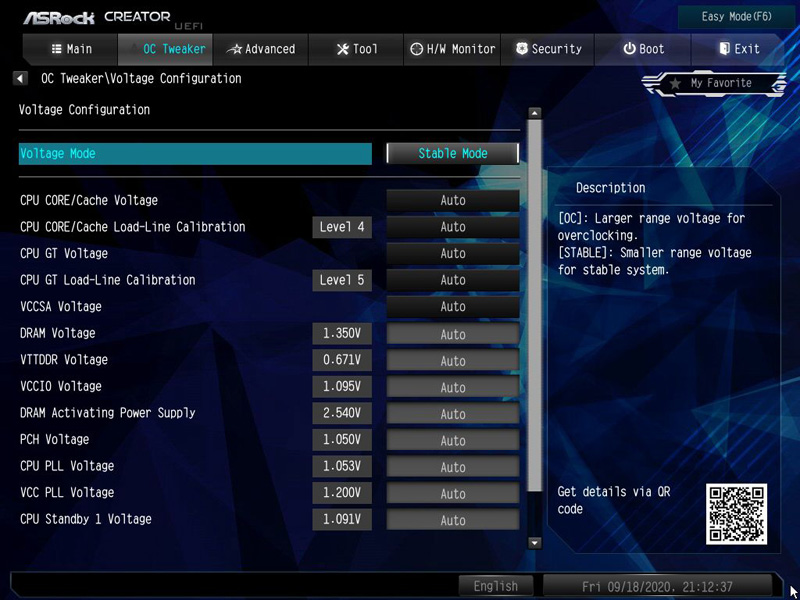
Here you can find everything the overclocker’s and undervolter’s heart desires. In addition to the voltage settings for the CPU, we also find voltage options for the iGPU (if present) and the RAM.
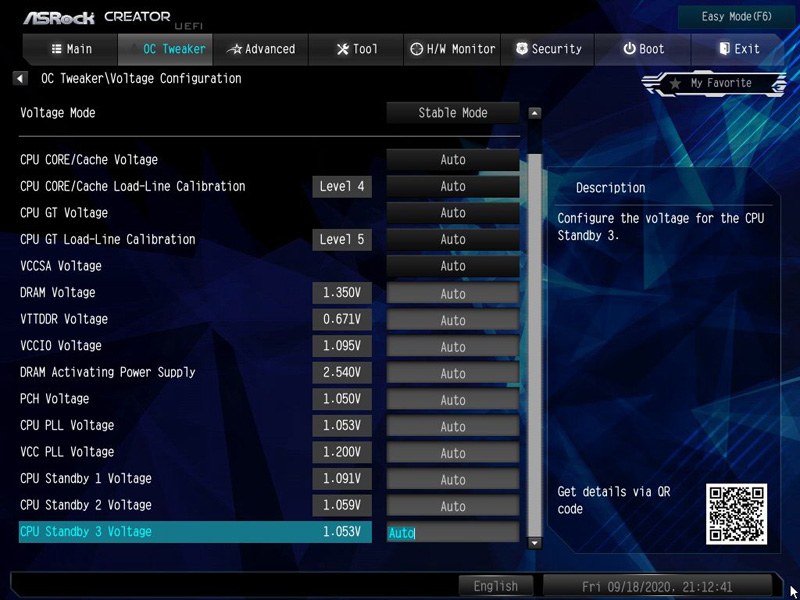
Here, too, you can scroll down a bit to discover more options.
Since it would go beyond the scope of this review to explain all the points here, we’ll simply refer to our Intel OC Guide.
memory settings …
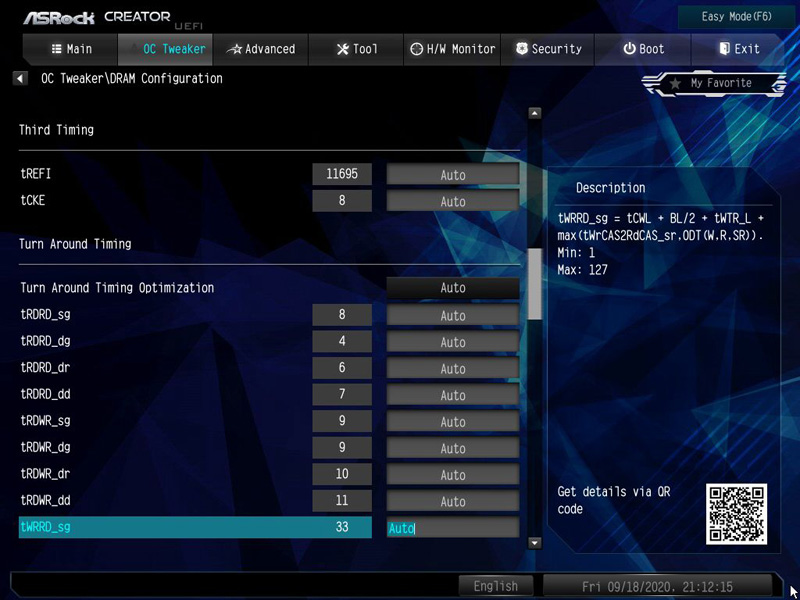
Here, too, the W480 Creator from ASRock can show off properly. Under DRAM Configuration, the RAM can be adjusted down to the smallest detail. Of course, we can also select and set the XMP profiles accordingly here.
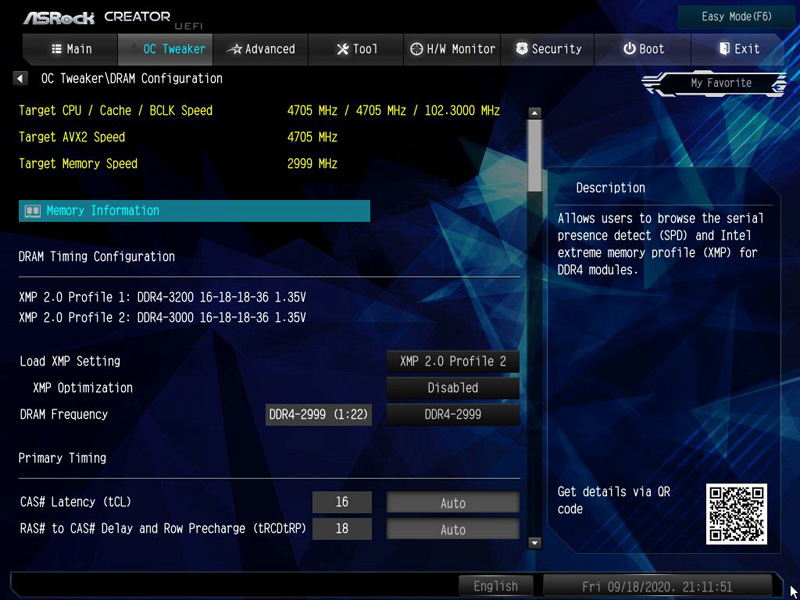
If that’s not enough, you can of course also try every adjustment screw yourself.
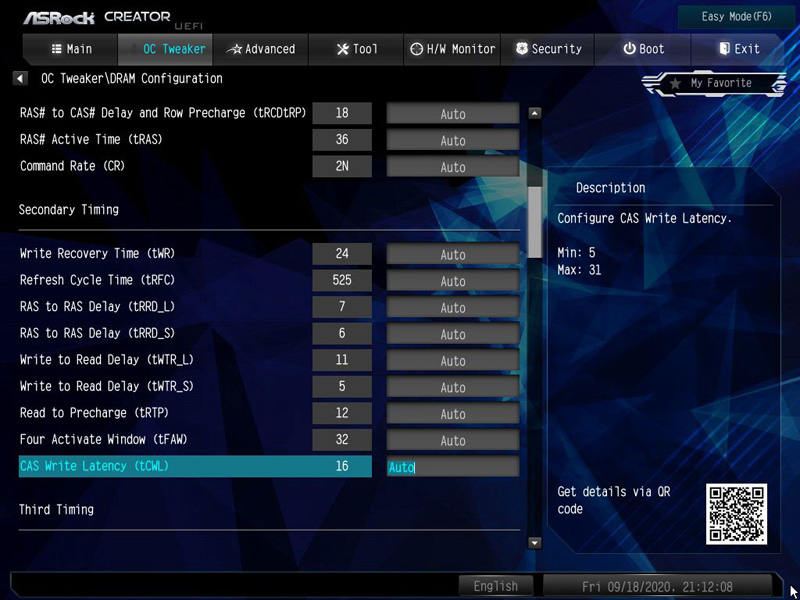
The UEFI of the motherboard offers enough options.
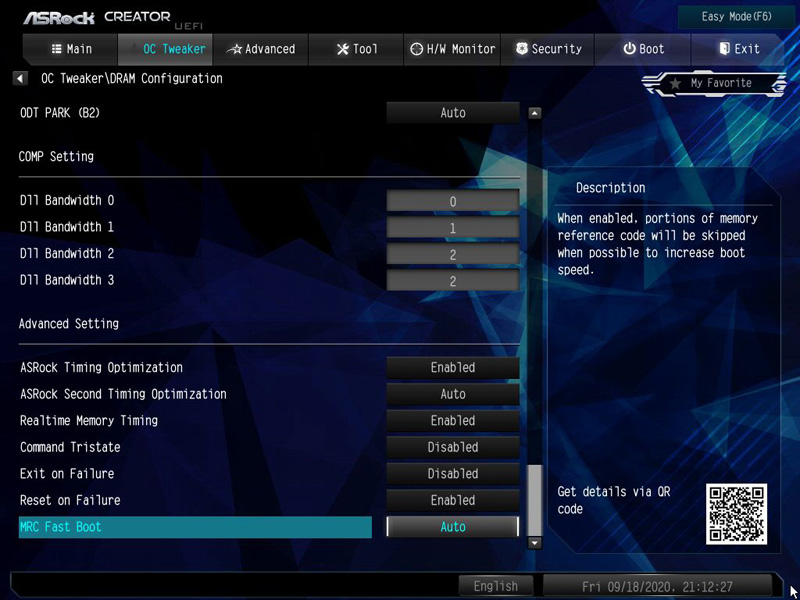
Finally and at the very bottom, we also find some very helpful menu items, such as Reset on Failure. We recommend leaving this enabled in any case, since it can otherwise happen that you have to reset the entire UEFI in order to get back into the UEFI after an incorrect RAM configuration.
The third menu item is called Advanced, here we find the
Advanced options …
to all subsystems of the chipset to the processor.
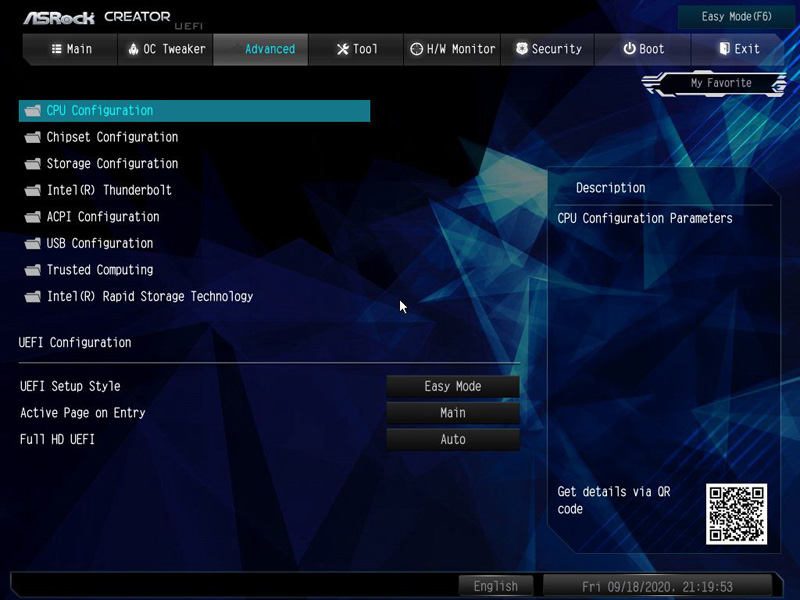
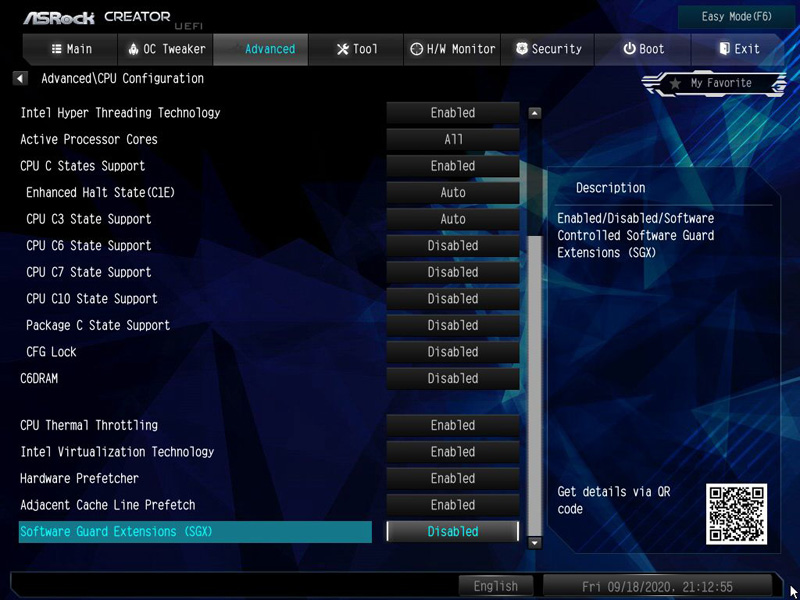
Let’s start with the CPU Configuration, apart from overclocking there are all important settings for the processor here.
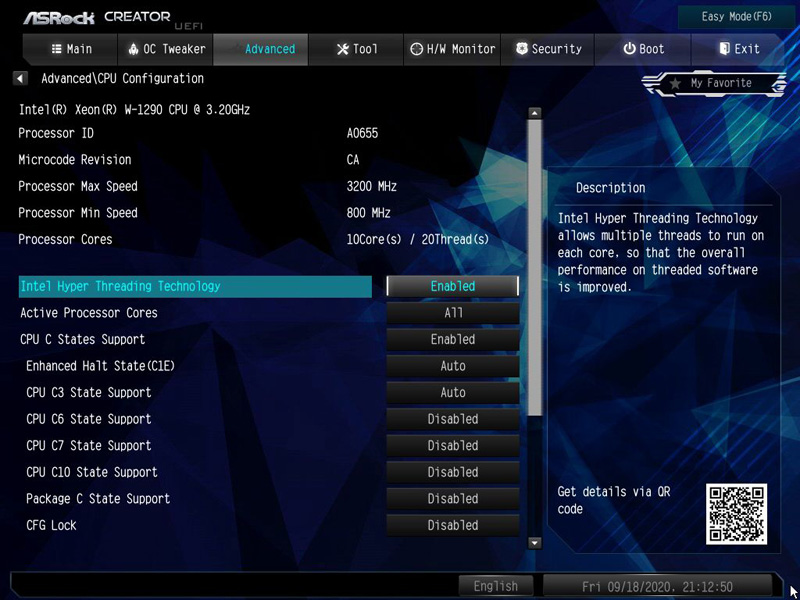
Here you can also enable or disable virtualization support or Hyper Threading, for example.
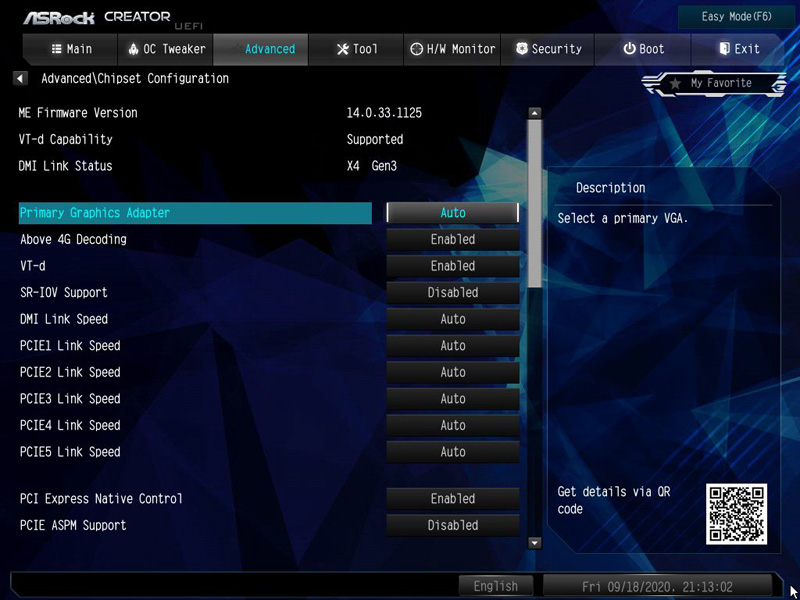
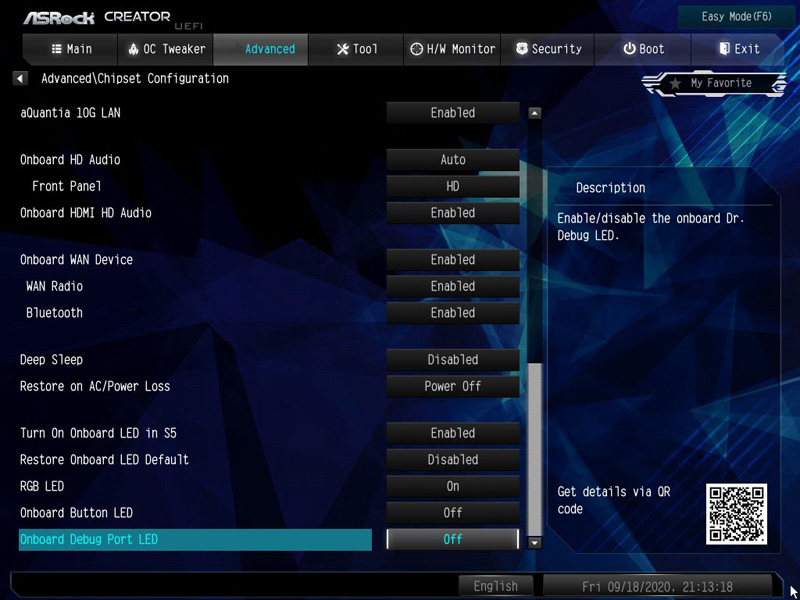
Under Chipset Configuration you find all relevant settings for SR-IOV, PCIe Slots …
… the multi-monitor support through the integrated GPU, its graphics memory, network, Bluetooth …
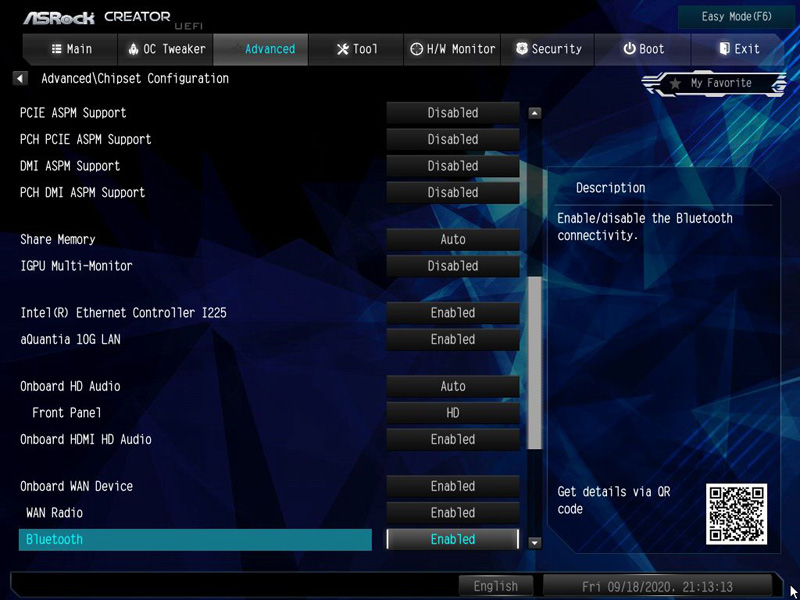
… as well as the front panel audio settings, power saving modes and the debug LED (DR.DEBUG) on the board.
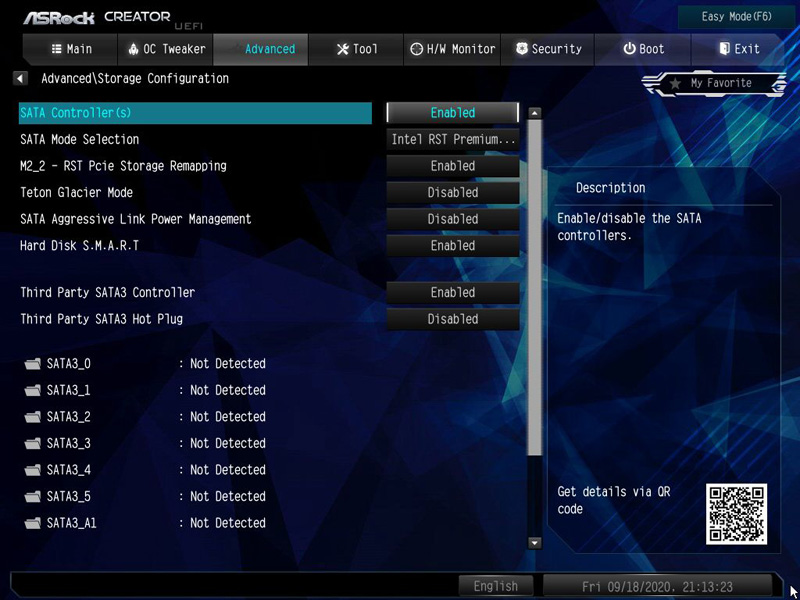
As the name suggests, Storage Configuration deals with the SATA and M2 settings. RAID can also be activated here.
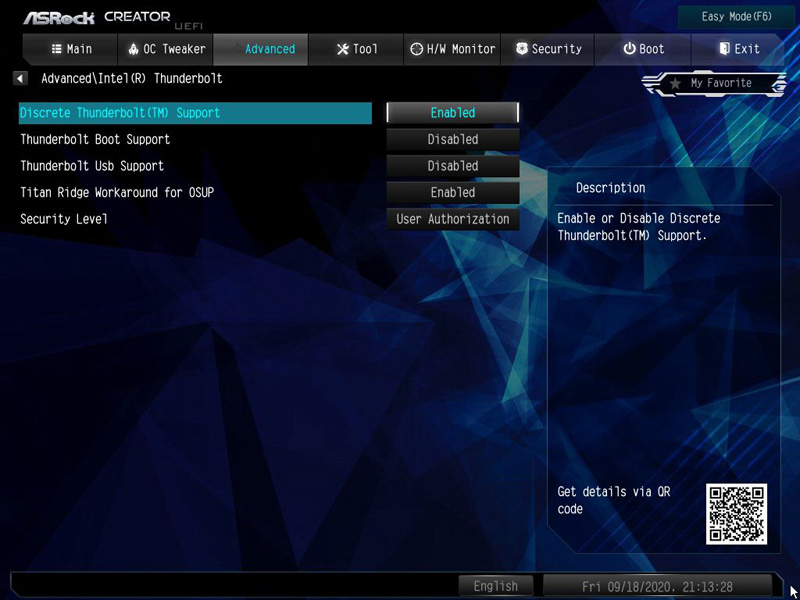
If you want to use USB devices on the Thunderbolt Type C connection, you should enable this in the corresponding menu item beforehand.
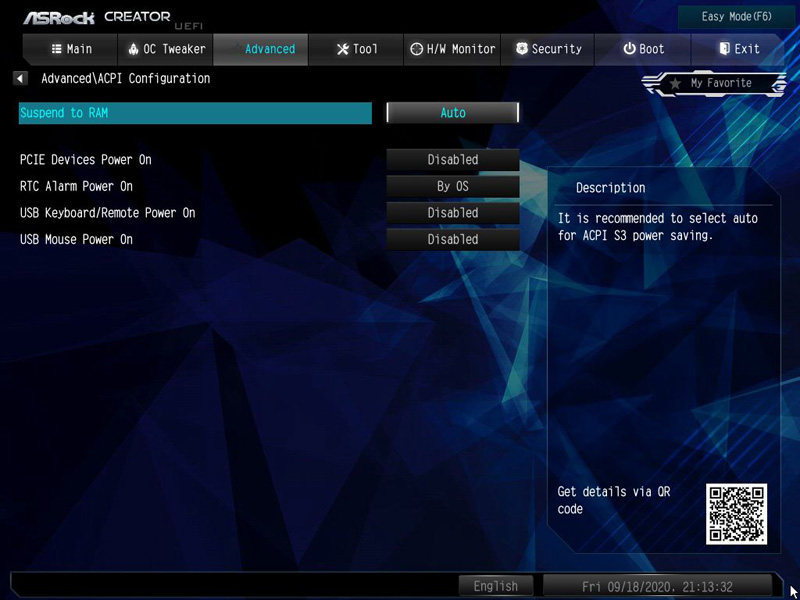
Under ACPI Configuration you can configure under which circumstances the computer should be switched on automatically. The classic options PCIe, RTC and USB mouse or keyboard are available here.
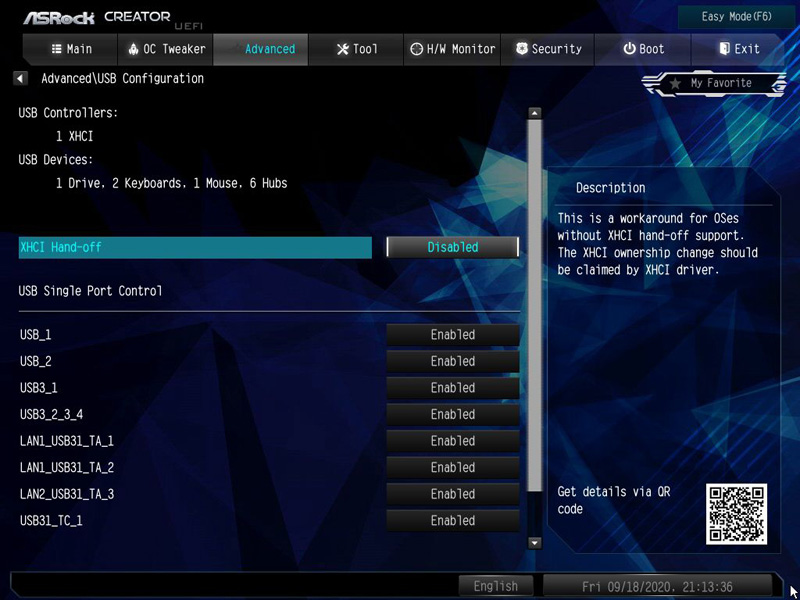
The UEFI of the motherboard also allows many USB settings. You can activate or deactivate almost all USB ports as you like. If you are looking for XHCI Hand-Off, you will find it here. This is a compatibility option, which can be valuable for older operating systems from time to time.
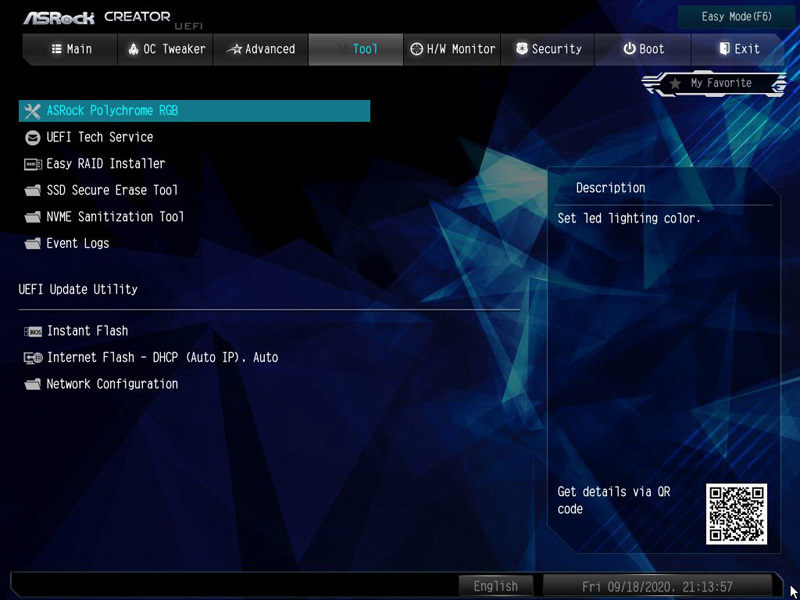
Tools …
Of course, the W480 Creator also supports ASRock’s tools like Polychrome RGB, Easy RAID driver installer, an SSD eraser, and an M.2 NVME recovery tool. You can also access the motherboard’s event logs and install a UEFI update here.
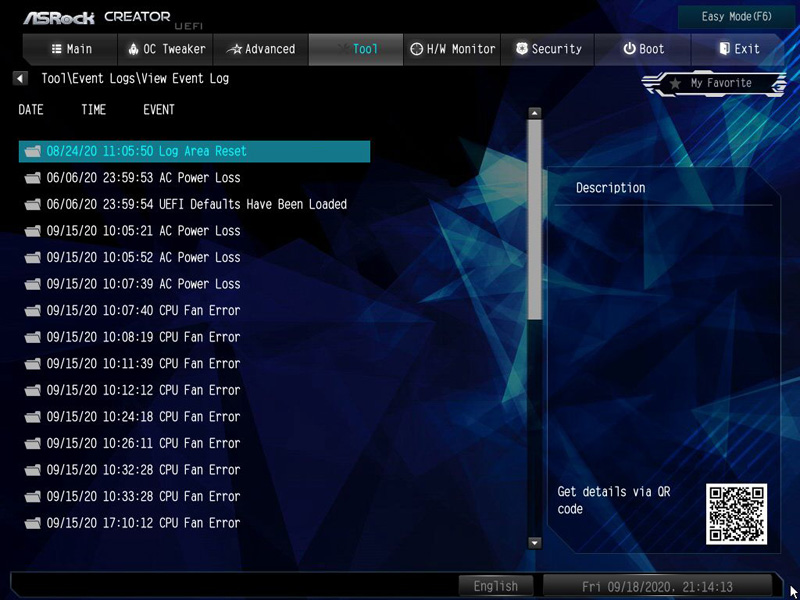
In the event log you can check errors, for example if the CPU fan is not working or if there was a power failure.
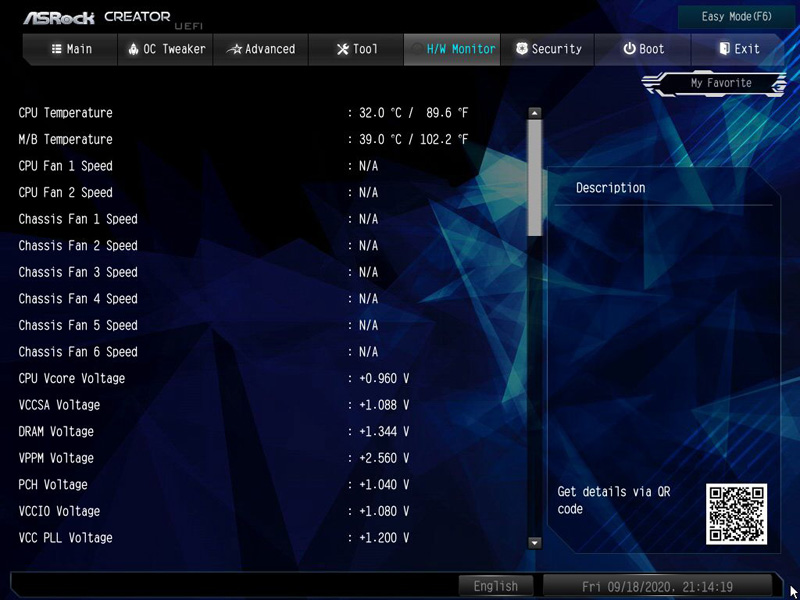
H/W Monitor …
Here there are the values of the fans, voltages and temperatures.
Furthermore, you can specifically set each fan with a separate fan curve or use ASRock’s pre-made fan profiles.
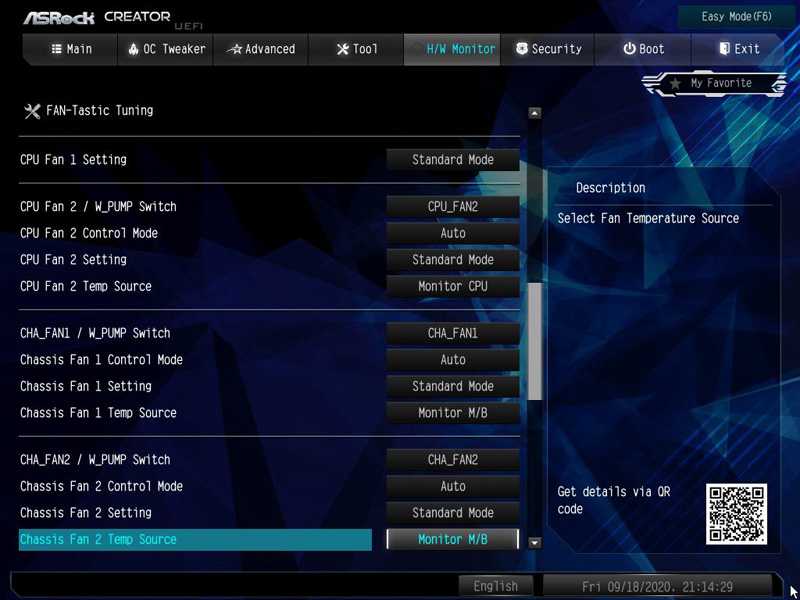
We have already explained how to adjust them in detail in the ASRock Steel Legend Z490 review.
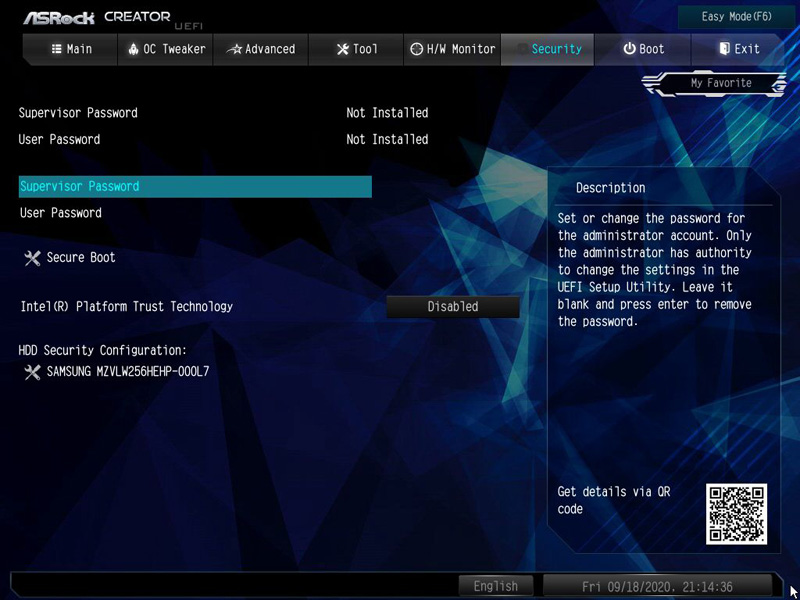
Miscellaneous …
At the end of our little excursion through the vastness of UEFI, there are 3 menu items. The first one is Security, where you can configure a secure boot, set the UEFI password and the HDD/SSD security settings.
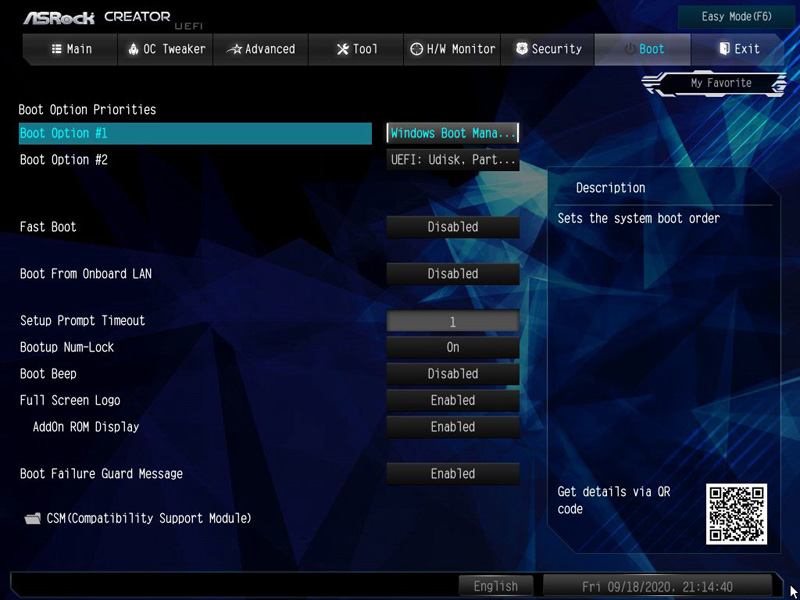
Under Boot we can set the boot order of the system, as well as some other settings such as CSM (BIOS Compatibility Mode).
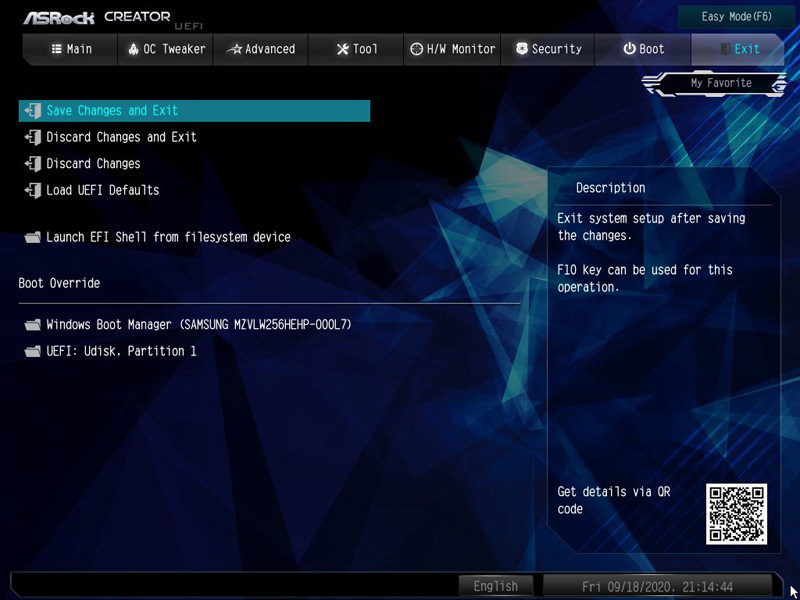
In the last menu item Exit we can finally save our changed settings or start directly into the integrated EFI shell to install an operating system.
ASRock W480 Creator power consumption values …