

Layout, design and features …
The design has not changed significantly since the review of the DS214+.
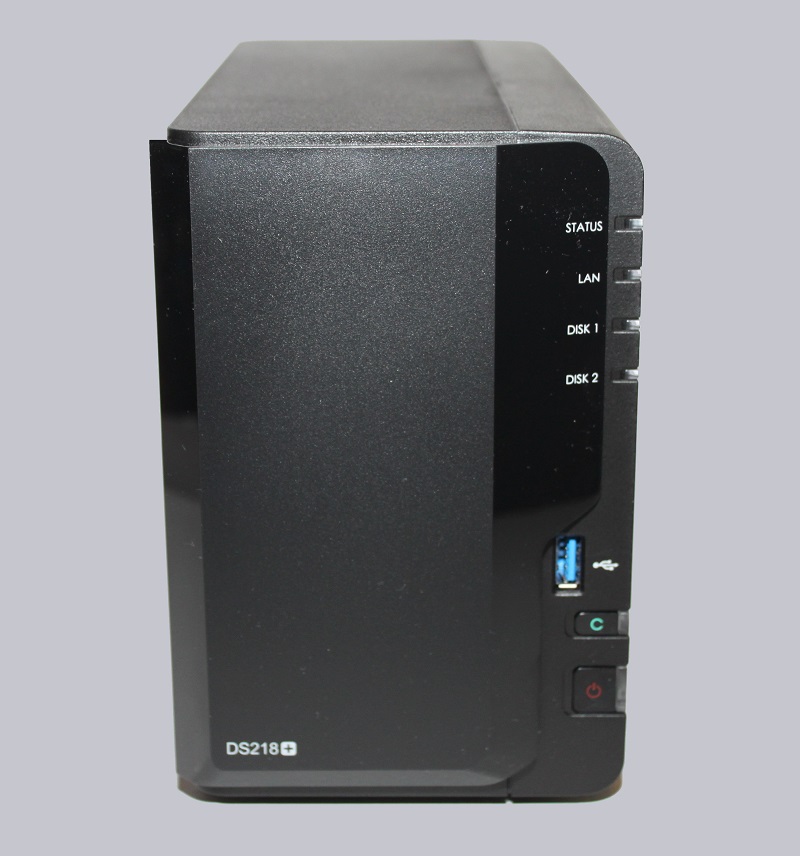
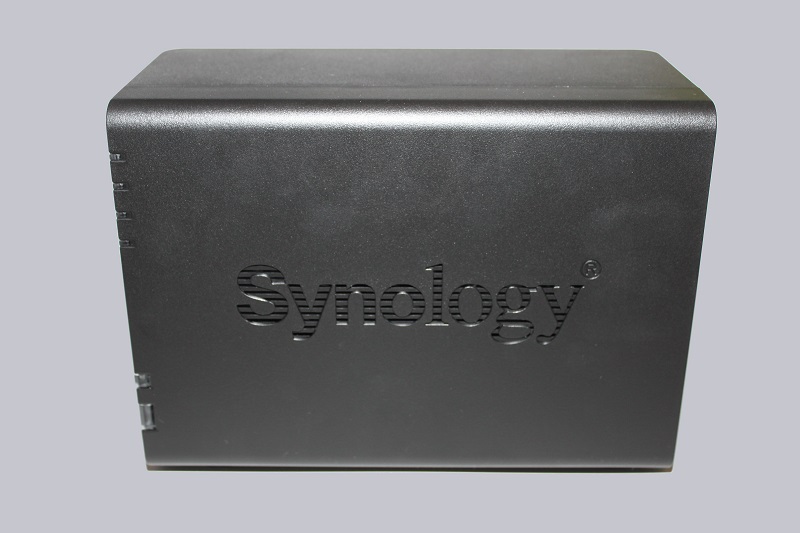
However, an innovation is immediately apparent. The DS218+ has a cover that covers the view of the hard disk carriers, making the front appear tidier.
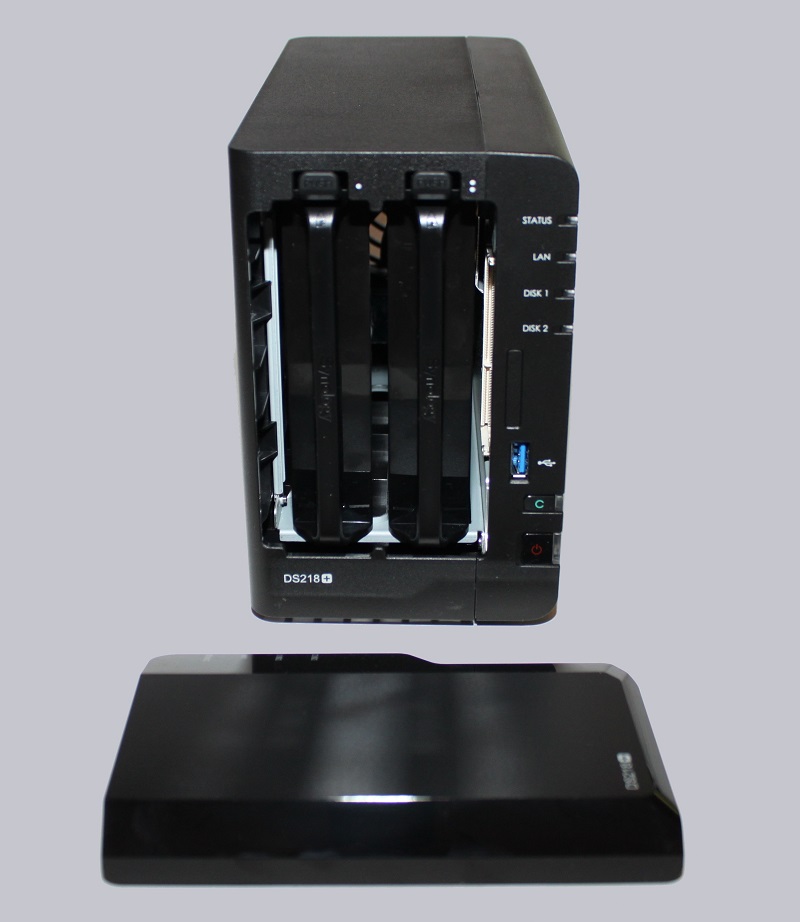
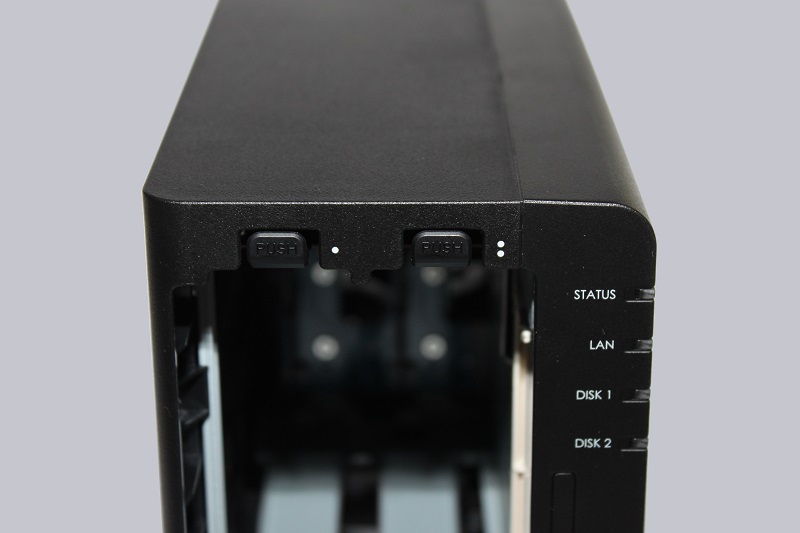
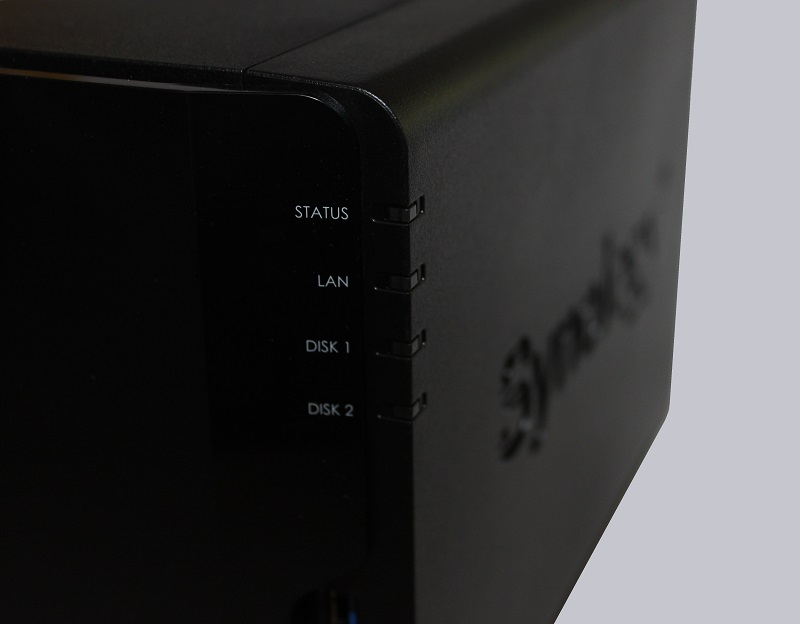
As already mentioned, the two carriers are already pre-installed and can be removed after pressing the upper button. The operation displays of the HDDs are now arranged on the side.
They each have two rails that can be removed without tools …
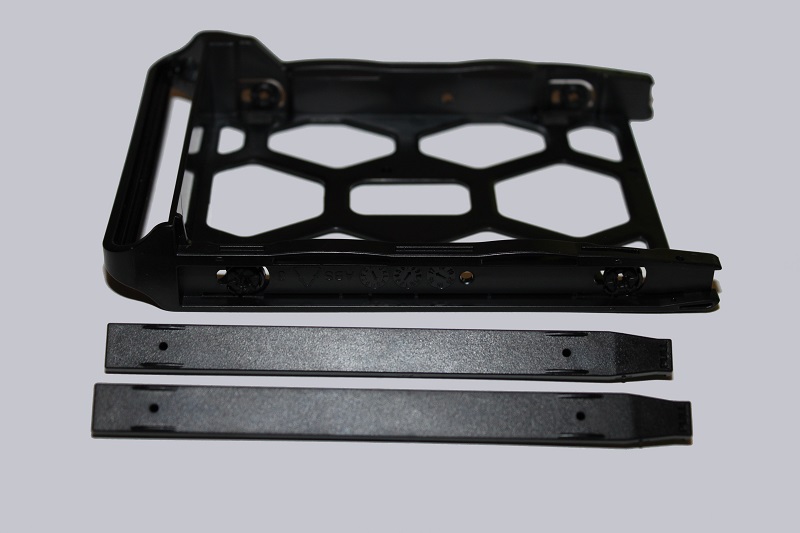
… and reattach it after installation of the hard disk.

The right side …
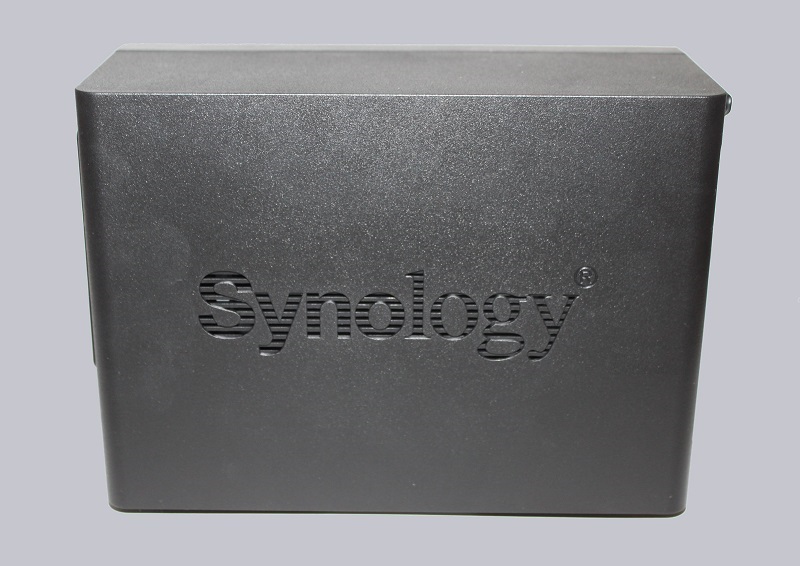
… and the left side again features the Synology logo, which also transports fresh air into the case thanks to an implemented mesh grille.
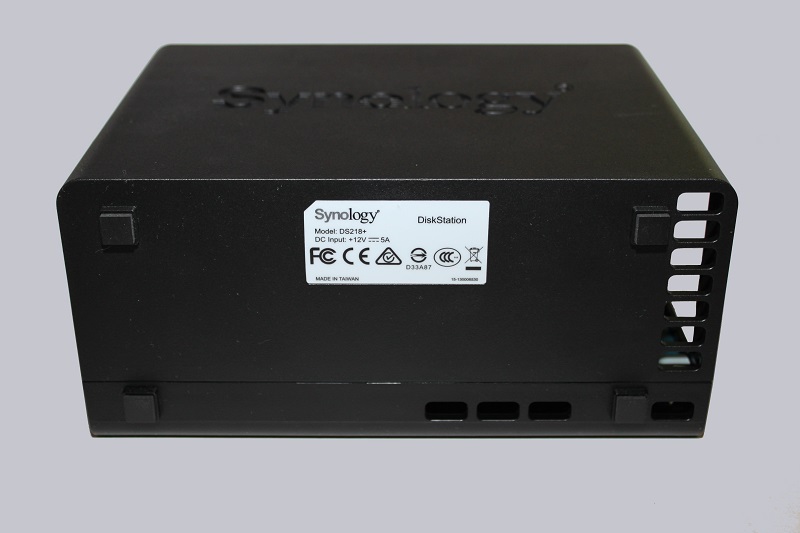
The underside is equipped with four rubber feet, which should not only ensure a firm stand, but also dampen the vibrations of the running hard disks. Here, too, we can see some ventilation holes which favour the supply of fresh air.
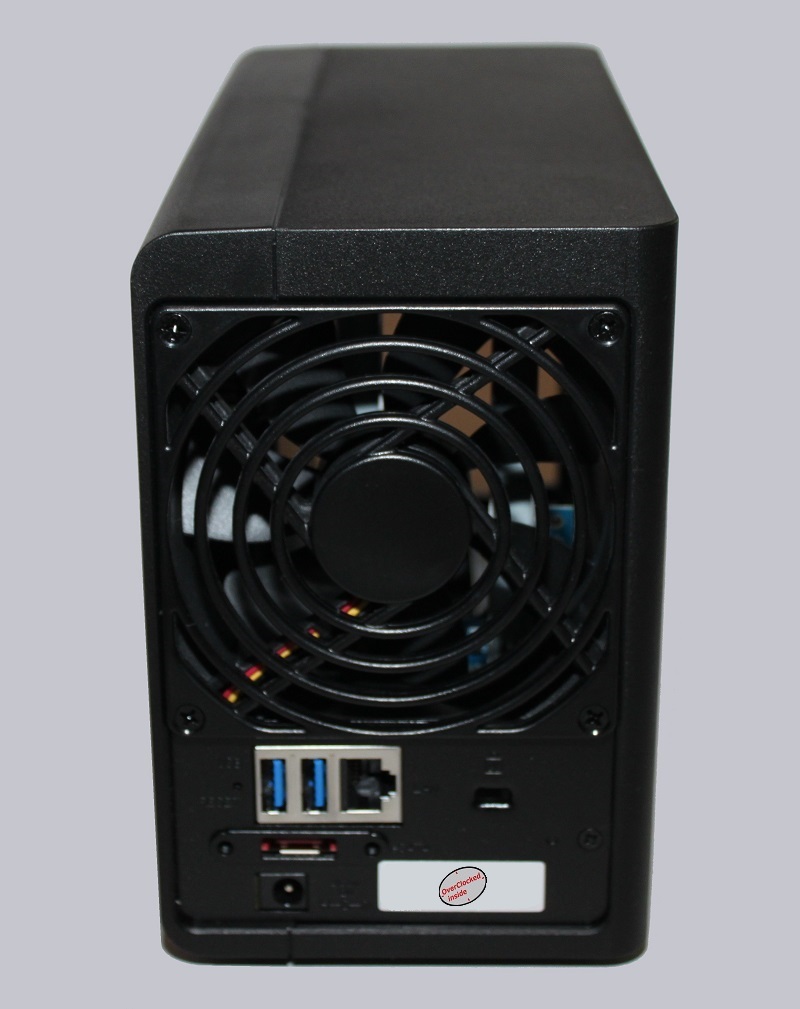
On the back we see the connections: The GBit LAN port, the two USB 3.0 ports, the eSATA port, the power port and of course the Kensington lock. It is gratifying that Synology has dispensed with a proprietary plug for the power connection and uses a standard hollow plug.
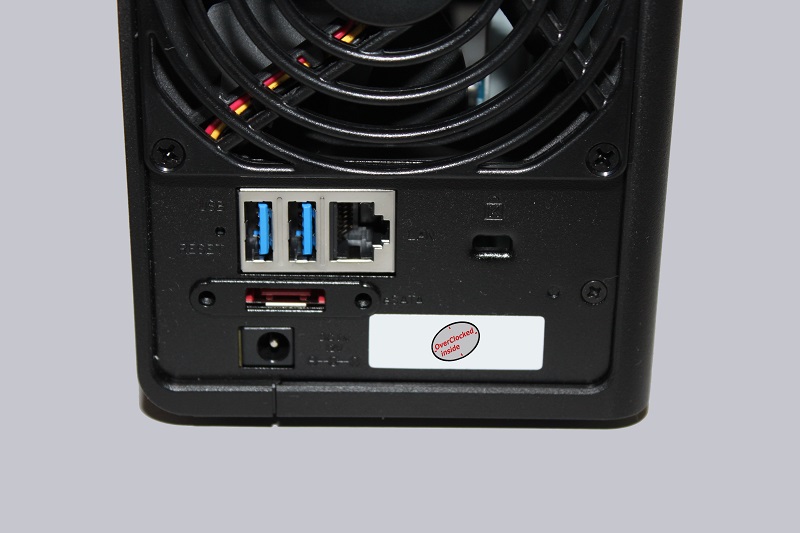
Of course, the large 92 mm fan, which supplies the system and the hard disks with fresh air, must not be missing.
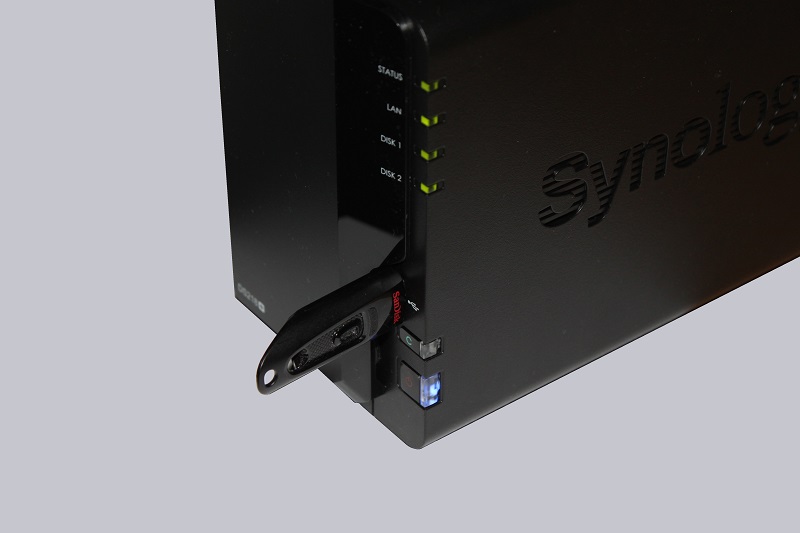
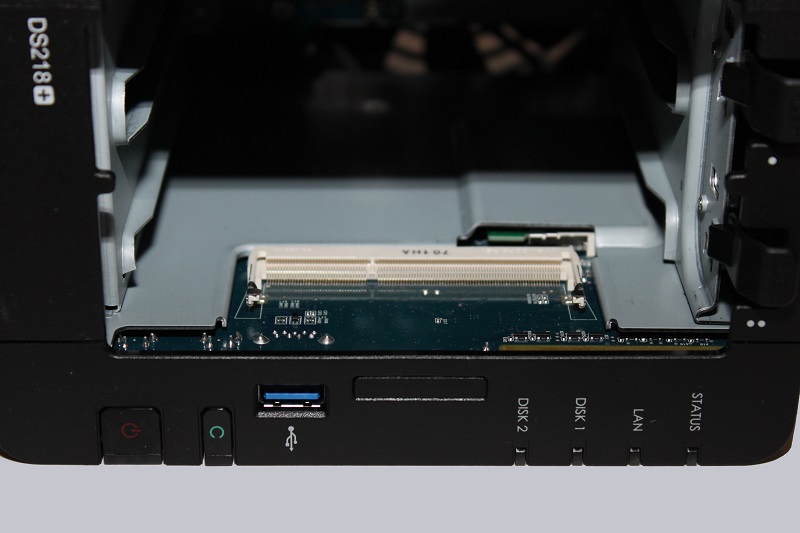
Wait a minute! Didn’t I mention three USB 3.0 ports? That’s right! For that, we have to take another look at the front. Here we see the USB 3.0 port, which is responsible for the recording of USB sticks and saves their data to the NAS at the push of a button. Very handy.
Also various LEDs show us the states of the hard disks, the network interface and the system.
The interior of the NAS is also interesting. On the side is a SO-DIMM slot, which can be equipped with a 4 GB memory module. This should be a useful addition, especially for database applications.
But let’s get down to setting up the Synology DS218+!
Synology DS218+ NAS Setup and settings …