
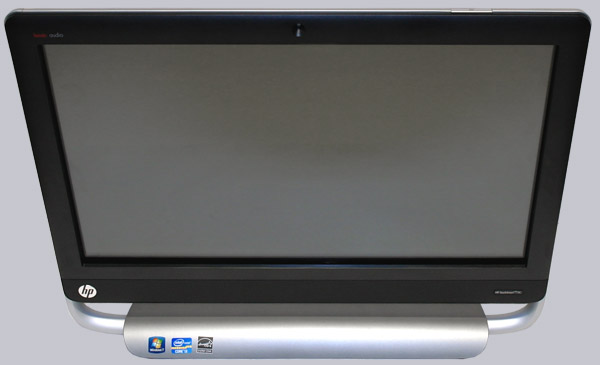
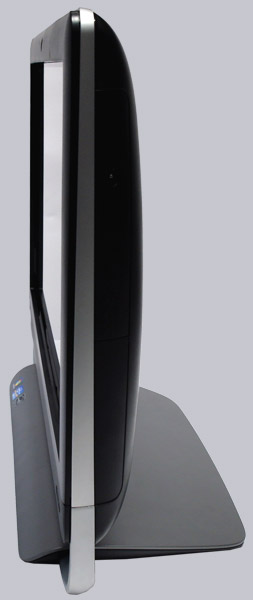
The HP TouchSmart 520 has by the heavy pivoting foot a very good stand, looks nice and can be thus used e.g. in a shop, in an office, in the living room, in the bedroom or as a Terminal.
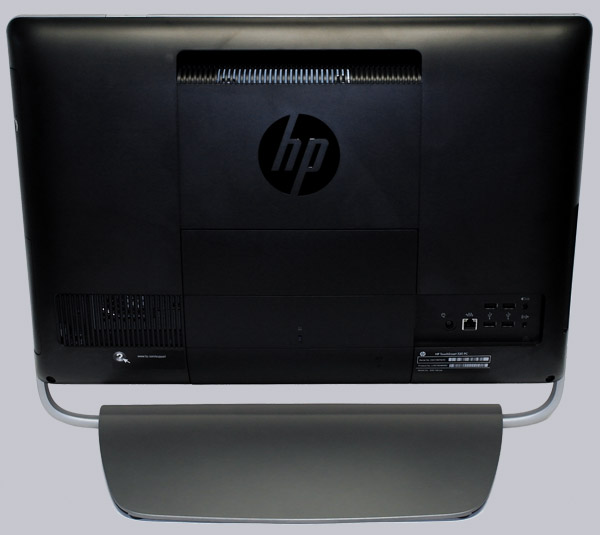
On the back is a connection for the power supply, network, subwoofer and audio, as well as a total of four USB 2.0 ports for connecting the mouse, keyboard, USB printers, USB scanners and other USB devices that you don’t want to use on the side USB 3.0 connections.
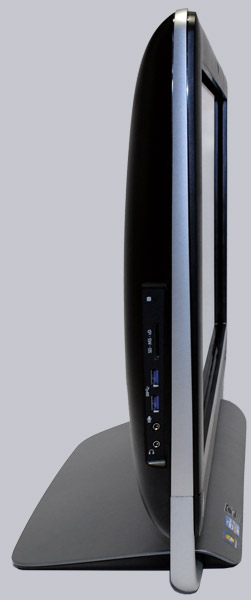
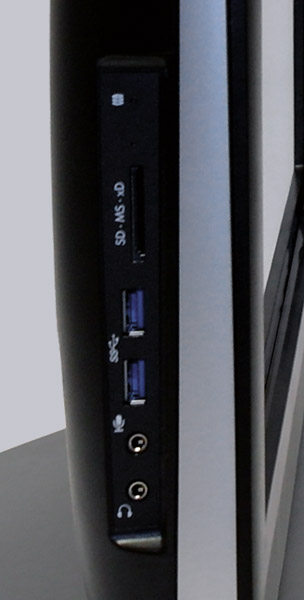
On the left side is from top to bottom a HDD LED, a card reader LED, the 6 in 1 card reader, two USB 3.0 ports and two 3.5 mm jacks for headphones and micro or a headset. The HP TouchSmart can be swivel by the way on the foot backwards and forwards, to achieve an optimum tilt of the panel to the sitting position.
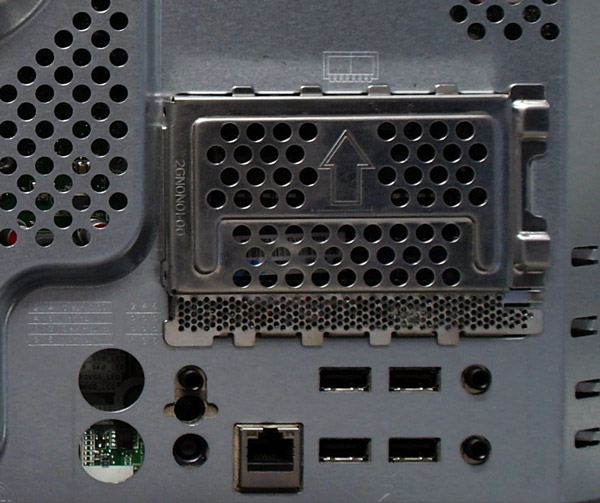
Here you can see the connectors again.
On the right side, the DVD drive is integrated. Unfortunately, the tray of the DVD drive in our supplied sample is not properly processed and can be pushed badly. A slot-in DVD or slot-in BD drive would be desirable.
Here you can see the AIO PC again from the top.
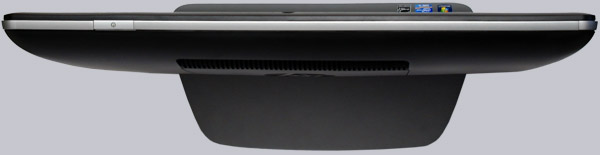
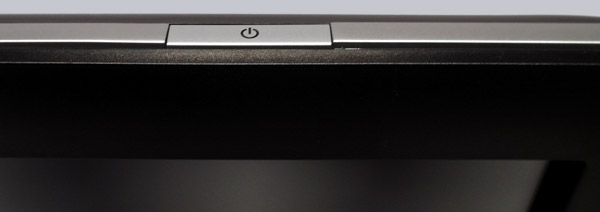
The illuminated power button has been integrated on the top of the chassis and can be operated there comfortably.
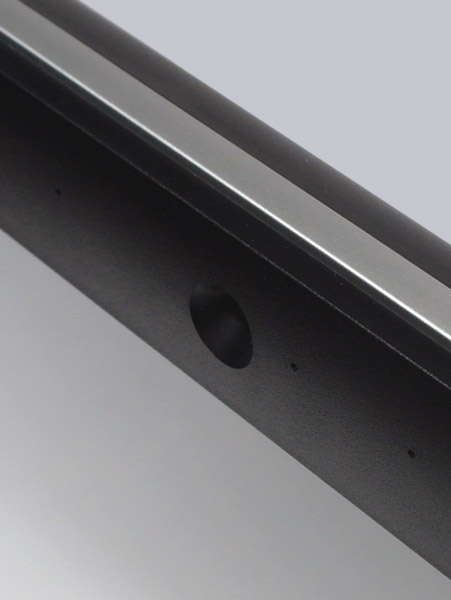
The webcam and the microphone is integrated very practically in the top frame to do e.g. phone calls with Skype.
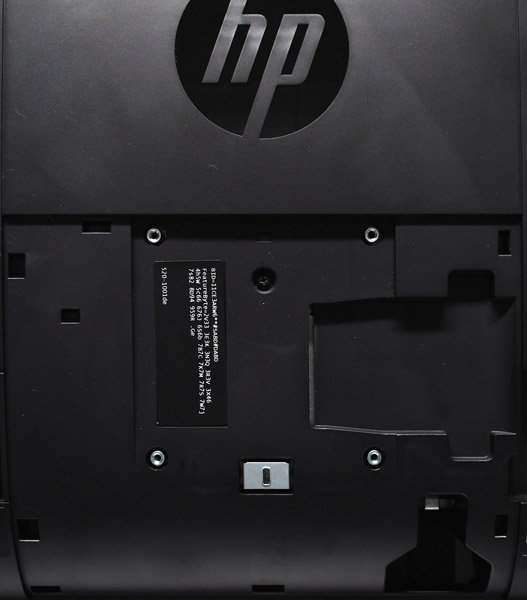
On the case back is a lid that covers the thread for mounting a standard 100 x 100 VESA wall bracket and a Kensington lock. When purchasing the wall bracket, you should make sure that plate at the top is not too far out, because the recess with the holes in the TouchSmart PC back is slightly recessed. For wall mounting, the foot can be removed by the way, by removing the chassis cover first with a couple of screws.
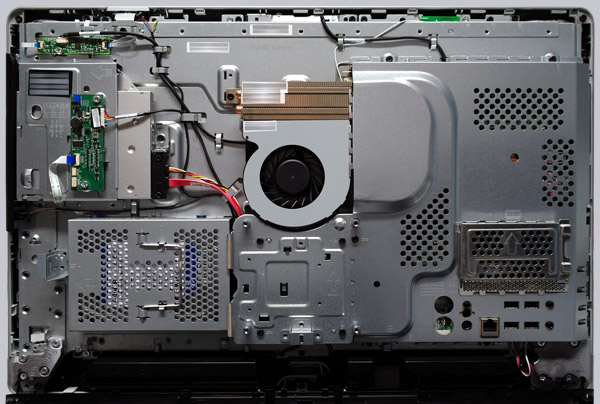
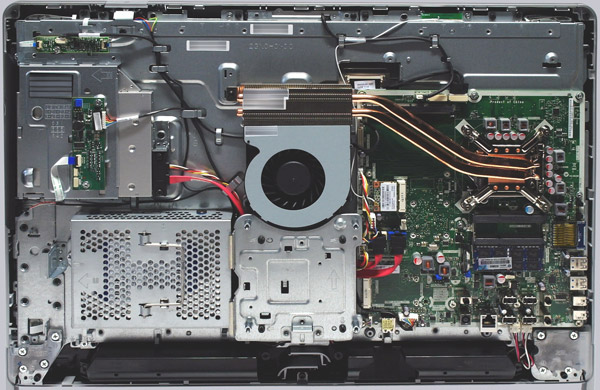
Here is a first look at the inner workings of the TouchSmart PC, which looks similar to a built up in an Apple iMac, while for the HP no special tool is required to open and also not magnetically locked glass pane must be removed with a suction cup. Simply loosen the screws marked with an arrow and take off the back cover.
Here you can seen the power button at top and the slimline DVD drive.
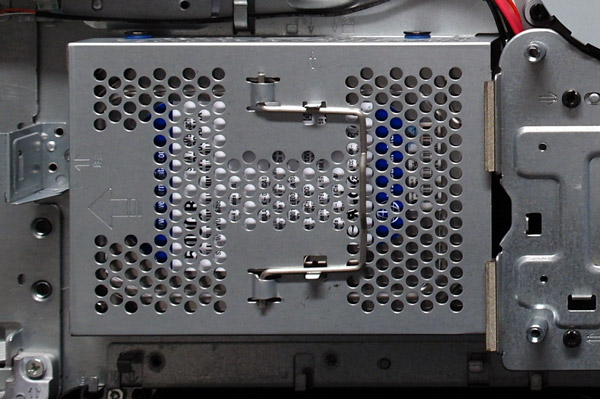
The hard drive was screwed into a hard drive cage, slide it to the left to remove it.
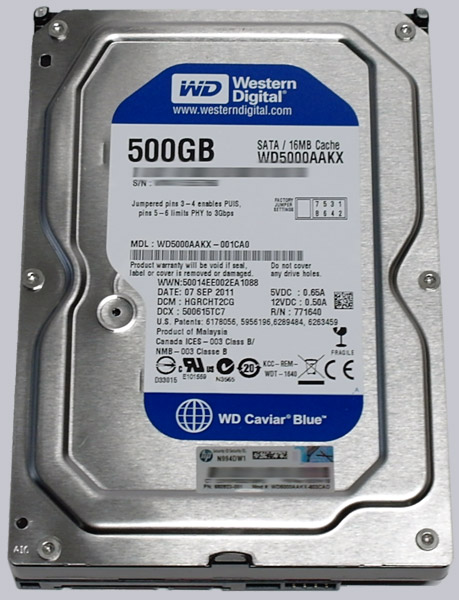
In our system a WD 500 GB SATA II hard drive with 16 MB cache and 7200 RPM was installed, however HP may vary and install other hard drives.
The DDR3 SO-DIMM memory module is located behind this small metal cover.
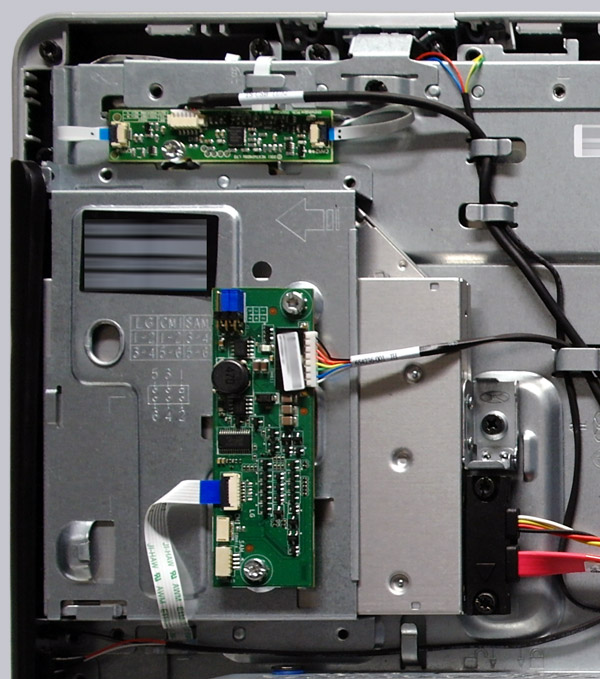
You can remove also the complete metal plate to get access to the motherboard, connectors, the USB diagnostic port and PCIE slots for upgrading the PC.
Here you can see the DDR3-1333 SO-DIMM module with 4 GB capacity.

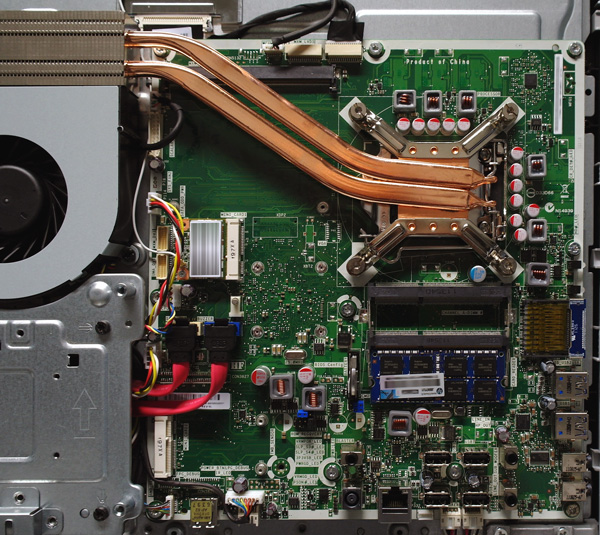
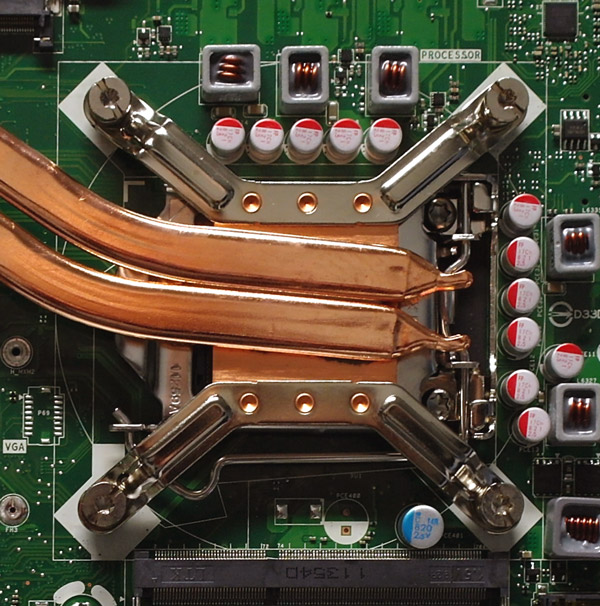
Here you can see the heatpipes and the LGA 1155 CPU cooler installed on the Intel Sandy Bridge processor.
Here one can see the possibility of assembling the optionally available wall bracket and the optional Kensington lock.
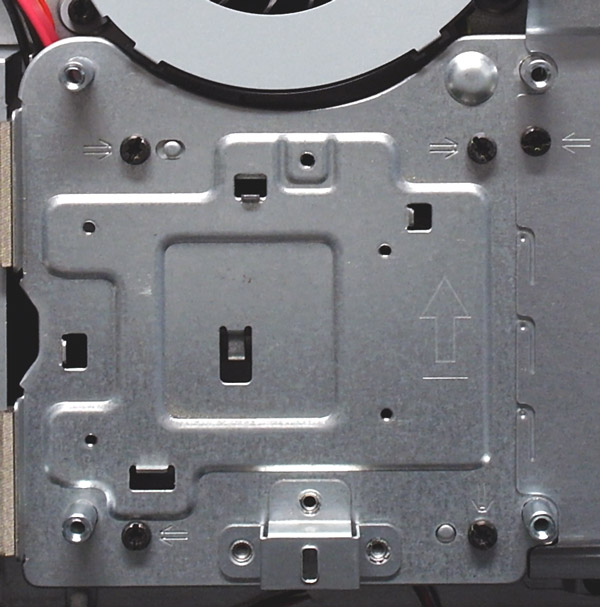
Here you can see the complete back without the metal plate.
The layout is very logical and makes sense. It offers upgrade possibilities for the PC and offers a flat design. The operation volume could be still somewhat optimised as one can hear a humming. You can hear the PC sound on the test result page compared to other coolers.
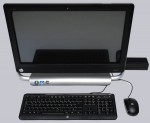
Connection of the Hewlett-Packard TouchSmart 520 Touch PC …