
Installation …
In principle, the installation of the cooler works quickly and easily, once one has found a suitable position for the radiator.
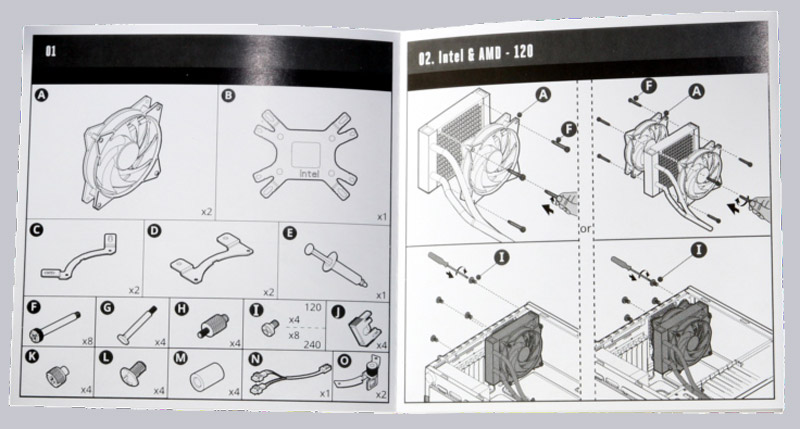
Not only the hardware but also the well illustrated manual contributes to the ease of installation.
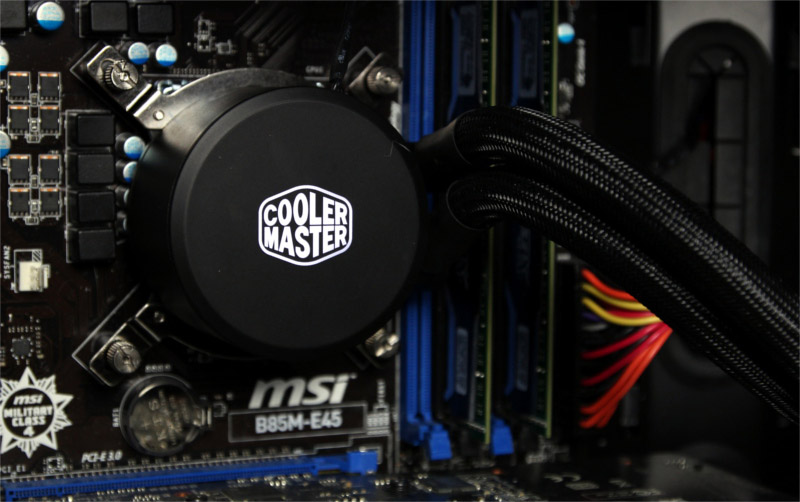
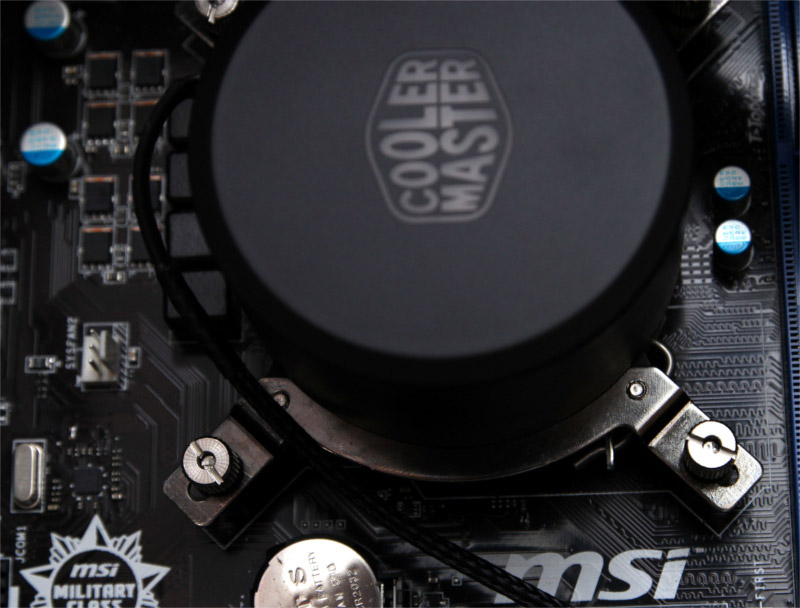
However, there was a non-trivial complication to our test system. After we have installed the pump on our Intel system as described in the manual, the base plate jut out the side of the base. As a result, it collided with some flat capacitors next to the socket. So the coole4 could not contact the CPU heatspreader. Fortunately, the motherboard has remained undamaged, so be sure to check the space at the socket and if necessary one can take a look into our interactive fit for fan guide, if it fits on the motherboard.
The supplied thermal compound is very thin, so you must ensure that you’re applying not too much.
When mounting the pump unit we saw, like in the Pro version, that the top nuts must be tightened with a flat blade screwdriver. Therefore, you need two different tools for mounting.
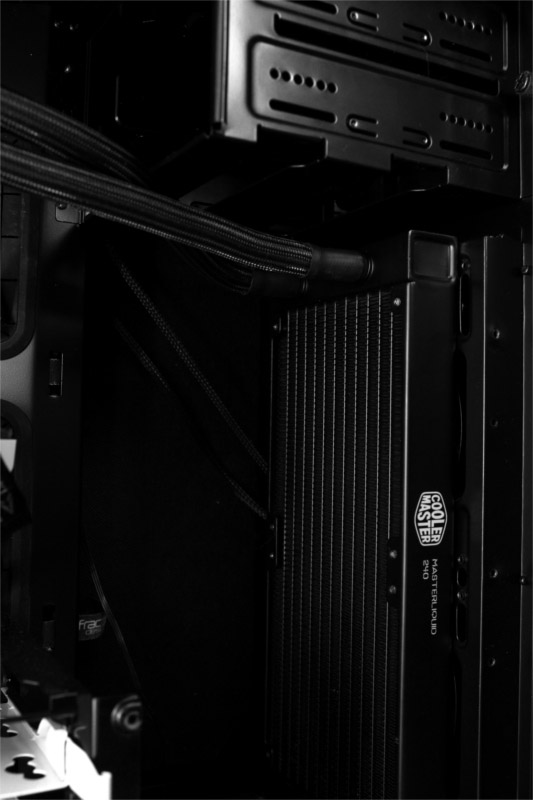
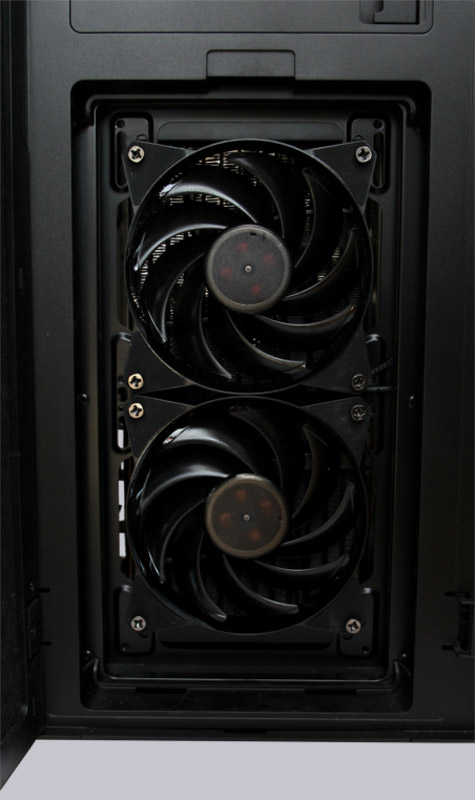
The mounting of the radiator fan on the case runs without any problems.
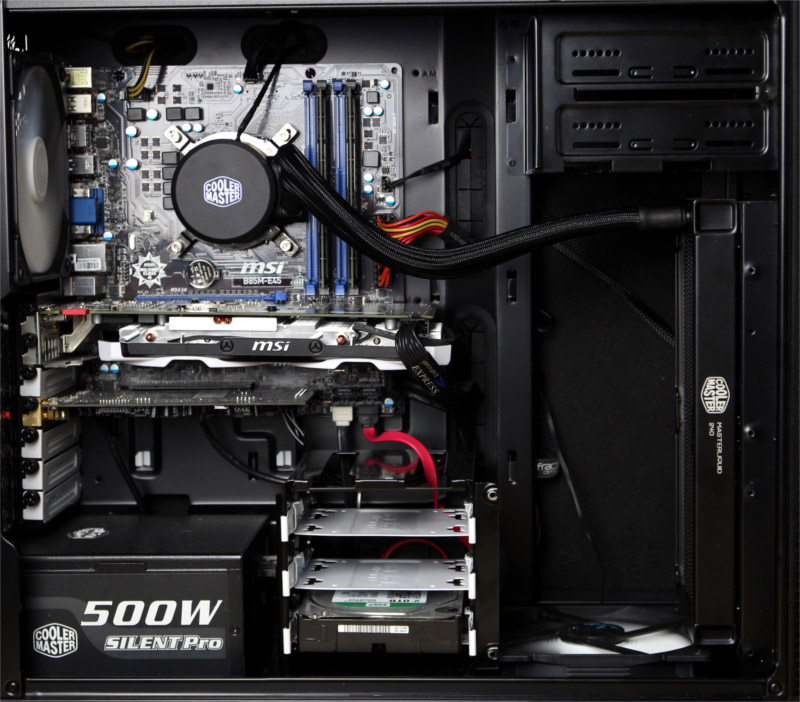
The mounted system with radiator fitted in the front.
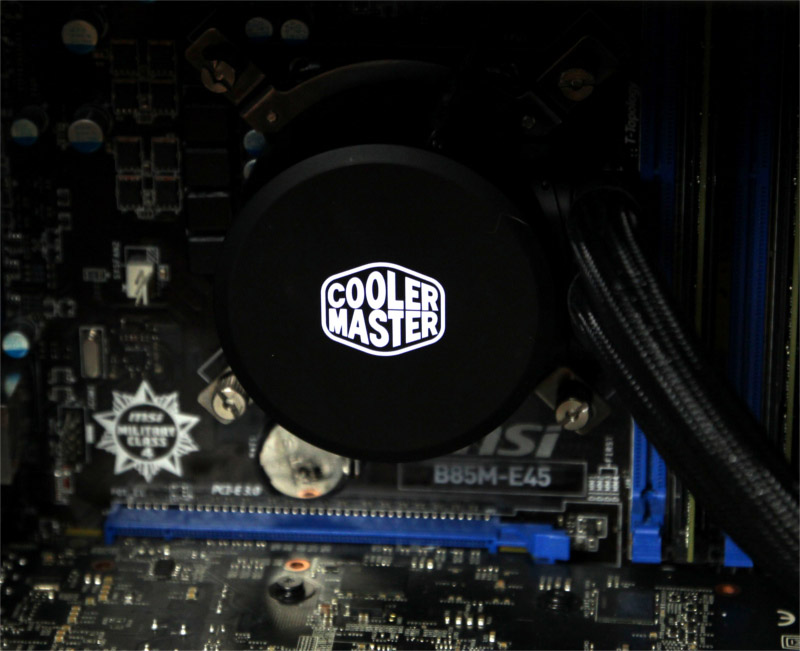
After commissioning, you can see that the Cooler Master logo on the pump is subtly white lit.
Cooler Master MasterLiquid 240 setup and test results …