
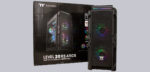
Layout, design and features – exterior …
Seen from the outside, the Level 20 RS ARGB mainly consists of lots of black hard plastic, two tinted side panels made of real glass and lots of ventilation grids.
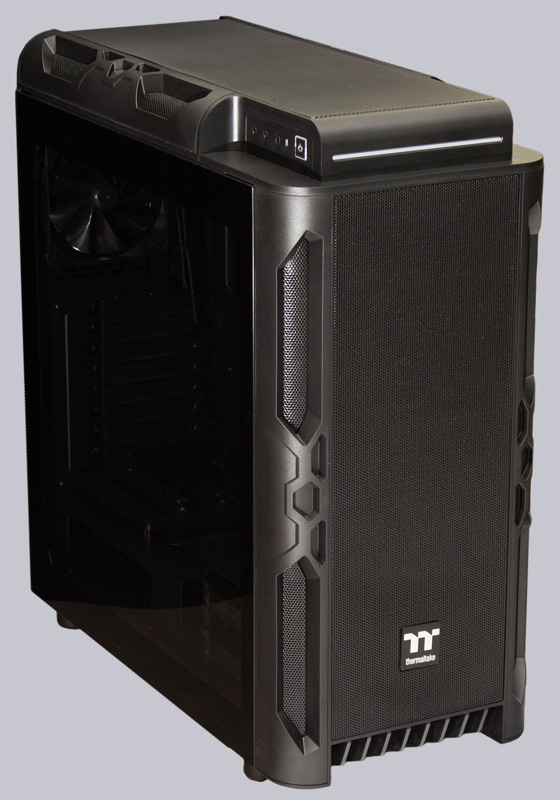
In the plastic frame there are some distinctive honeycomb grid structures. The appearance can best be described as bulky, bulky. The dimensions exceed most other midi towers by a few centimeters in each direction and the empty weight of over 12 kilograms also testifies to the massive construction. Since the side panel on the back of the mainboard is also made of glass, one should pay attention to clean work later when laying the cables. Or you can place the case with this side against a wall 😉
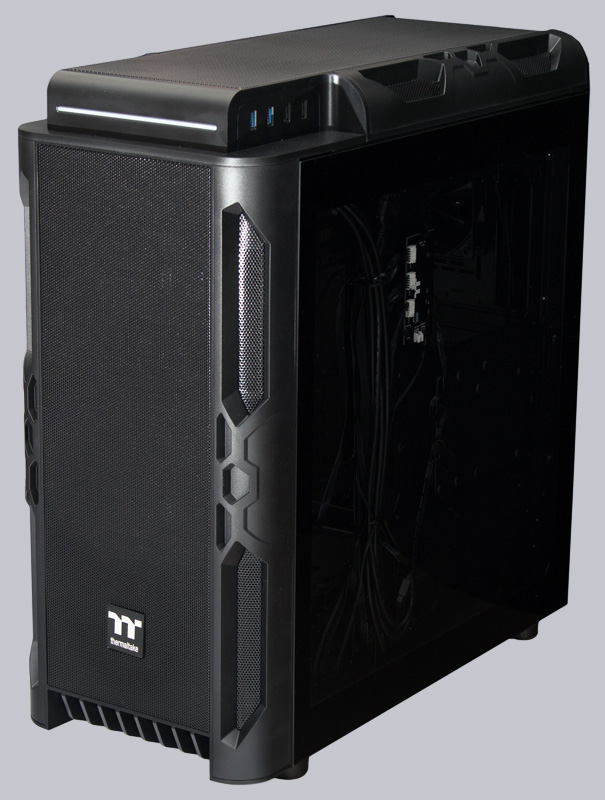
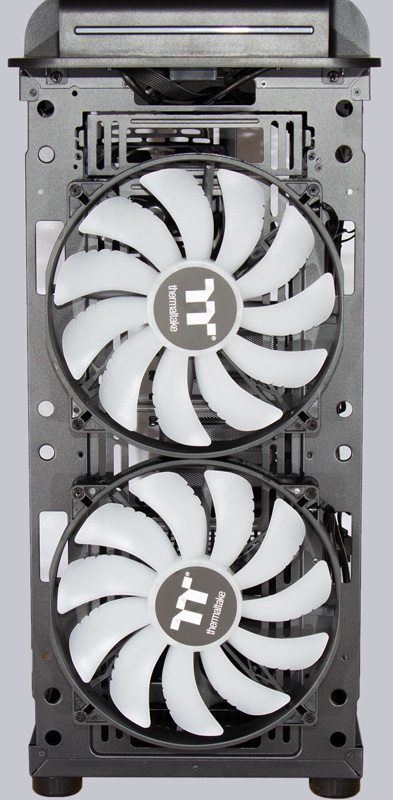
When viewed from the front, you can see a huge front of ventilation grilles without bays for optical 5.25″ drives. The ventilation grille is doubled. On the outside there is a slightly thicker grille with high stability and inside the front panel there is another, even more fine-meshed grille. Thus the two grilles partially cover each other. Although this filters the airflow, it gives a slightly poorer view of the lighting effects of the front fans and reduces the airflow. Skilled hobbyists can, however, remove the inner ventilation grille and thus improve the ventilation. The dust protection should still be sufficiently ensured by the outer grille.
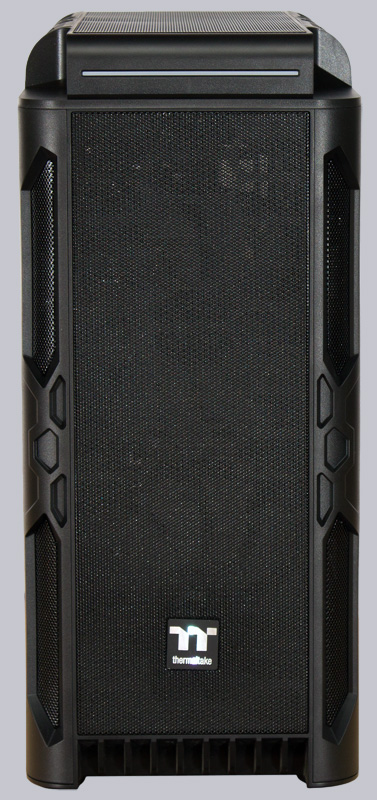
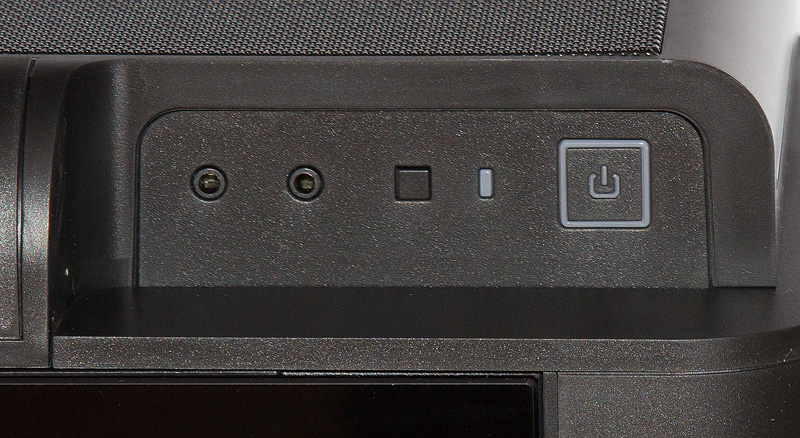
In the upper left corner you find the illuminated power button, the HDD activity LED, the RGB selection button, as well as separate headphone and microphone connections. The labeling of the sockets and buttons seems to be missing in our case. According to the photo on the packaging, the connections should be labeled. A separate reset button is not available. Should one decide to connect the RGB controller to the mainboard, the RGB button on the case could be used as a reset button, though.
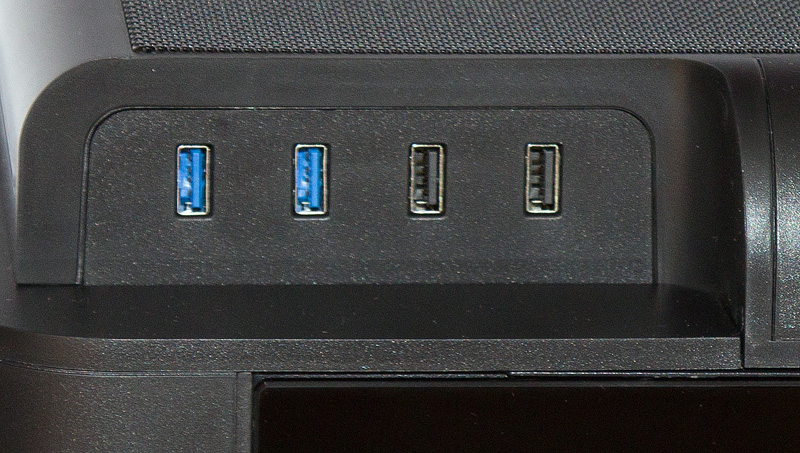
Opposite are the four USB Type A sockets, two of which comply with the USB 2.0 standard and two with the USB 3.0 standard. Here the assignment is given by the colours of the socket inlays. The USB 3.0 sockets are typically blue.
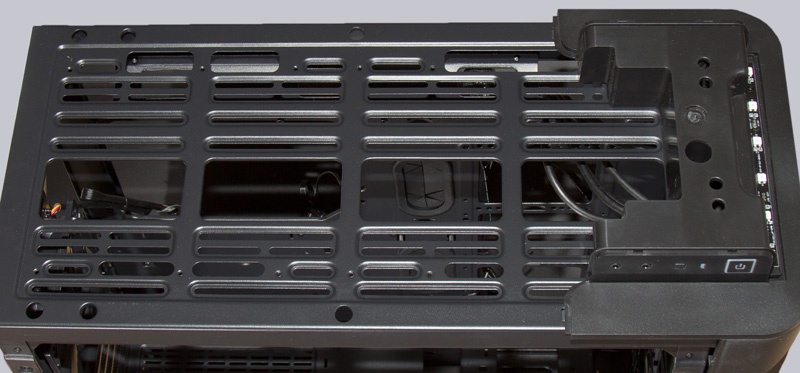
The upper ventilation grille can be quickly removed with a short jerk upwards. Optionally, up to 3 pieces of 120mm fans, 2 pieces of 140mm fans or a 200mm fan can be placed in the roof of the case. Due to the great variability, however, the area is crossed by many struts, which partially cover the fans. Our recommendation is to install 3 pieces of 120mm fans here.
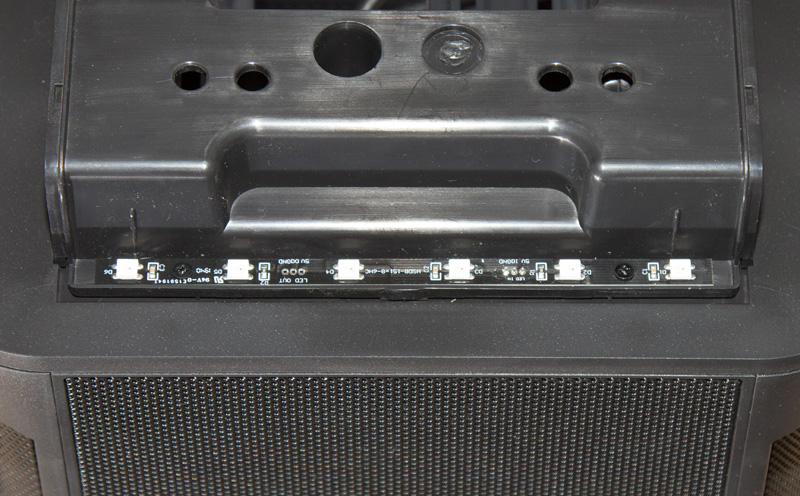
A good solution is the RGB LED strip which is fixed to the base frame. These LEDs illuminate the transparent strip embedded in the front panel. This allows the ventilation grille to be removed and put aside without it being connected to the housing by a cable.
If you remove the front panel, the two 200mm fans equipped with addressable RGB lighting come out. They are directly connected to the included RGB controller via proprietary connectors and have a fixed speed of 600 rpm. The large fans are partially covered by the sheet metal frame behind. Since the fans do not have a distinctive shape for print optimization, we recommend not to use these fans alone for cooling a radiator behind. There are also no cables hanging from the front panel, so it’s easy to disassemble.
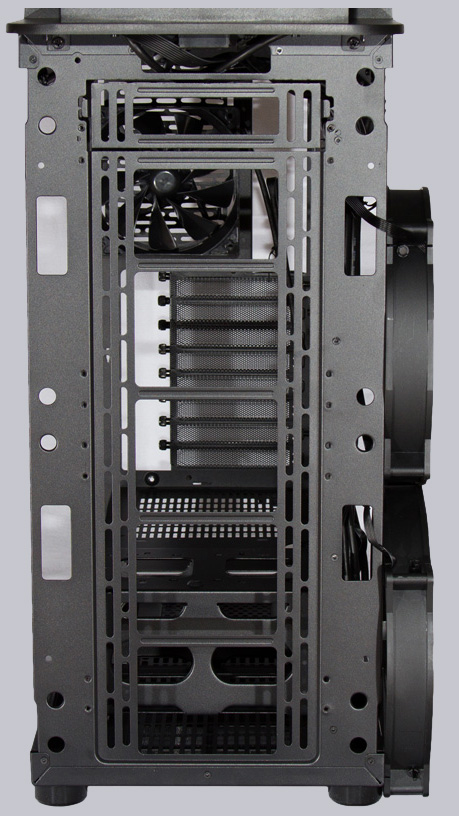
If you remove the front fans, you can see the recess of the case frame which is optimized for 120/140mm fans. On top, there is still a remnant from the times of optical drives. However, fans or radiators can also be mounted in the area of the former drive bay. So even when using a 360mm radiator you still have some leeway in the mounting height.
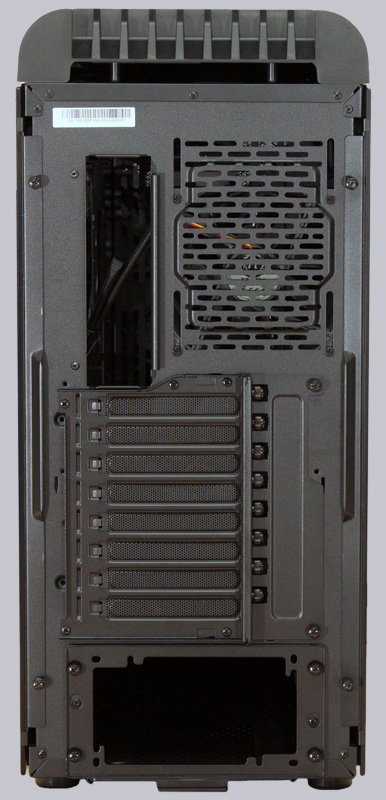
There are some interesting details on the back. For example, all slot panels for the expansion cards are mounted on a common frame. If you want to mount the graphics card vertically, you have to rotate all slot panels as well. A combination of normal and vertical mounting is not possible.
The power supply unit is pushed into the housing from the rear and screwed to the housing via the power supply frame. This can be an advantage if you want to connect an additional cable harness to a modular power supply later. For the positioning of the rear case fan a wide adjustment range is available. On the two tinted and hardened glass side panels there are small holding tabs. This means that no holes are required for screwing through the glass, as is often the case with cheaper housings.
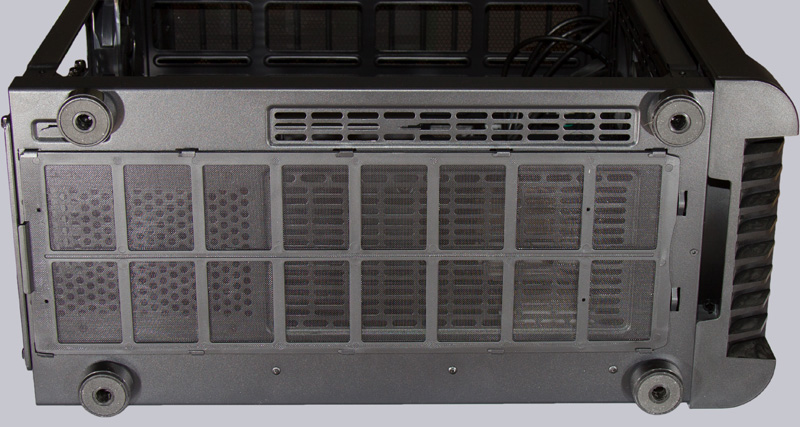
The underside reveals a very fine-meshed dust protection grille that can be pulled out to the rear. Actually, filters that can be pulled out to the front would be a bit more practical, but the competition usually doesn’t do otherwise. In addition to the air filter, there are also other ventilation holes in the bottom of the case. One might wonder why such a fine grille is attached when next to it the air can flow unhindered into the case. Maybe Thermaltake wanted to leave some space for individual handicrafts. The rubberized feet have a very solid design and on them the tower stands safe and stable.
Next, let us look at the inner values of the Tower.
Thermaltake Level 20 RS ARGB Layout, design and features from the inside …