
AOC 16T2 Practical testing …
Schnell zum richtigen Test …
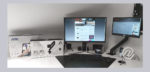
AOC 16T2 test system
Connect AOC 16T2 with smartphone
Mount AOC 16T2 on a monitor arm
Connect AOC 16T2 to PC
AOC 16T2 OSD Menu
AOC 16T2 Software
Set up second monitor in Windows 10 or Windows 11
Set up touch function in Windows 10 or Windows 11
AOC 16T2 Battery life
Test system …
We’ve already published a few monitor reviews and today we’re testing the AOC 16T2 on an Intel Core i9 platform:
PC:
Intel Core i9-9900K @ 5,2 GHz
ASRock Z390 Phantom Gaming X
2x 8GB Crucial Ballistix Elite DDR4-4000
Crucial MX500 SSD
Operating System:
Windows 10 Professional 64 Bit and Windows 11 Professional 64 Bit
Smartphone:
Samsung Galaxy S10 with Google Android 11
Connect AOC 16T2 with smartphone …
Let’s start with a very simple connection first. We first connect the AOC 16T2 panel to a USB port or the included 5V/3A USB power adapter and charge the integrated 8000mAh battery via the USB-C port. You can now connect the desired device to the second USB-C port while charging, at least if you have a second USB-C connection cable, since only one is included in the scope of delivery. Let’s now turn on the monitor via the small power button on the left side, whereupon the LED lights up white. Here, we immediately notice a somewhat annoying point, because it is unfortunately not enough to briefly tap the button, but you have to hold it down for a few seconds to turn it on as well as to turn it off. This is certainly helpful for mobile use, but it takes too long for stationary use. In the following example, we charged it on the left and connected it to the Samsung Galaxy S10 smartphone on the right, which immediately outputs the image additionally on the AOC 16T2 monitor after a short confirmation. Depending on the position, portrait or landscape mode.
This works flawlessly and the smartphone can also be operated via the AOC 16T2 touch panel from now on!
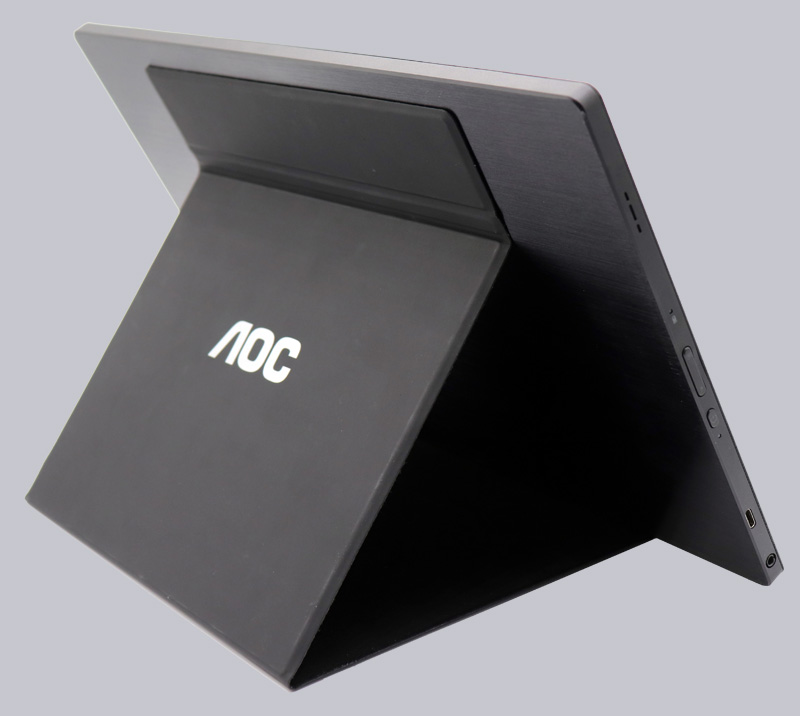
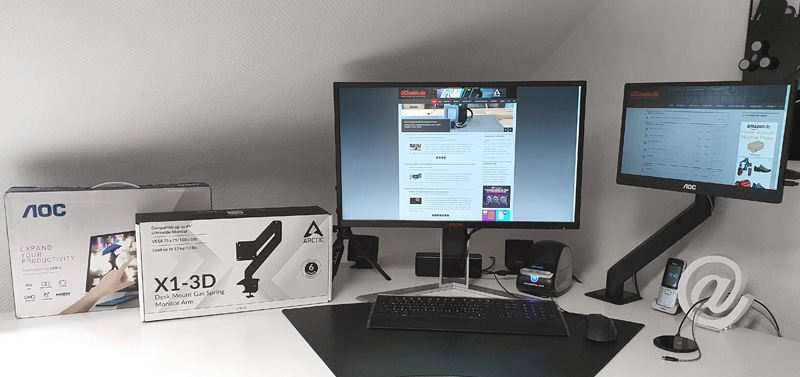
Mount AOC 16T2 on a monitor arm …
However, since we do not only want to use the AOC 16T2 monitor as a mobile companion, but also get a full-fledged IPS touch panel to extend the notebook or PC, we naturally want to test that as well. However, we don’t use the Smart Cover for this, but would like to operate it ergonomically at eye level. For this purpose, we ordered a monitor arm from the company Arctic, which is held in the desired position by means of a gas pressure spring, similar to the recently tested Arctic Z2-3D Gen3! The Arctic X1-3D monitor arm is delivered in this box.
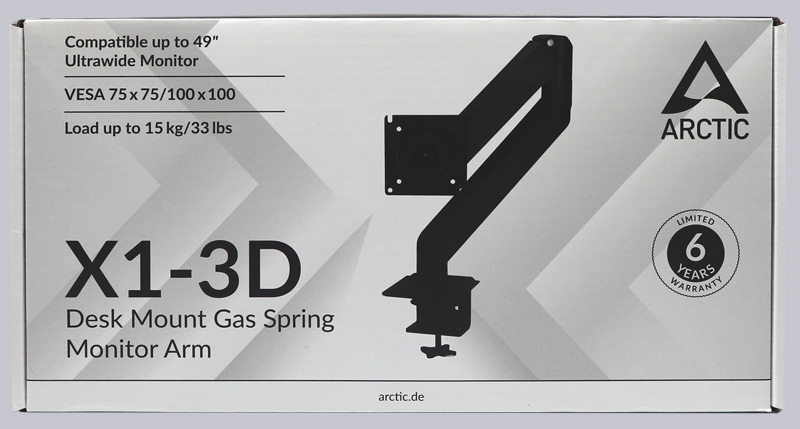
Actually, the Arctic X1-3D box already comes with everything necessary to run a VESA 75×75 or VESA 100×100 compatible monitor.

So, first attach the VESA adapter to the 16T2’s back with the four small screws. The VESA adapter and the screws are supplied by AOC.
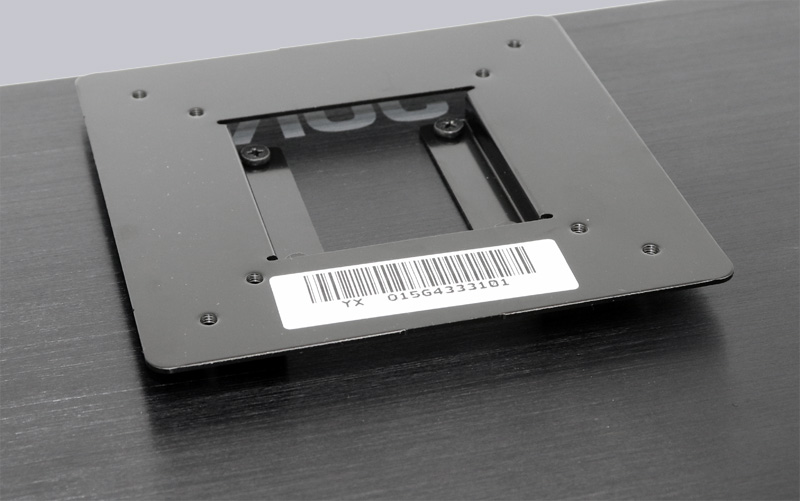
Caution! However, if you now want to use the four short screws from the Arctic for mounting on this adapter plate, the screw already touches the back of the display.
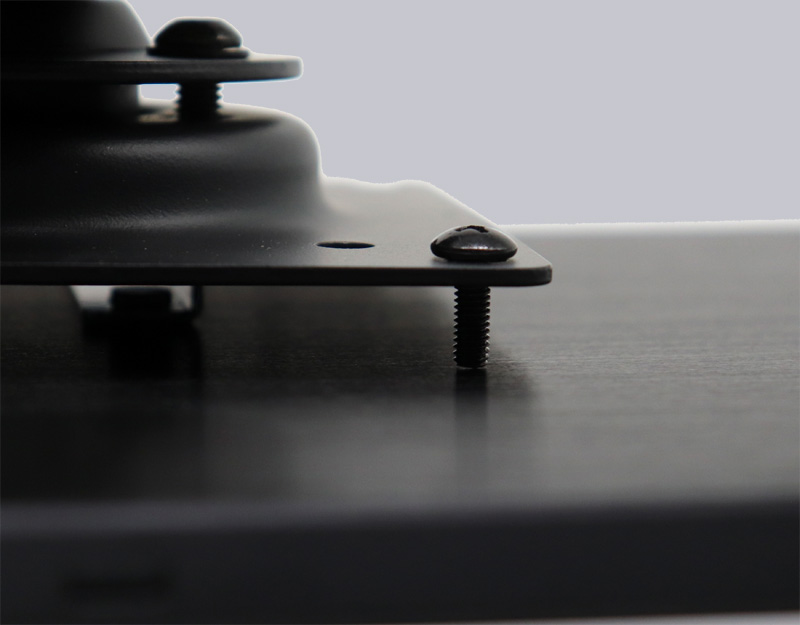
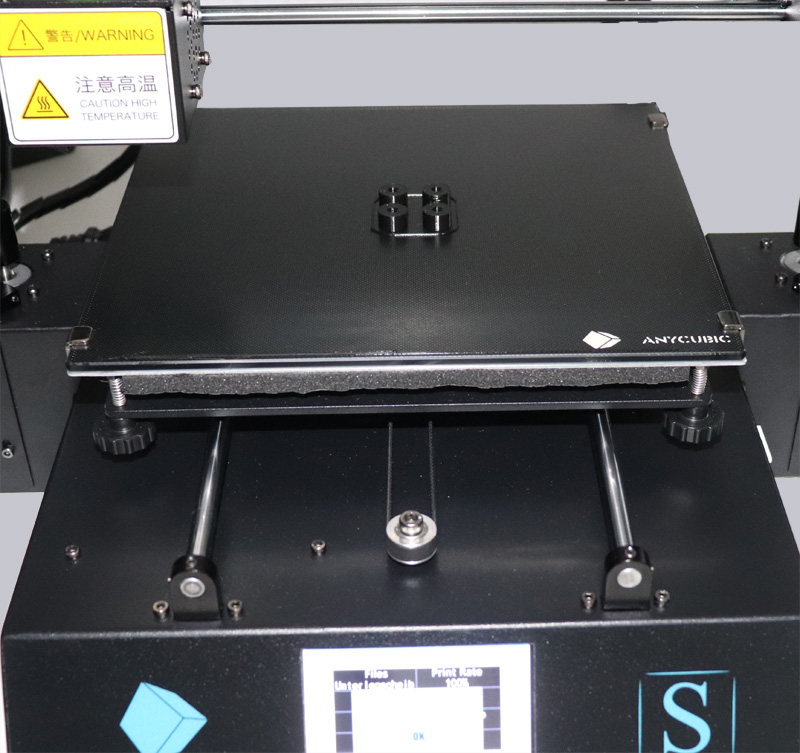
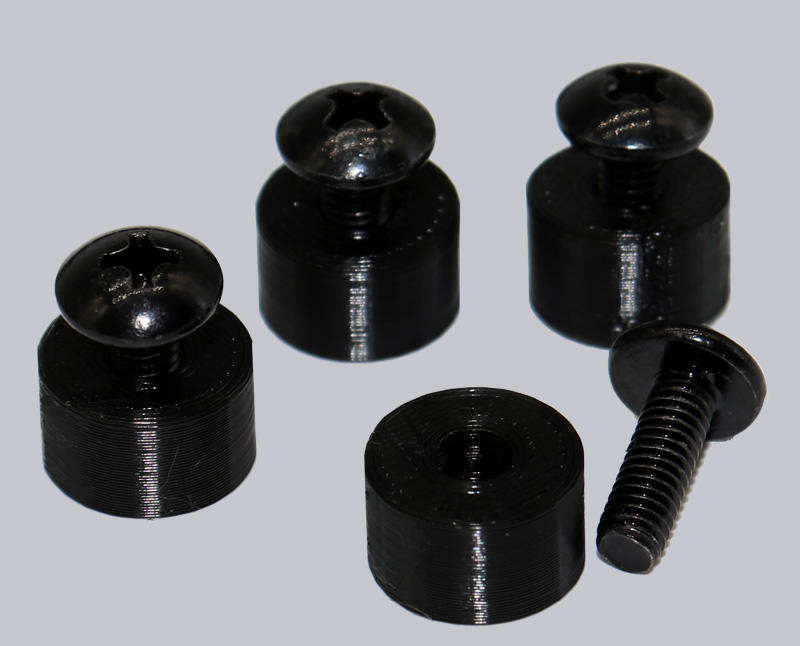
Since we didn’t have any suitable washers at hand, we drew suitable ones with FreeCAD and printed them on the 3D printer.
And already all four screws are exactly at the right length and can no longer touch the back of the panel.
Now we can mount the monitor arm without worry. By the way, you should not simply let the gas spring collapse, but rather apply pressure with both hands and then slowly let it relax!
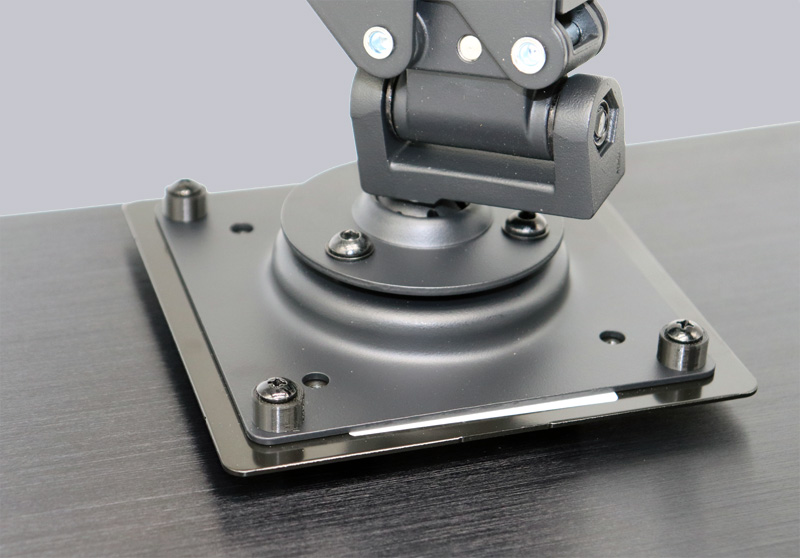
Now we can set everything up and adjust the AOC touchscreen to the desired height. By the way, for the lightweight 15.6-inch AOC panel, you should reduce the spring tension significantly, because the monitor arm is set with the preset spring tension for monitors up to about 15kg. Reducing the spring tension is very easy by turning the small hexagon socket screw on the gas pressure spring clockwise by about a good turn with the included hexagon socket wrench. Then the light monitor can easily be brought to a comfortable working height without much effort.
Connect AOC 16T2 to PC …
There are now several options to transfer the image from the PC to the monitor:
– The best and most elegant solution would be a direct transfer from a USB-C port with the included USB 3.0 Type-C to USB Type-C cable to transfer the power supply as well as the touch signal and the image signal. However, the USB-C port has to support DP Alt Mode for this. DP Alt Mode stands for DisplayPort Alternate Mode and means that the DisplayPort signal lines are additionally connected to the USB-C port, which then transmits the image signal. It is not enough if the PC simply “only” has a USB-C port!
– Alternatively, there is fortunately still the Micro-HDMI input, with which you can transfer the signal from a conventional HDMI port to the AOC 16T2 monitor via the included HDMI to Micro-HDMI cable. By the way, there are also very cheap DisplayPort to HDMI adapters, so you can also use the micro-HDMI cable on a DisplayPort. The only disadvantage is that you have to connect the USB-C cable for power supply and touch functionality in addition to the micro-HDMI cable, so you need both connection cables in that case!
– If you do not have a USB-C DP Alt Mode port, you can transfer the DisplayPort signal to the USB-C port with special cards, adapters or cables. For example, there are USB-C cables with DP Alt Mode and direct DisplayPort connection, but you have to be careful what you order, because often the cables are not suitable for DP Alt Mode or can only be used as USB-C to DisplayPort cable – so only for connecting a DisplayPort monitor to a USB-C port and that would be wrong. PCI Express cards available include the Delock 89582 or Sunix UPD2018 each with the ASMedia ASM1142 chip and one DisplayPort input and two USB 3.1 Type-C outputs. The recently reviewed ASRock X299 Creator Intel LGA 2066 motherboard even comes with Mini DisplayPort inputs and USB 3.2 Gen2 Thunderbolt3 outputs out of the box, but is thus rather an exception.

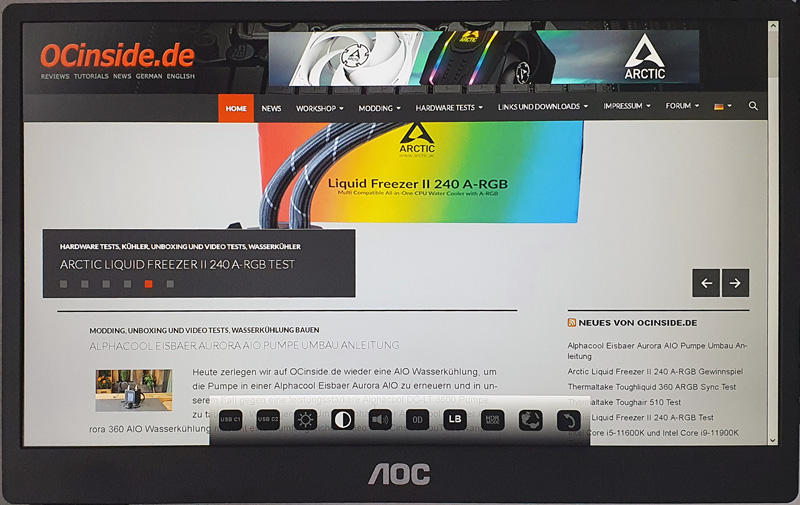
AOC 16T2 OSD Menu …
As soon as you transfer an image to the AOC 16T2 in any form, you can enter the OSD with a short press on the menu button to make various settings. For example, you can change the input source from HDMI to USB C1 or USB C2, adjust the brightness, change the volume, change the overdrive response time, enable HDR mode, and change the OSD language. Unfortunately, you can’t set the contrast and the LowBlue Mode to reduce the blue light components. And here we also come to a negative point, because AOC uses only one button for the complete menu operation (left/right/confirm/+/-), so in exact timing you have to press the menu button once and then several times until you reach the menu item, then wait a bit and then press until the value is correct. The OSD is extremely sluggish, just like the power button, so changing the brightness is not easy at all. But the power button also has to be held down for about 4 seconds to turn it on, which is quite annoying. You can only dream of automatic power loss modes or ready-made profiles and advanced settings for color adjustment or similar. That’s a shame and not something we’ve seen from AOC.
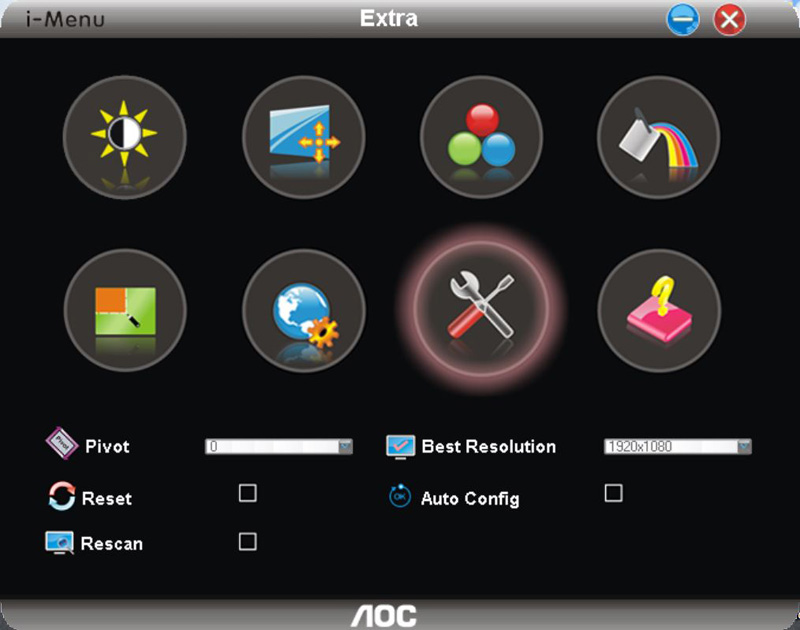
AOC 16T2 Software …
Fortunately, AOC still offers software for easier operation … or so we thought until we installed the familiar AOC i-menu software. But except for Setting, Extra and Help, no settings are possible, so all important settings are missing. Even if you select the standard PnP monitor driver in the device manager. Unfortunately, the AOC G-Menu, the AOC e-Saver or the AOC Screen+ software do not help.
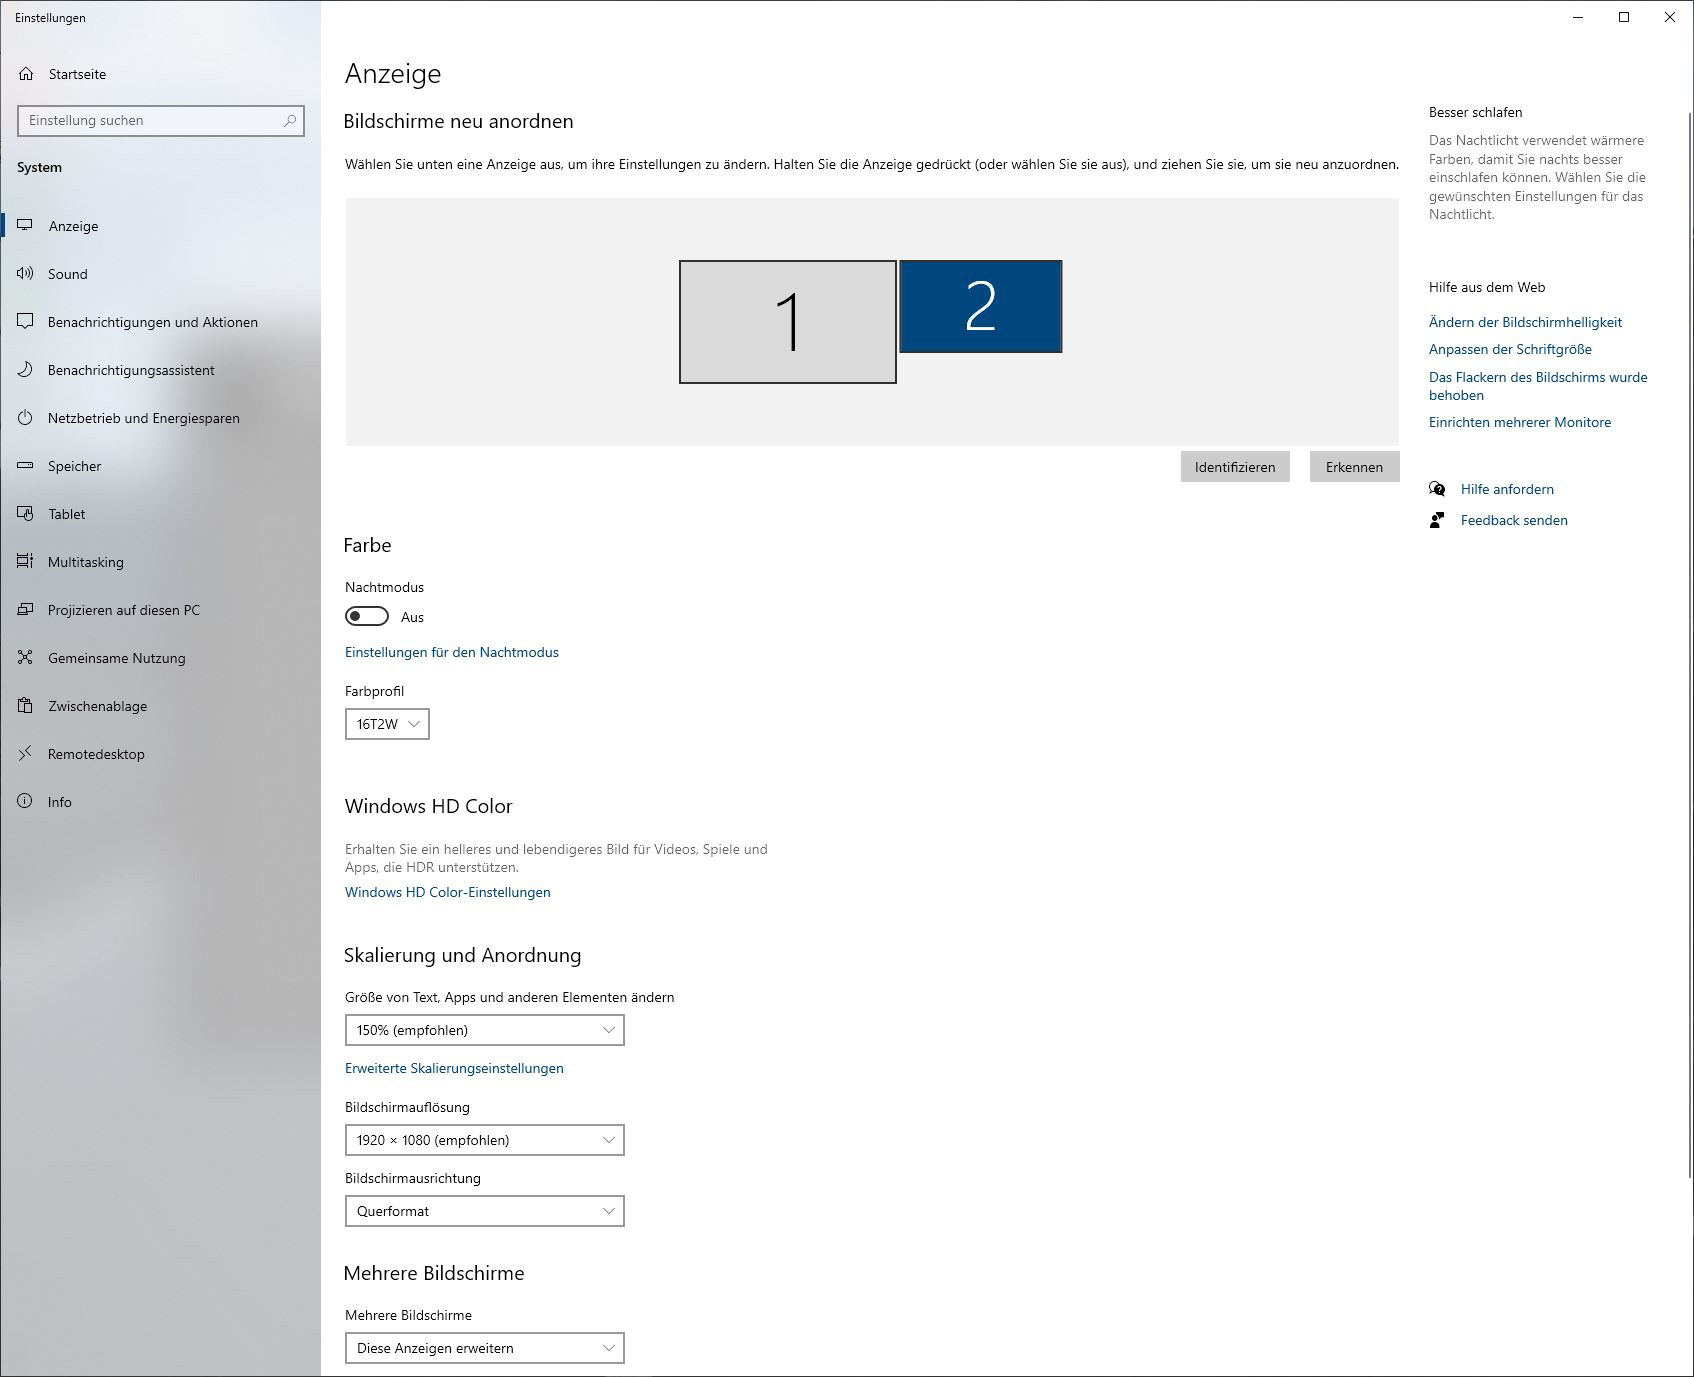
Set up second monitor in Windows 10 or Windows 11 …
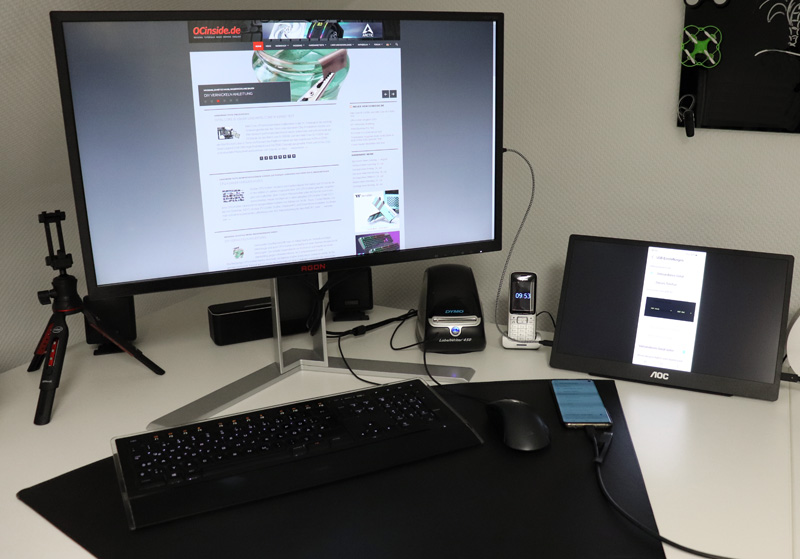
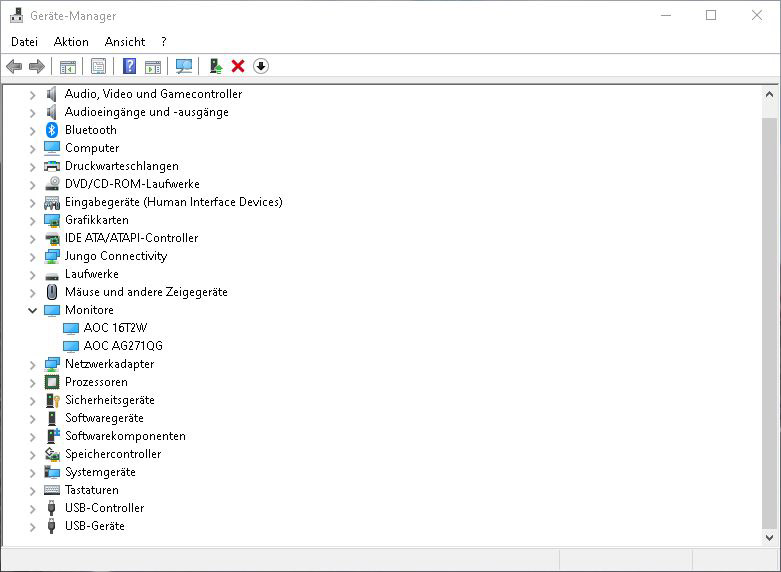
First, the two monitors, in our case it’s a AOC Agon AG271QG monitor as the main screen and the AOC 16T2W as the second screen.
You can set up the order via the Windows display settings, where you should also specify that the larger monitor is the main display and the small 15.6″ touchscreen serves as a display extension, so that you can easily move windows from one monitor to the other.
Set up touch function in Windows 10 or Windows 11 …
Let’s move on to another important feature that the AOC 16T2 panel has to offer and that is the touch or 10-point multi-touch feature, which is excellent to use in operating systems such as Microsoft Windows 10 or even Windows 11 if you know how. This is because the capacitive touchscreen initially operates the main monitor in Windows 10 or Windows 11 and not the small touchscreen monitor. This is because Windows recognizes that an LGDisplay Incell touch panel is connected via USB, but of course Windows does not know that it is the touchscreen from the second monitor. And we can change that (among many other things) in the Windows Tablet PC settings.
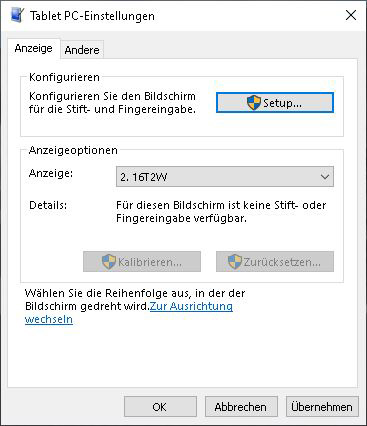
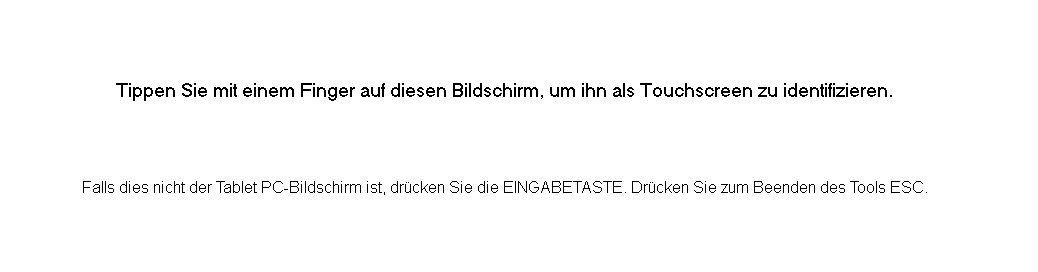
To change the touch panel assignment, search for “Tablet PC Setting” in Windows or, for example, go to Start -> Control Panel -> Tablet PC Setting -> Setup -> Enter and then touch the monitor to select that you want to assign this displayed monitor as a touchscreen in Windows.
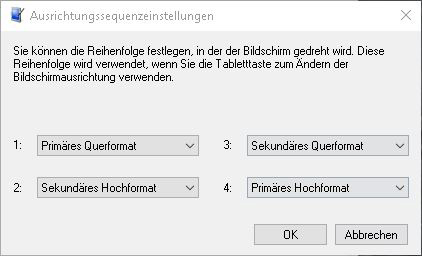
There, you can also set the double-click speed, adjust the right-click with a longer touch, change the sequence, how the screen should be rotated and even display an on-screen keyboard and use the monitor as a tablet PC in Windows. Thanks to stereo sound output, you can even stream videos or participate in web conferences on the additional display. Only the webcam including microphone would have to be retrofitted.
AOC 16T2 Battery life …
According to the manufacturer, the display can be used for up to 4 hours on the go when the battery is not charged. We tested it ourselves and even managed a total of 4:45 hours in low light. We only connected the micro-HDMI cable so that the panel was not recharged.
Tipp:
If you turn off the display and press the battery button once, you can use the AOC 16T2 monitor as a powerbank and charge your smartphone on the go.
Overall, the display offers an optimal resolution for this 15.6″ diagonal with 1920x1080px (Full HD), can be operated wonderfully with several fingers at the same time, has an integrated battery with several hours of runtime as well as two speakers and so only the bland aftertaste with the OSD menu remains.
Now we come to the conclusion of the AOC 16T2 test.
AOC 16T2 Monitor Result and general impression …